Quality Management, Testmanagement, Testautomation, Continuous Integration and Delivery, Jenkins, Consulting, Training, Auditing
Blog Archive | Comquent GmbH, Continuous Quality in Software
Category

Blog

Gitops

Was versteht man GitOps?

By | Allgemein, Blog | No Comments

GitOps ist eine Methode zur Verwaltung von IT-Infrastrukturen und Anwendungen, bei der Git als zentrales Repository für den Code und die Konfiguration verwendet wird. Die Idee hinter GitOps ist, dass alle Änderungen an der Infrastruktur und den Anwendungen als Code geschrieben und über Pull Requests in Git verwaltet werden.

Continuous Deployment wird verwendet, um sicherzustellen, dass Änderungen schnell und fehlerfrei bereitgestellt werden. GitOps ermöglicht es Unternehmen, ihre Infrastruktur als Code zu verwalten und somit schnellere und fehlerfreie Bereitstellungen zu erreichen. Es bietet auch die Möglichkeit, Änderungen an der Infrastruktur nachzuverfolgen und rückgängig zu machen, was zu einer höheren Sicherheit und Zuverlässigkeit beiträgt.

Durch unsere GitOps-Beratung erhalten Sie Zugang zu den neuesten Best Practices und Tools, die Ihnen dabei helfen, Ihre Infrastruktur als Code zu verwalten und Continuous Deployment in Ihrem Unternehmen einzuführen. Wir bieten auch Schulungen und Workshops an, um Ihr Team auf den Einsatz von GitOps vorzubereiten.

Mit GitOps-Beratung von unserem Team können Sie sich auf schnellere und fehlerfreie Bereitstellungen verlassen, während Sie gleichzeitig die Sicherheit und Zuverlässigkeit Ihrer IT-Infrastruktur erhöhen. Lassen Sie uns gemeinsam herausfinden, wie GitOps Ihr Unternehmen voranbringen kann.

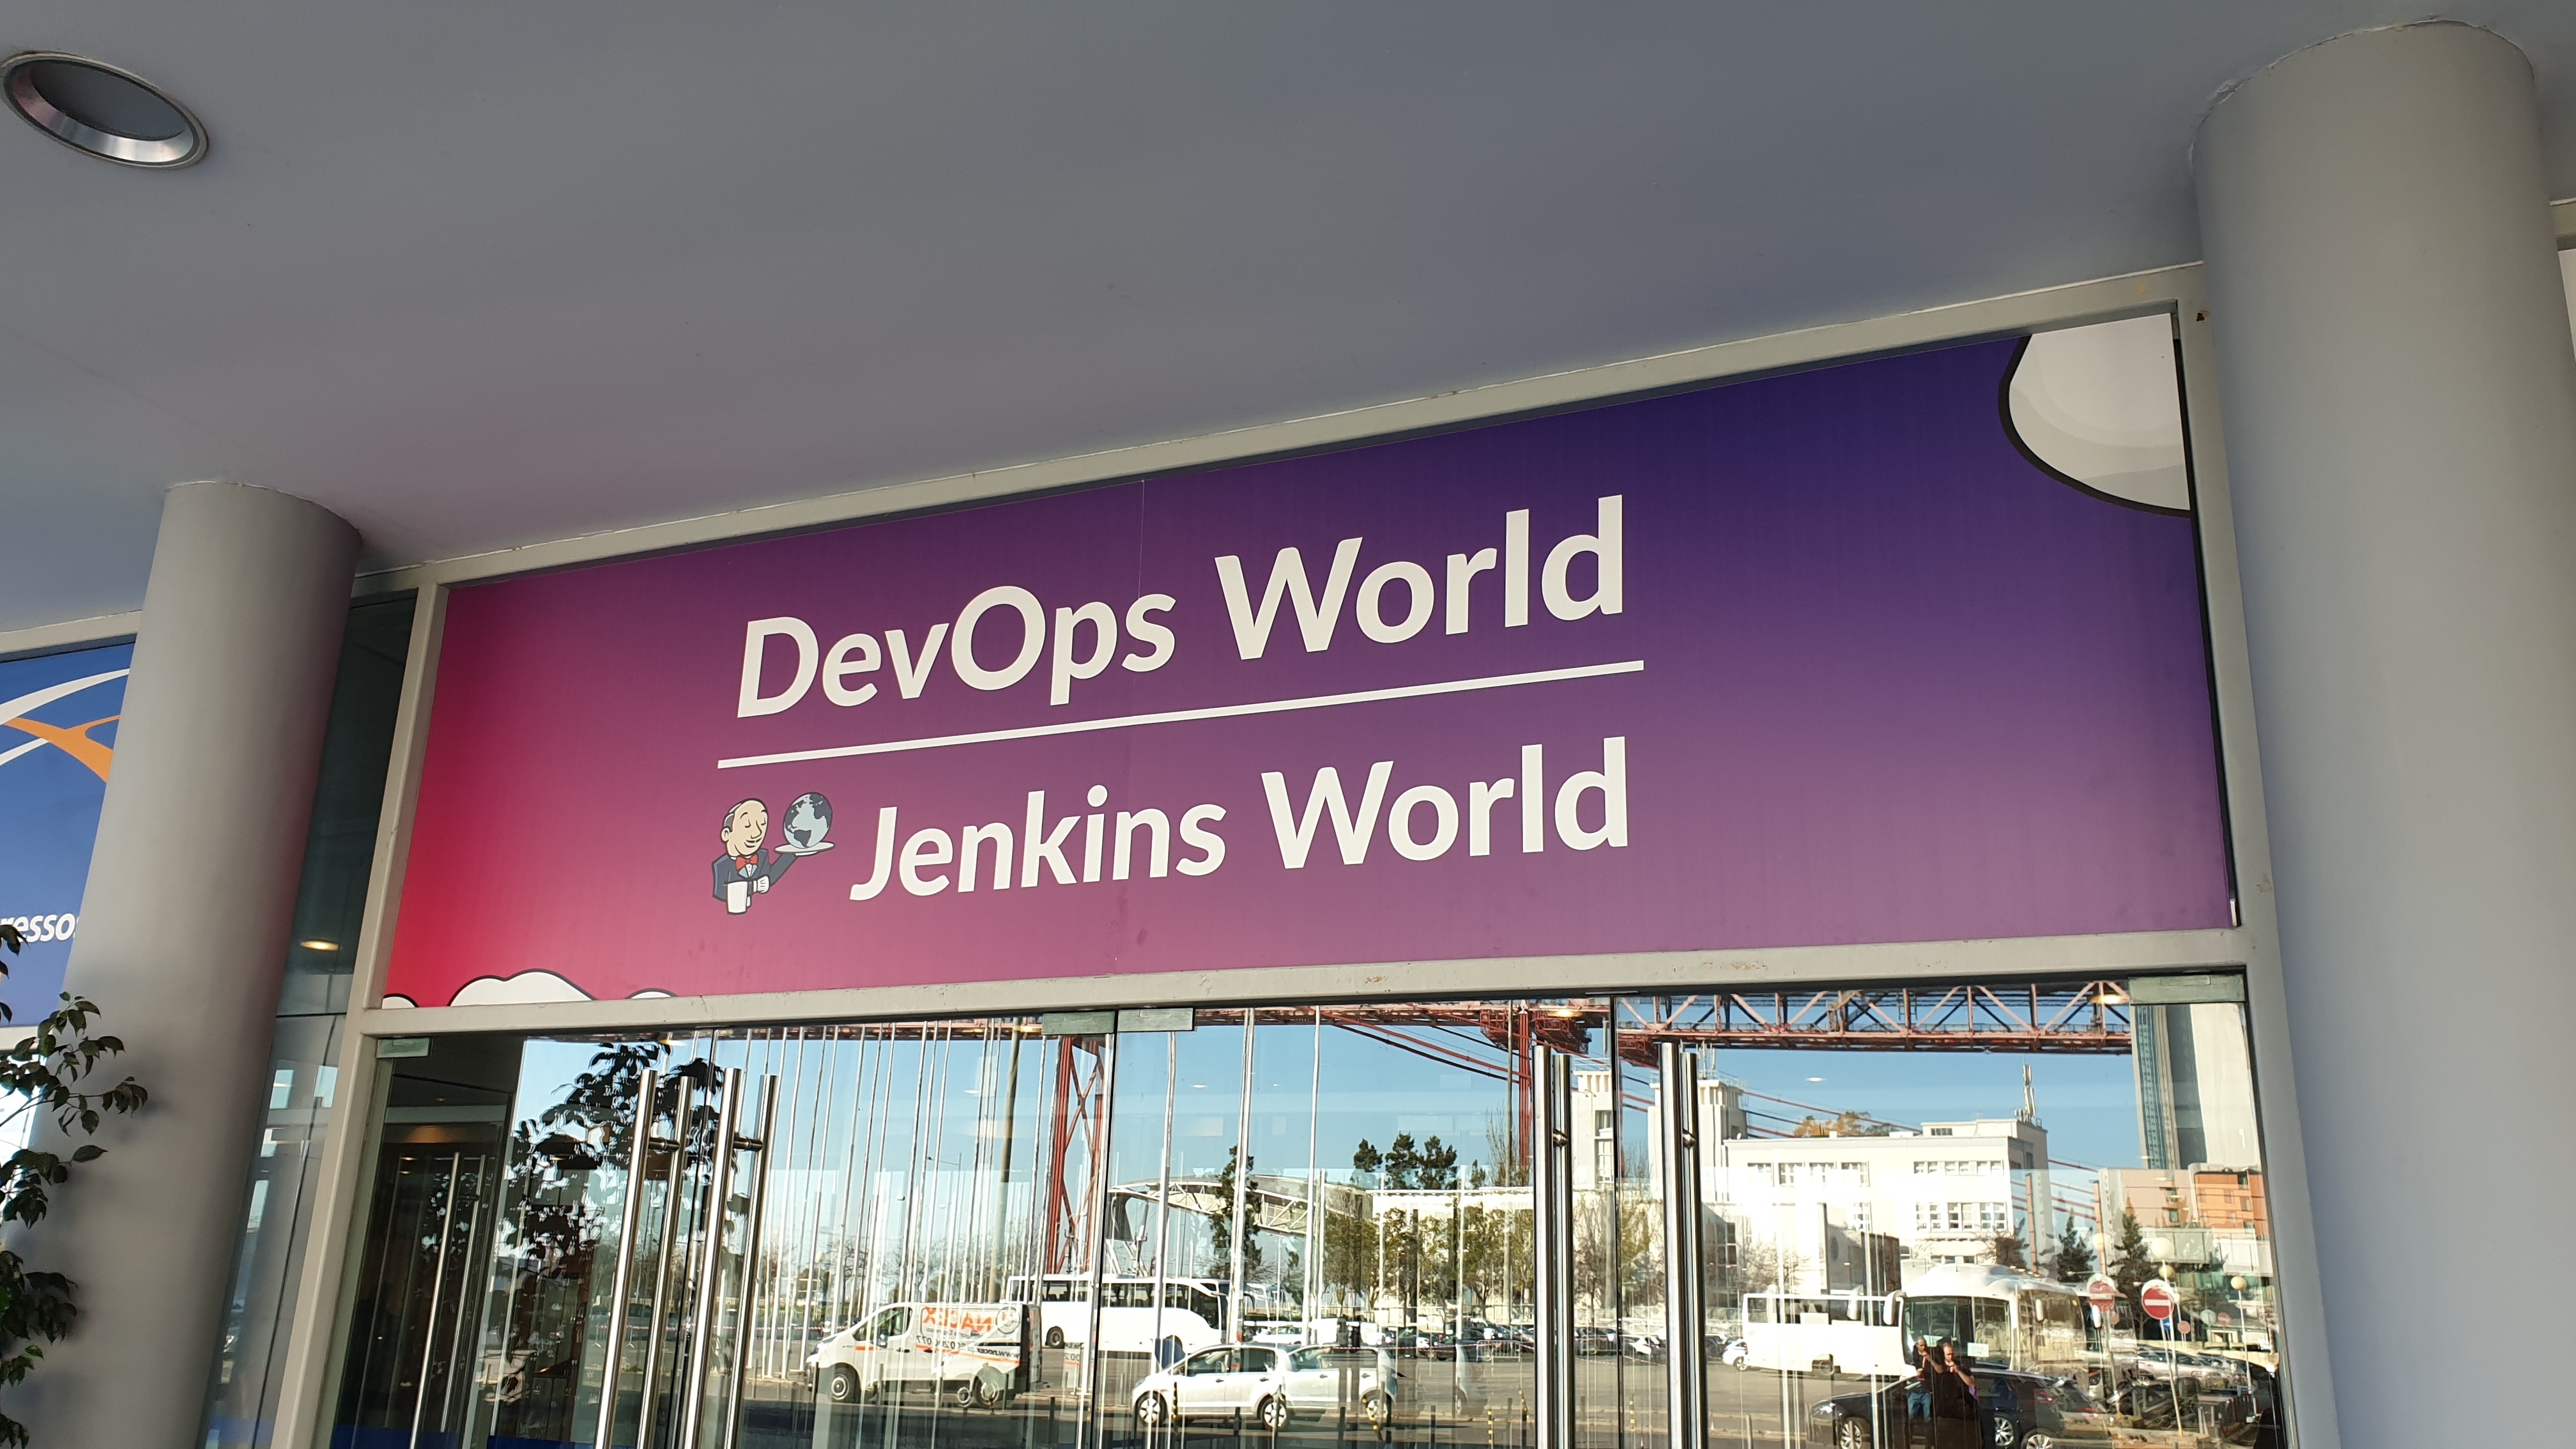
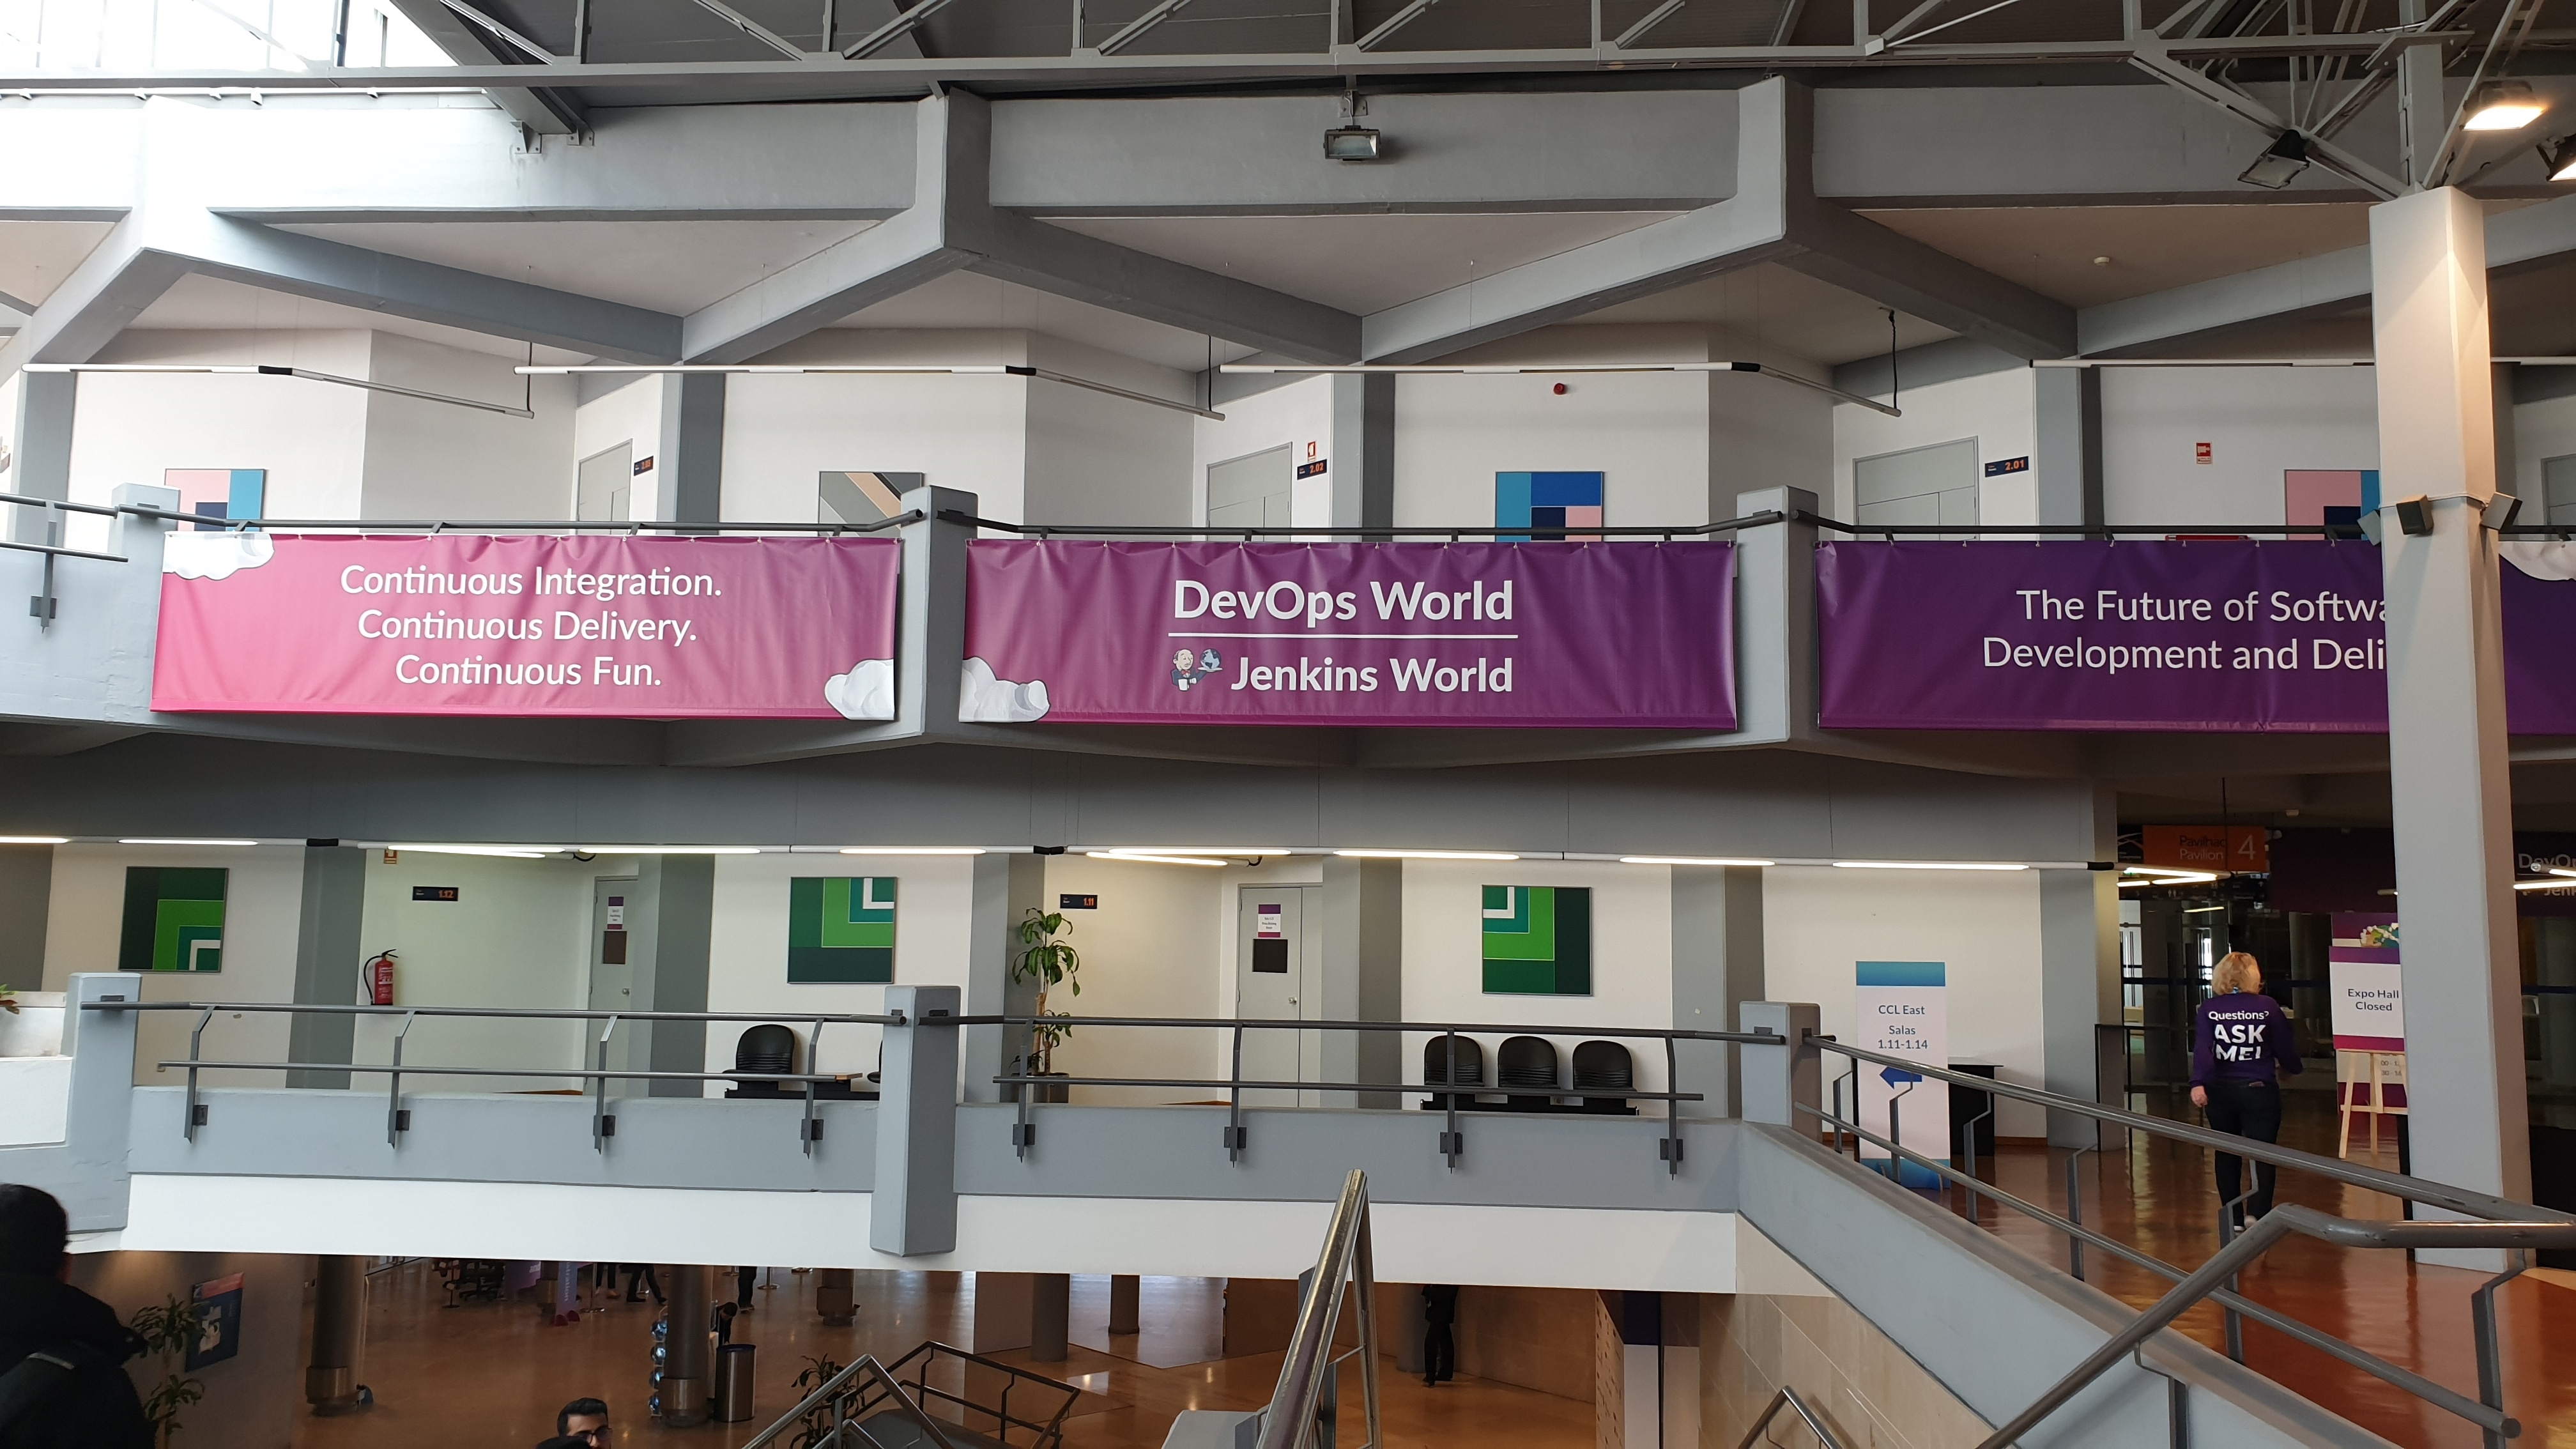
DevOps World – Jenkins World 2019 (part 2)

By | Blog | No Comments

Make sure you have not missed part 1!

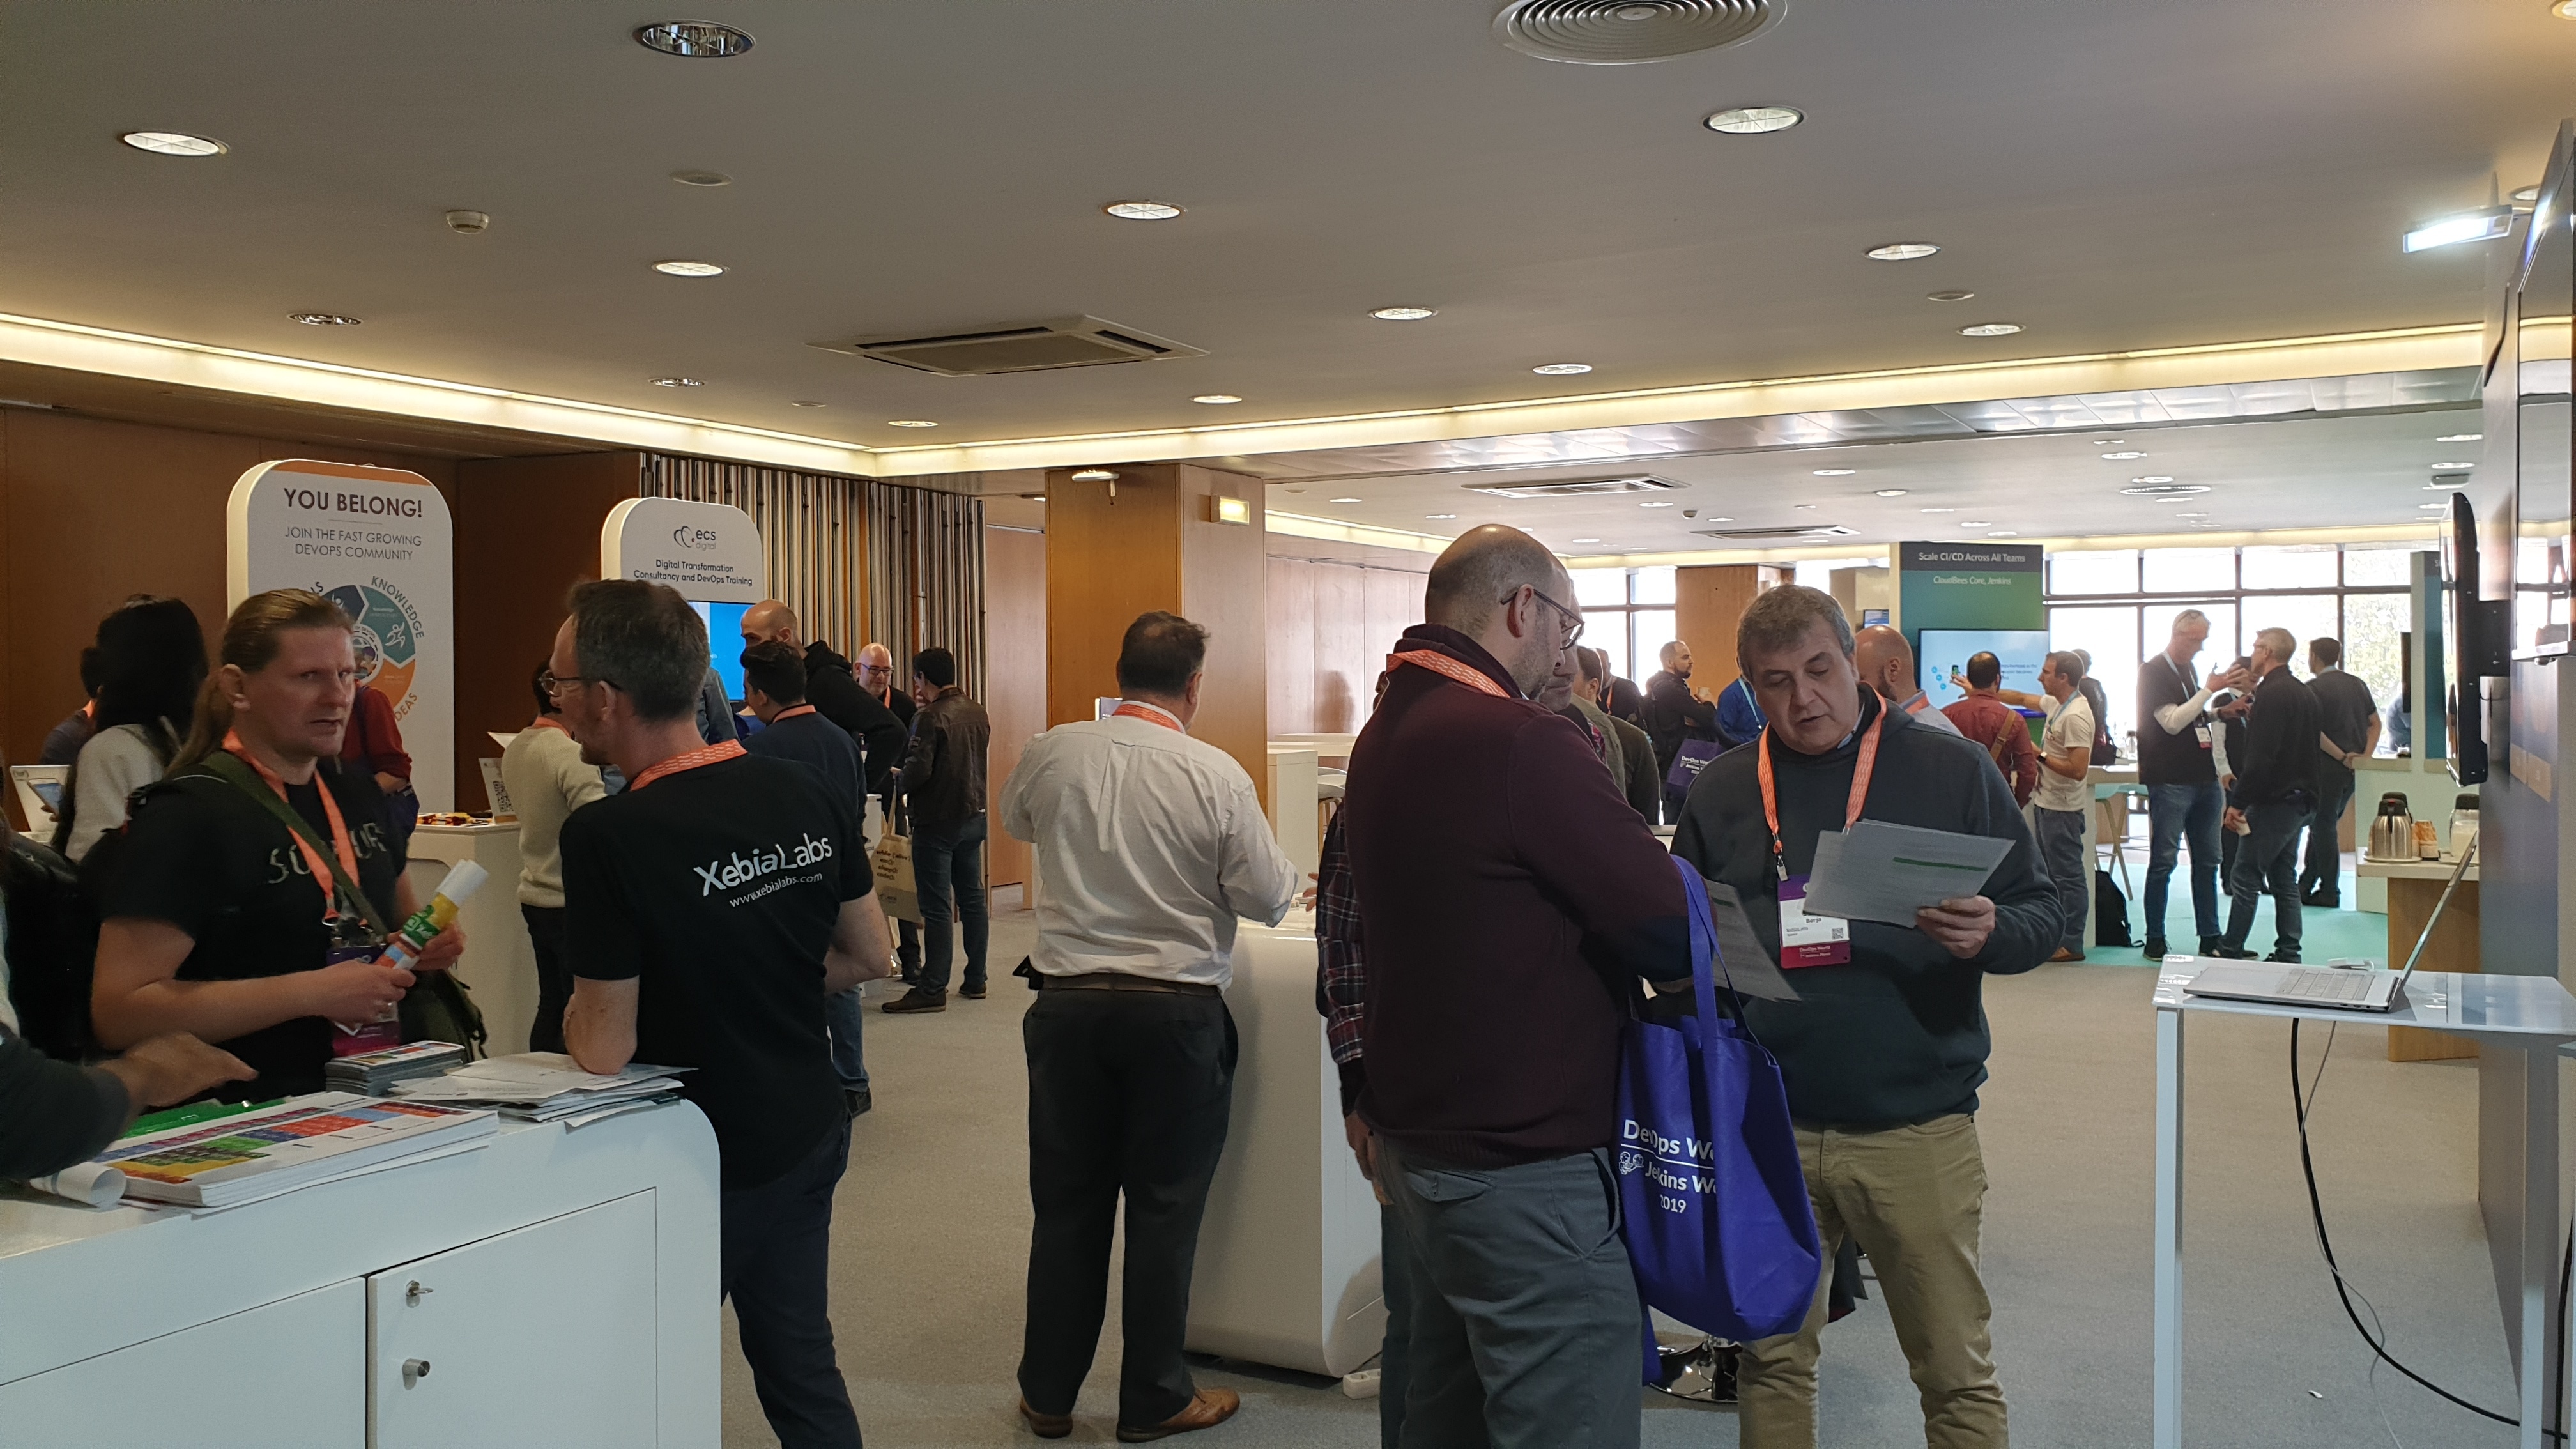
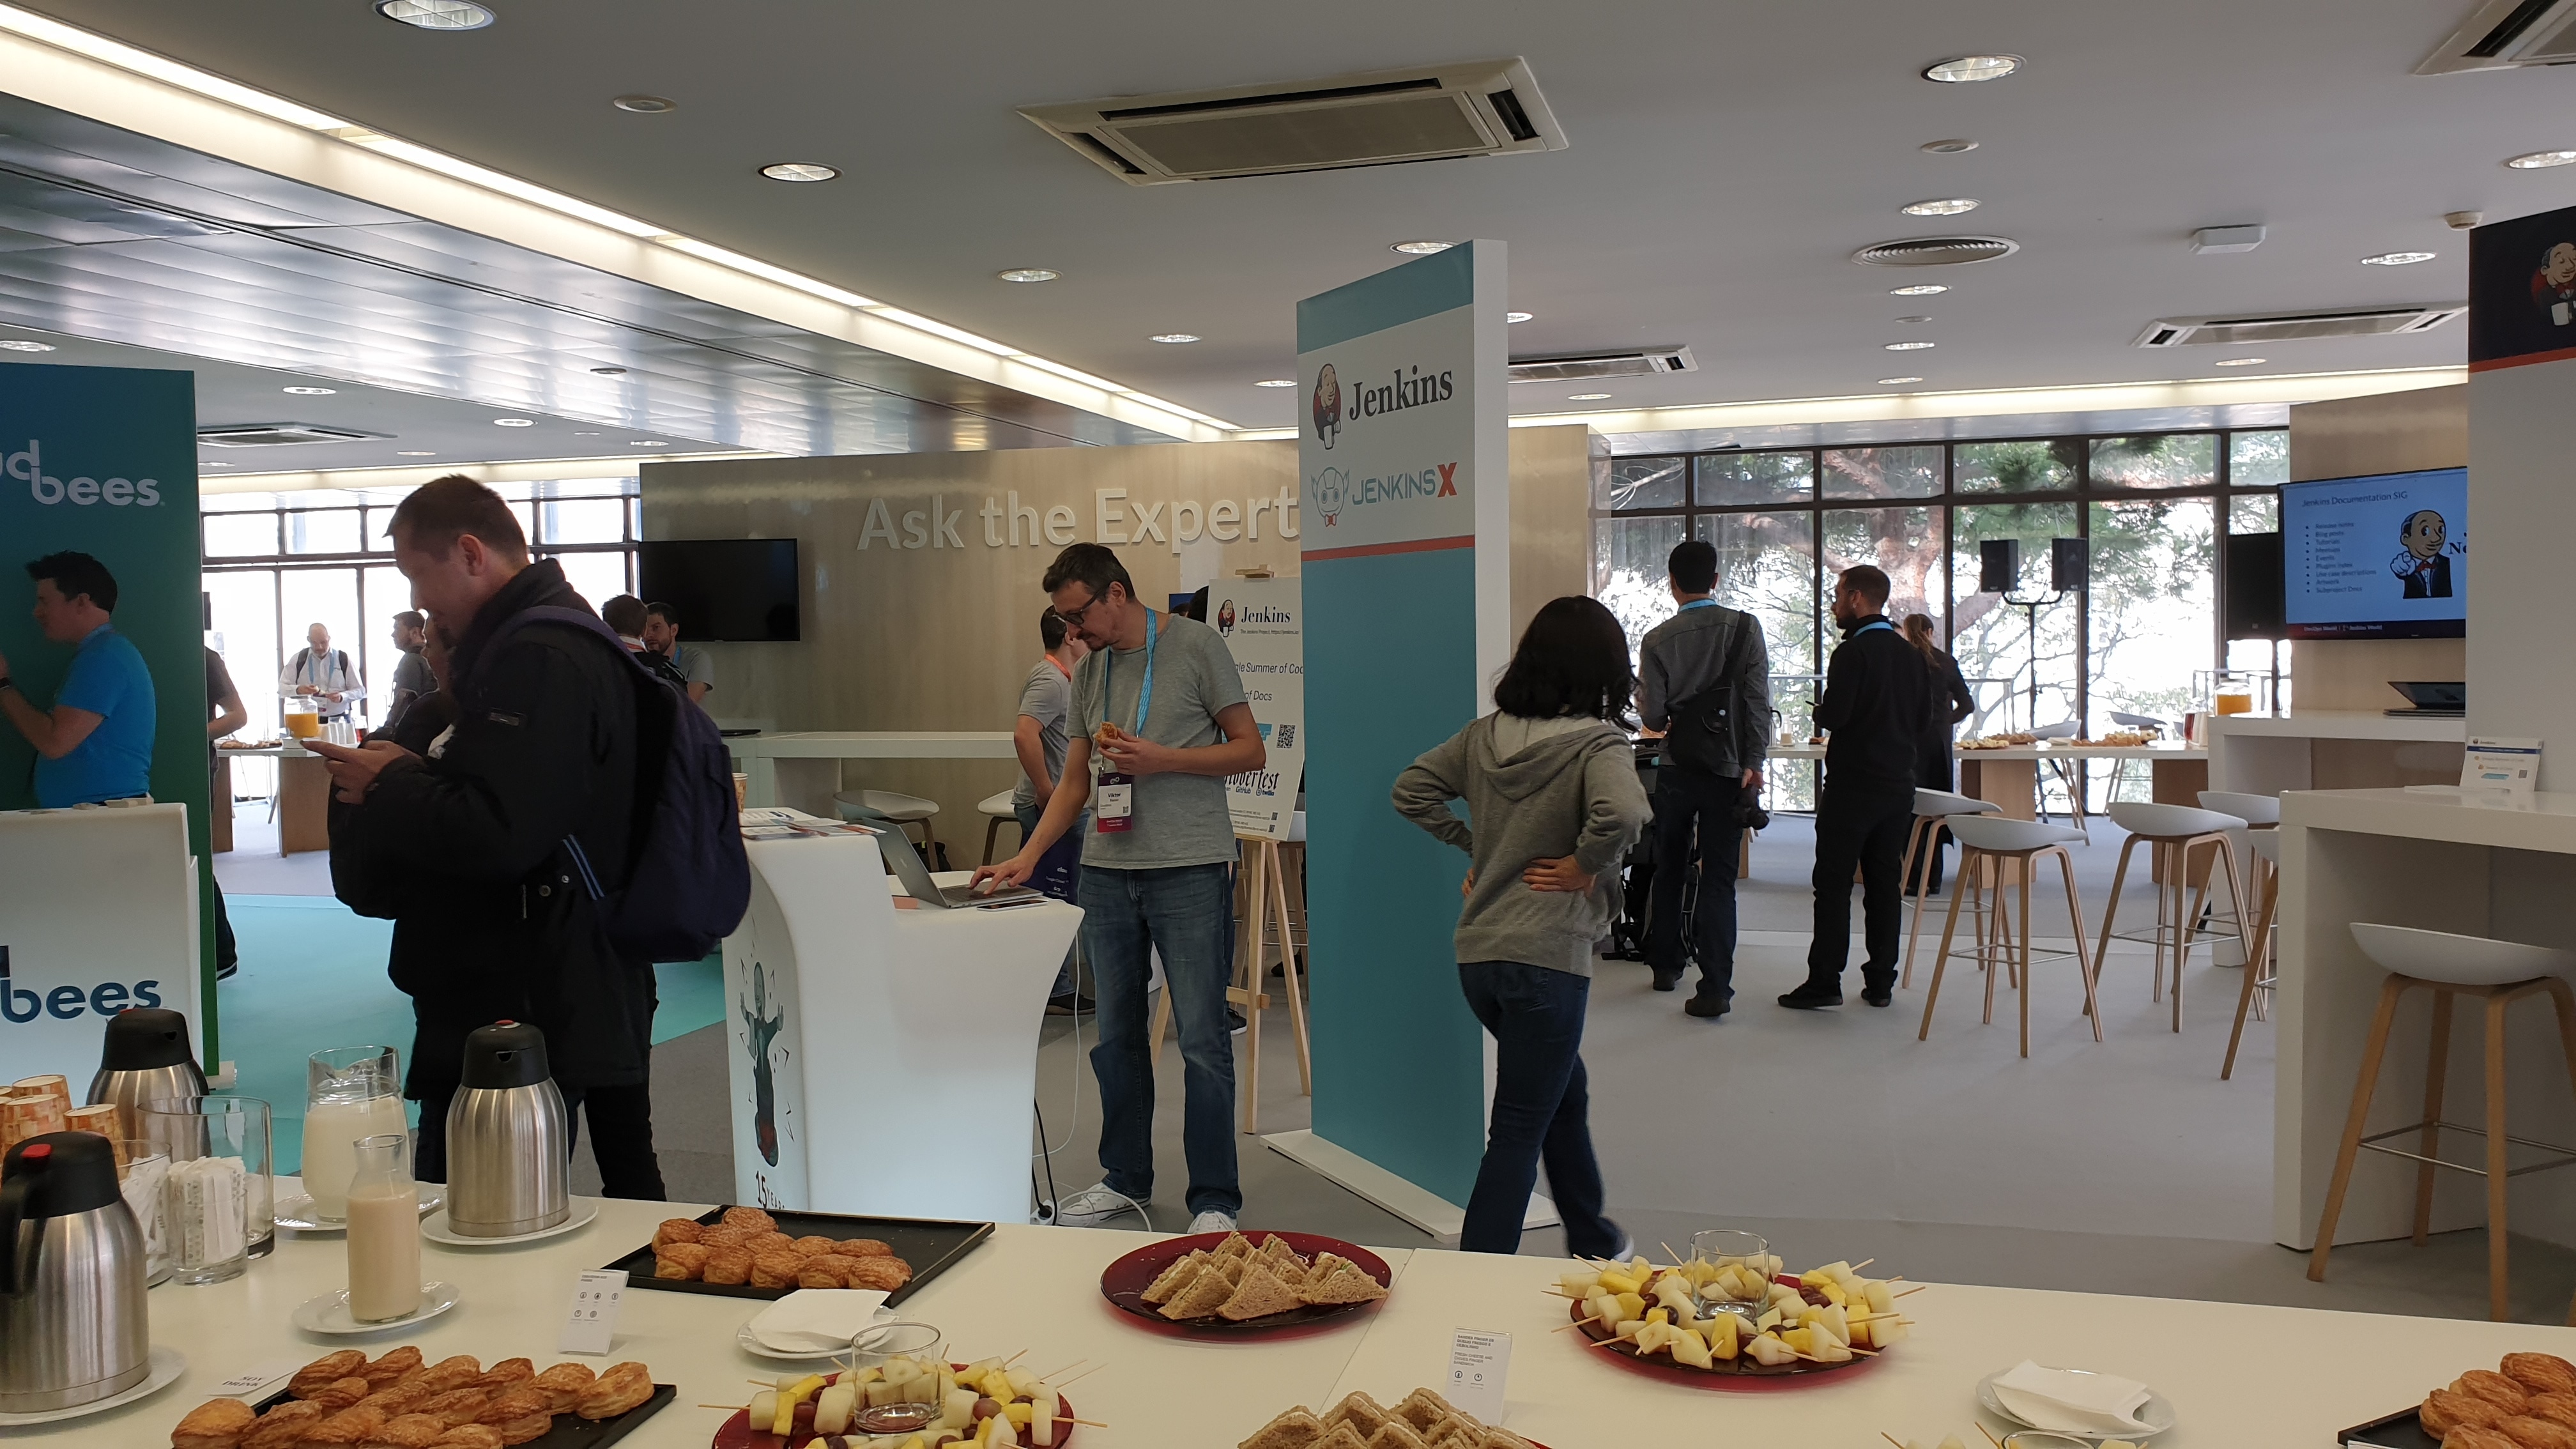
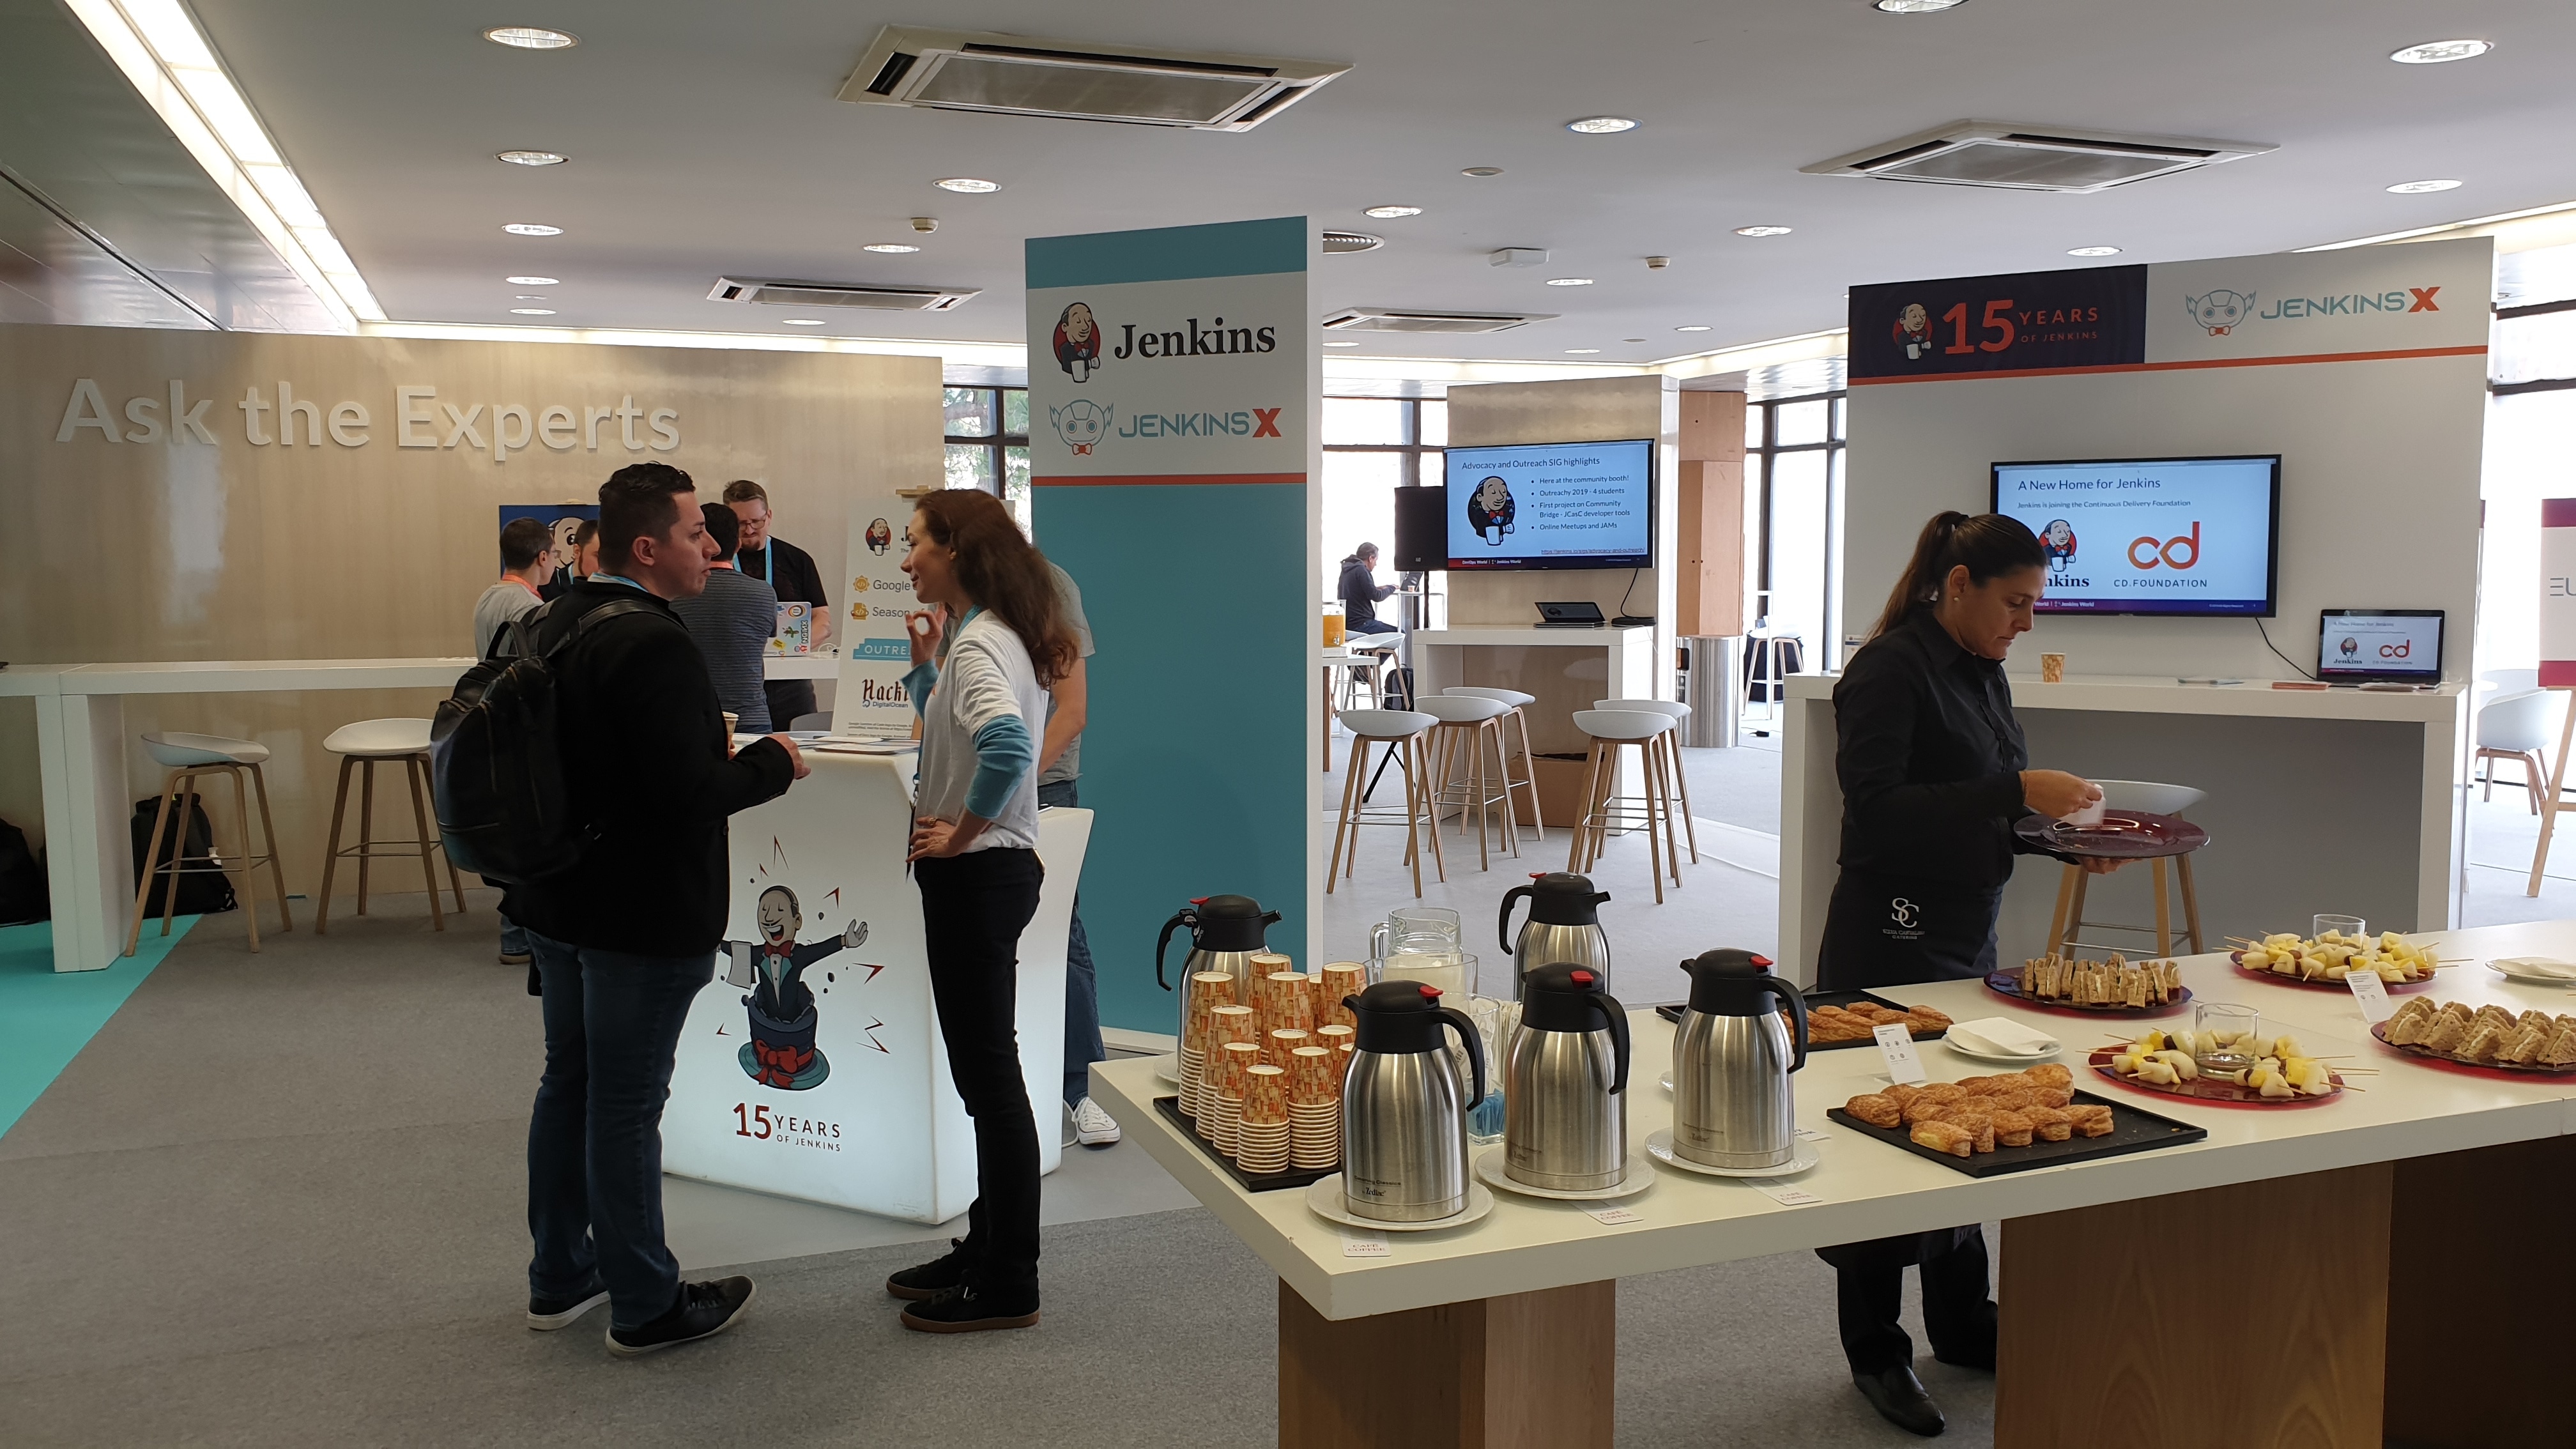
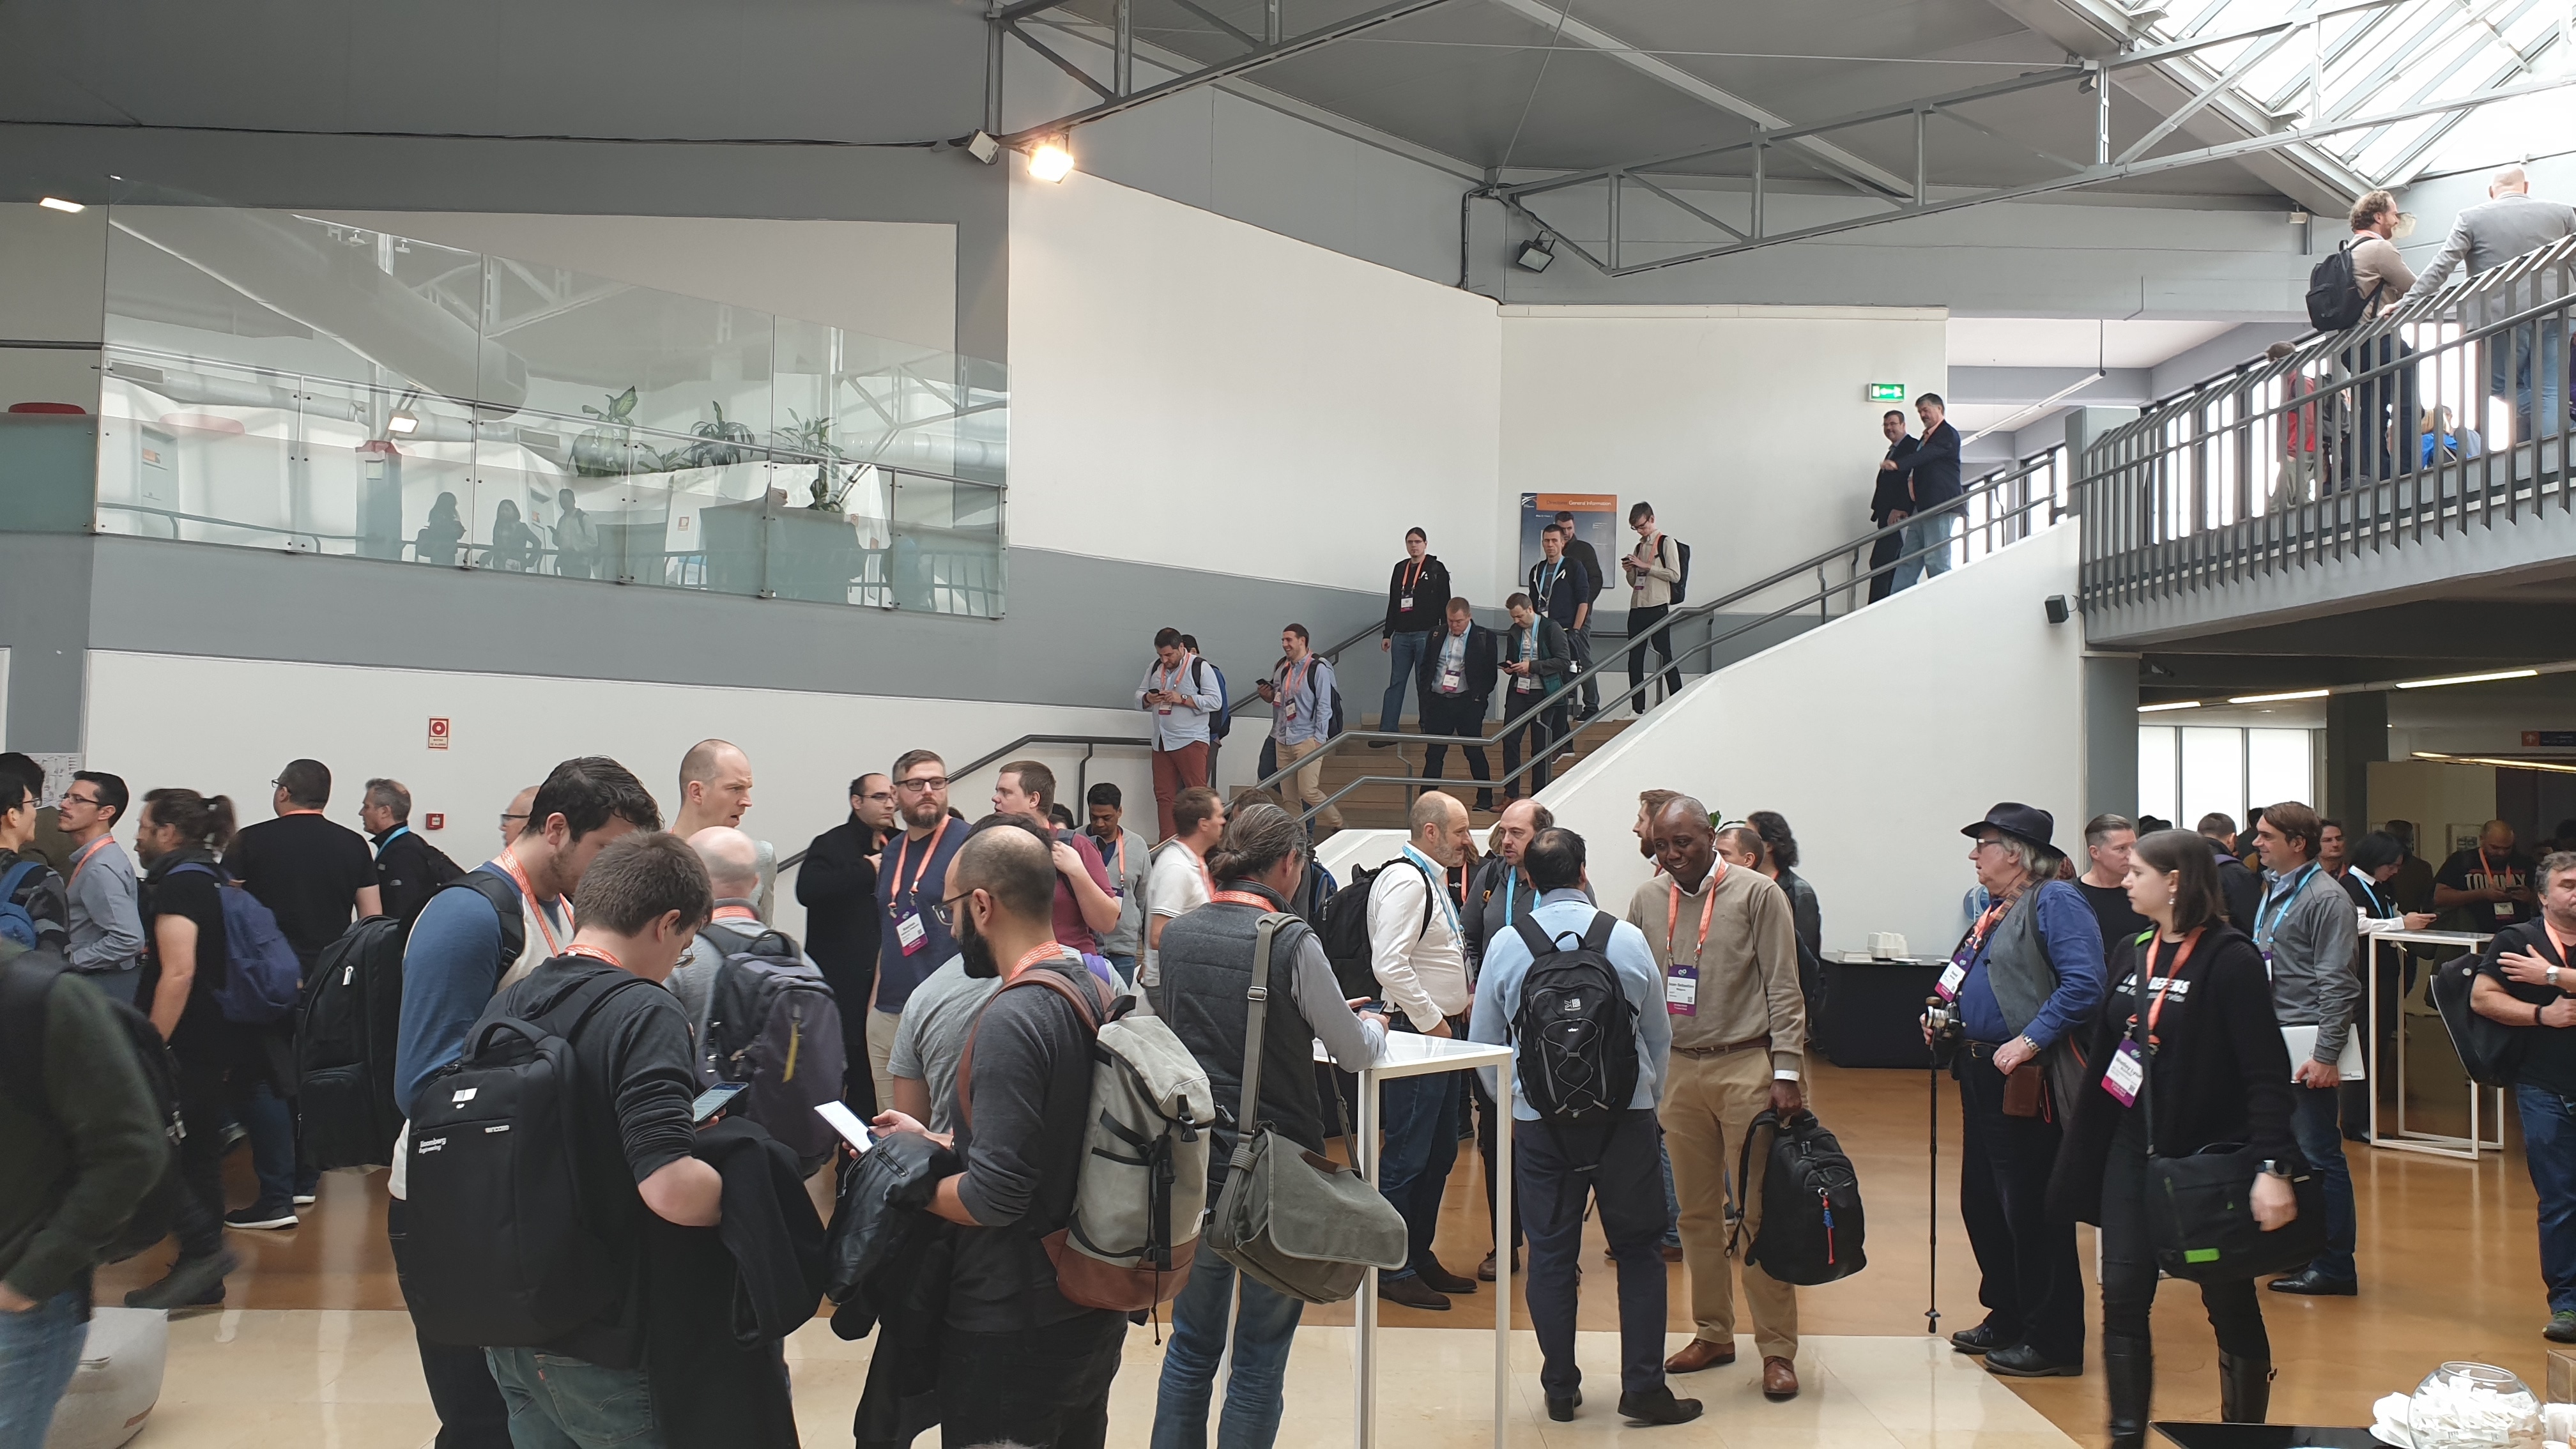
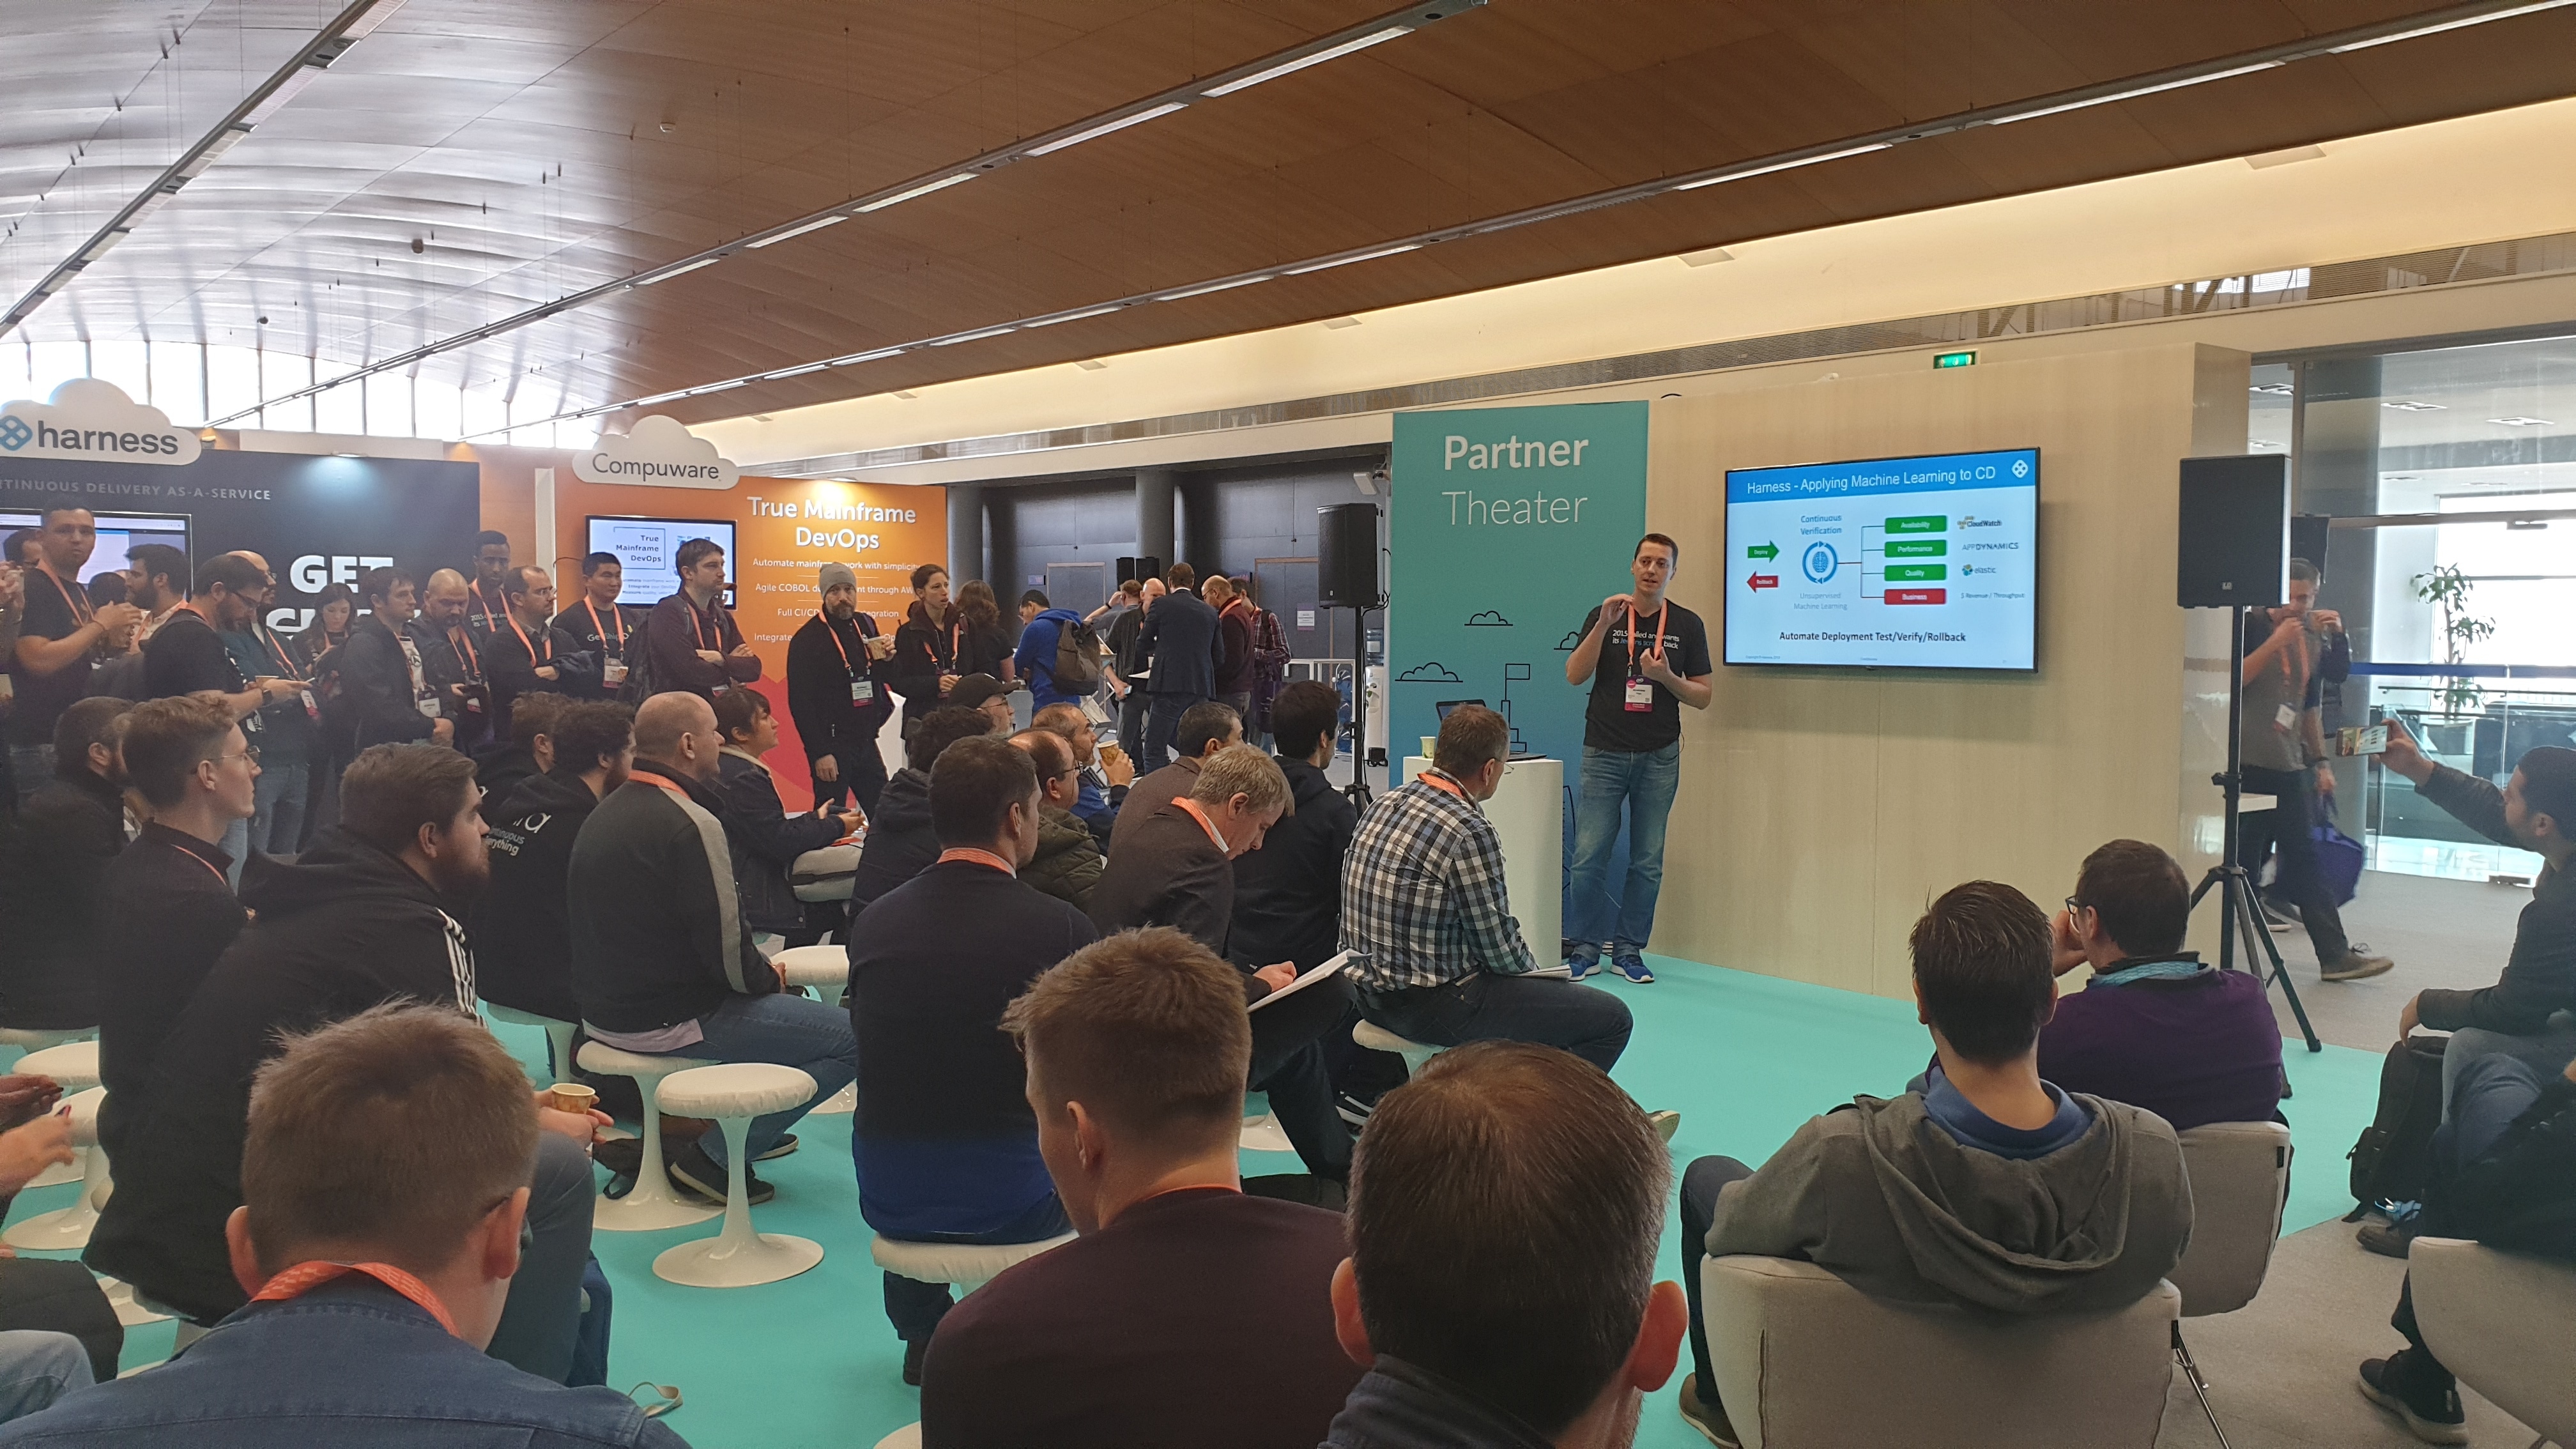
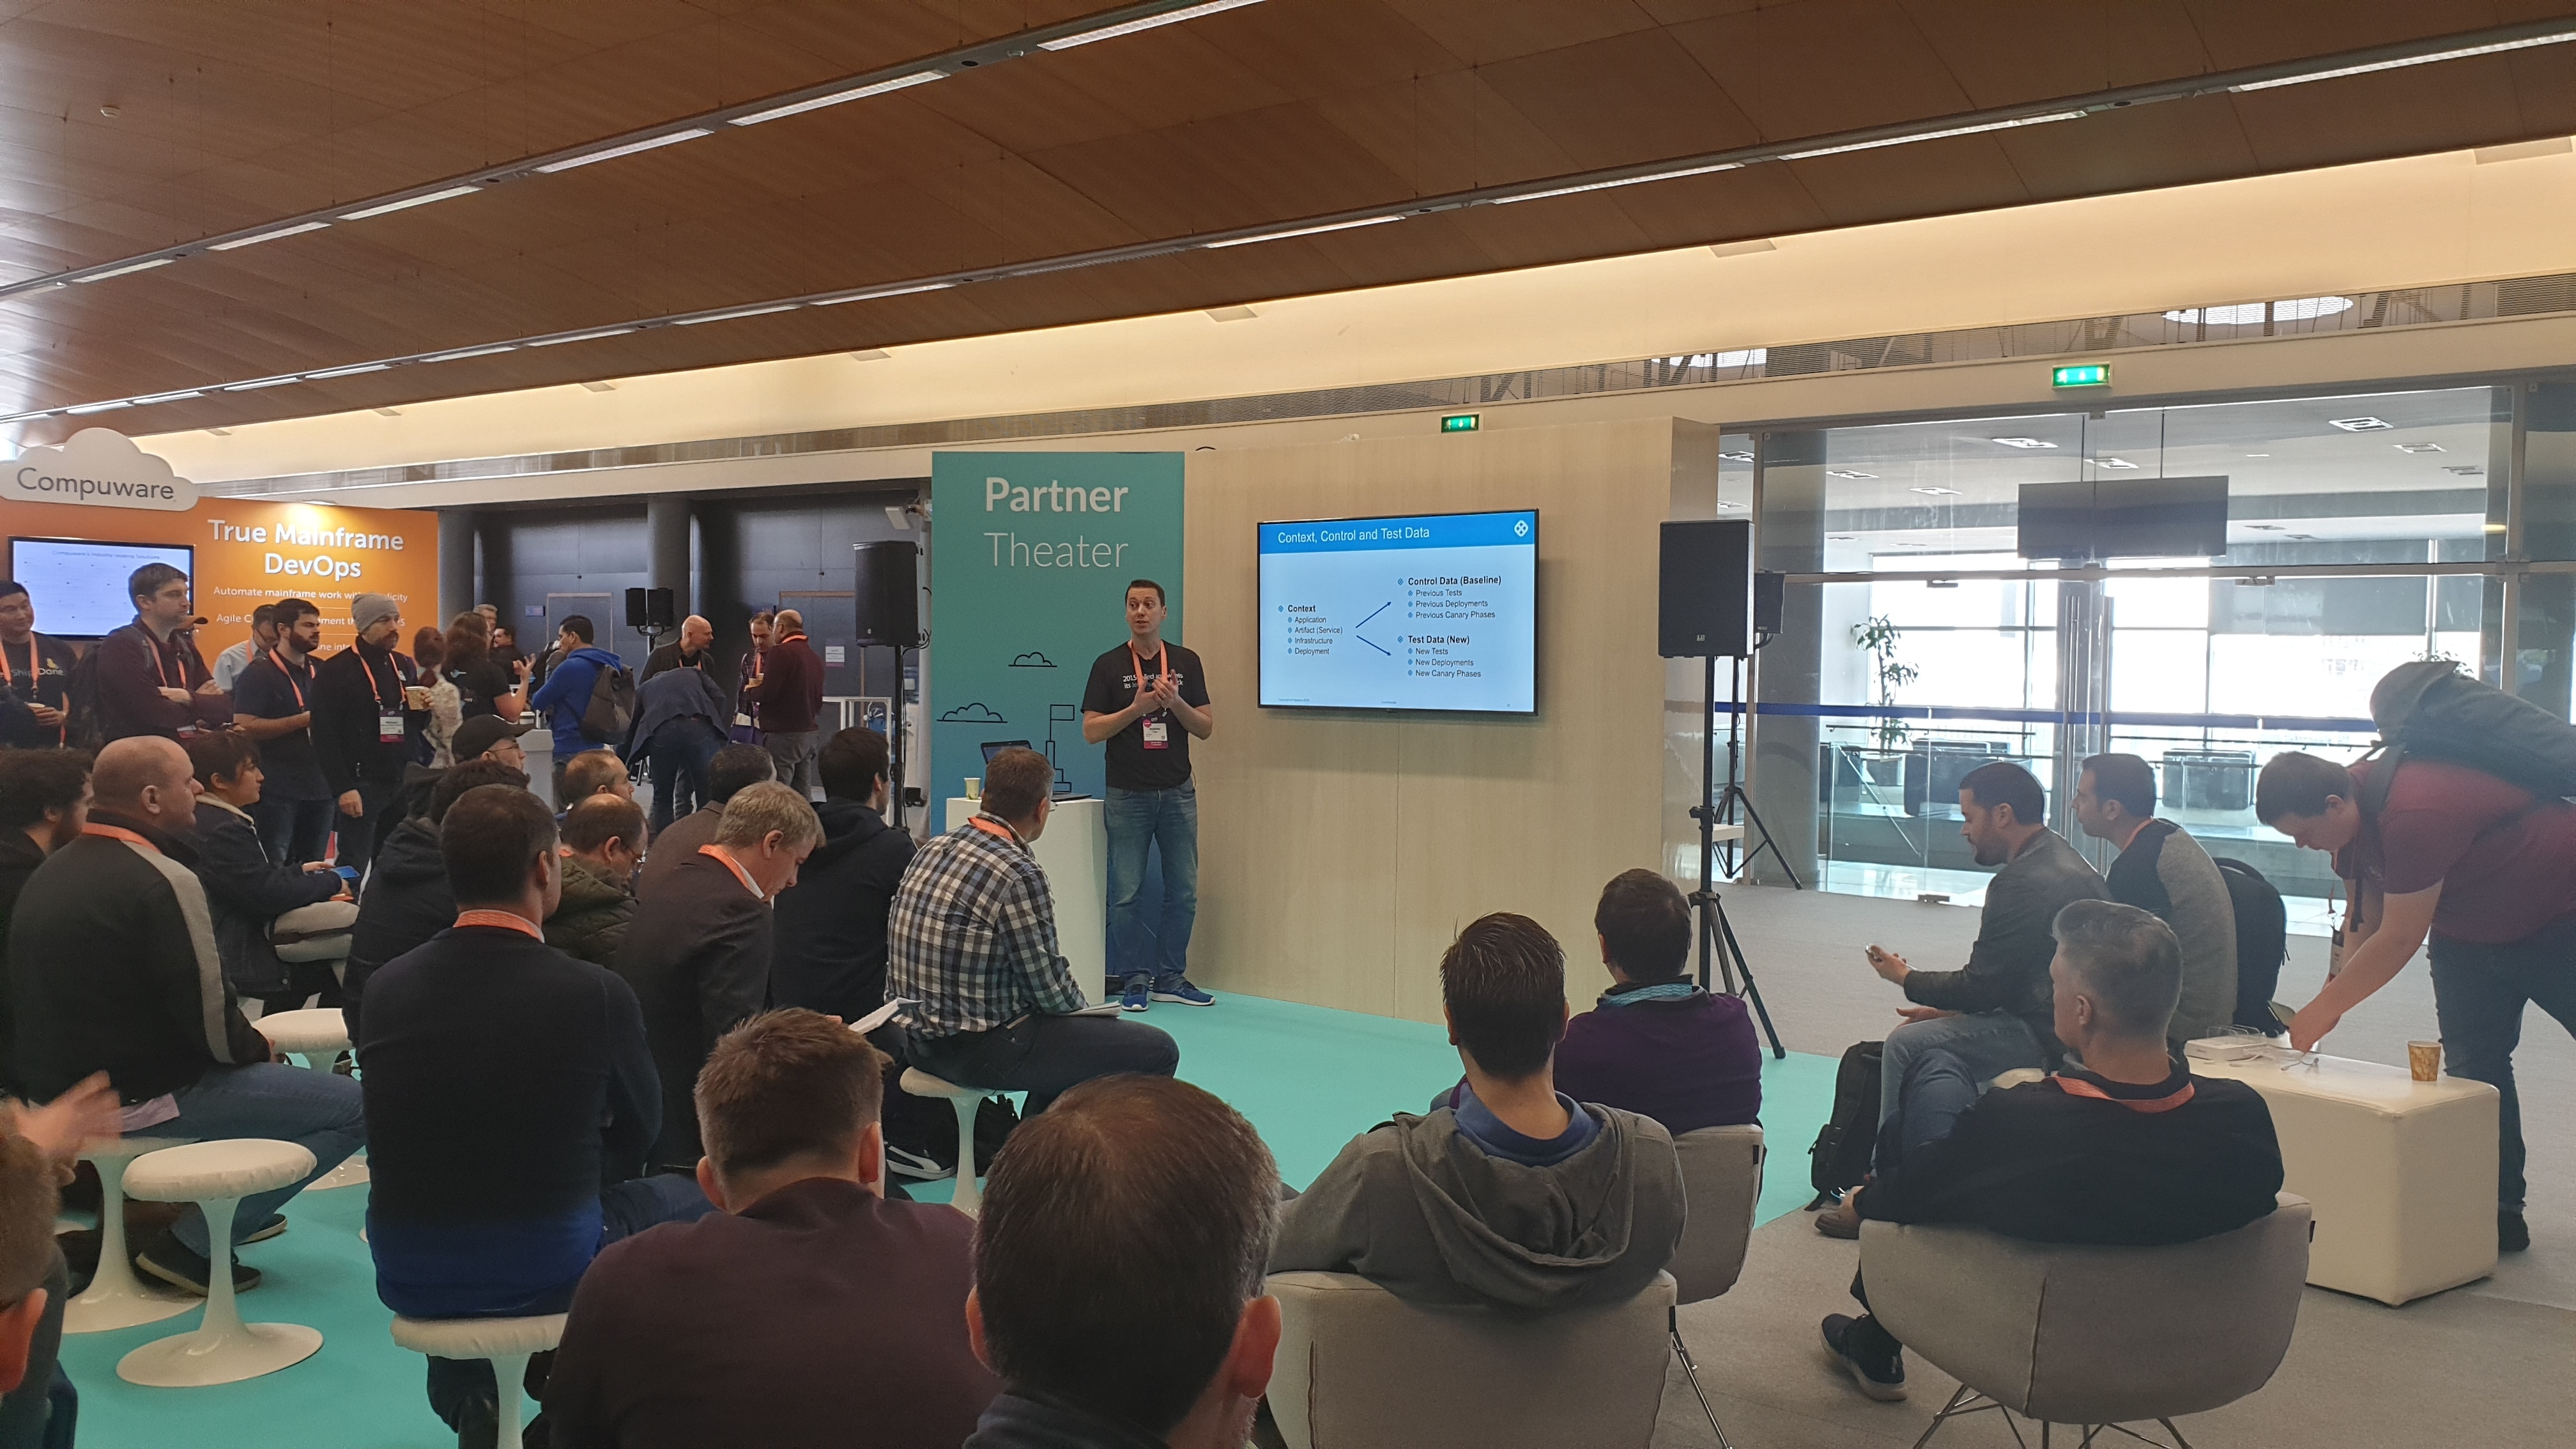
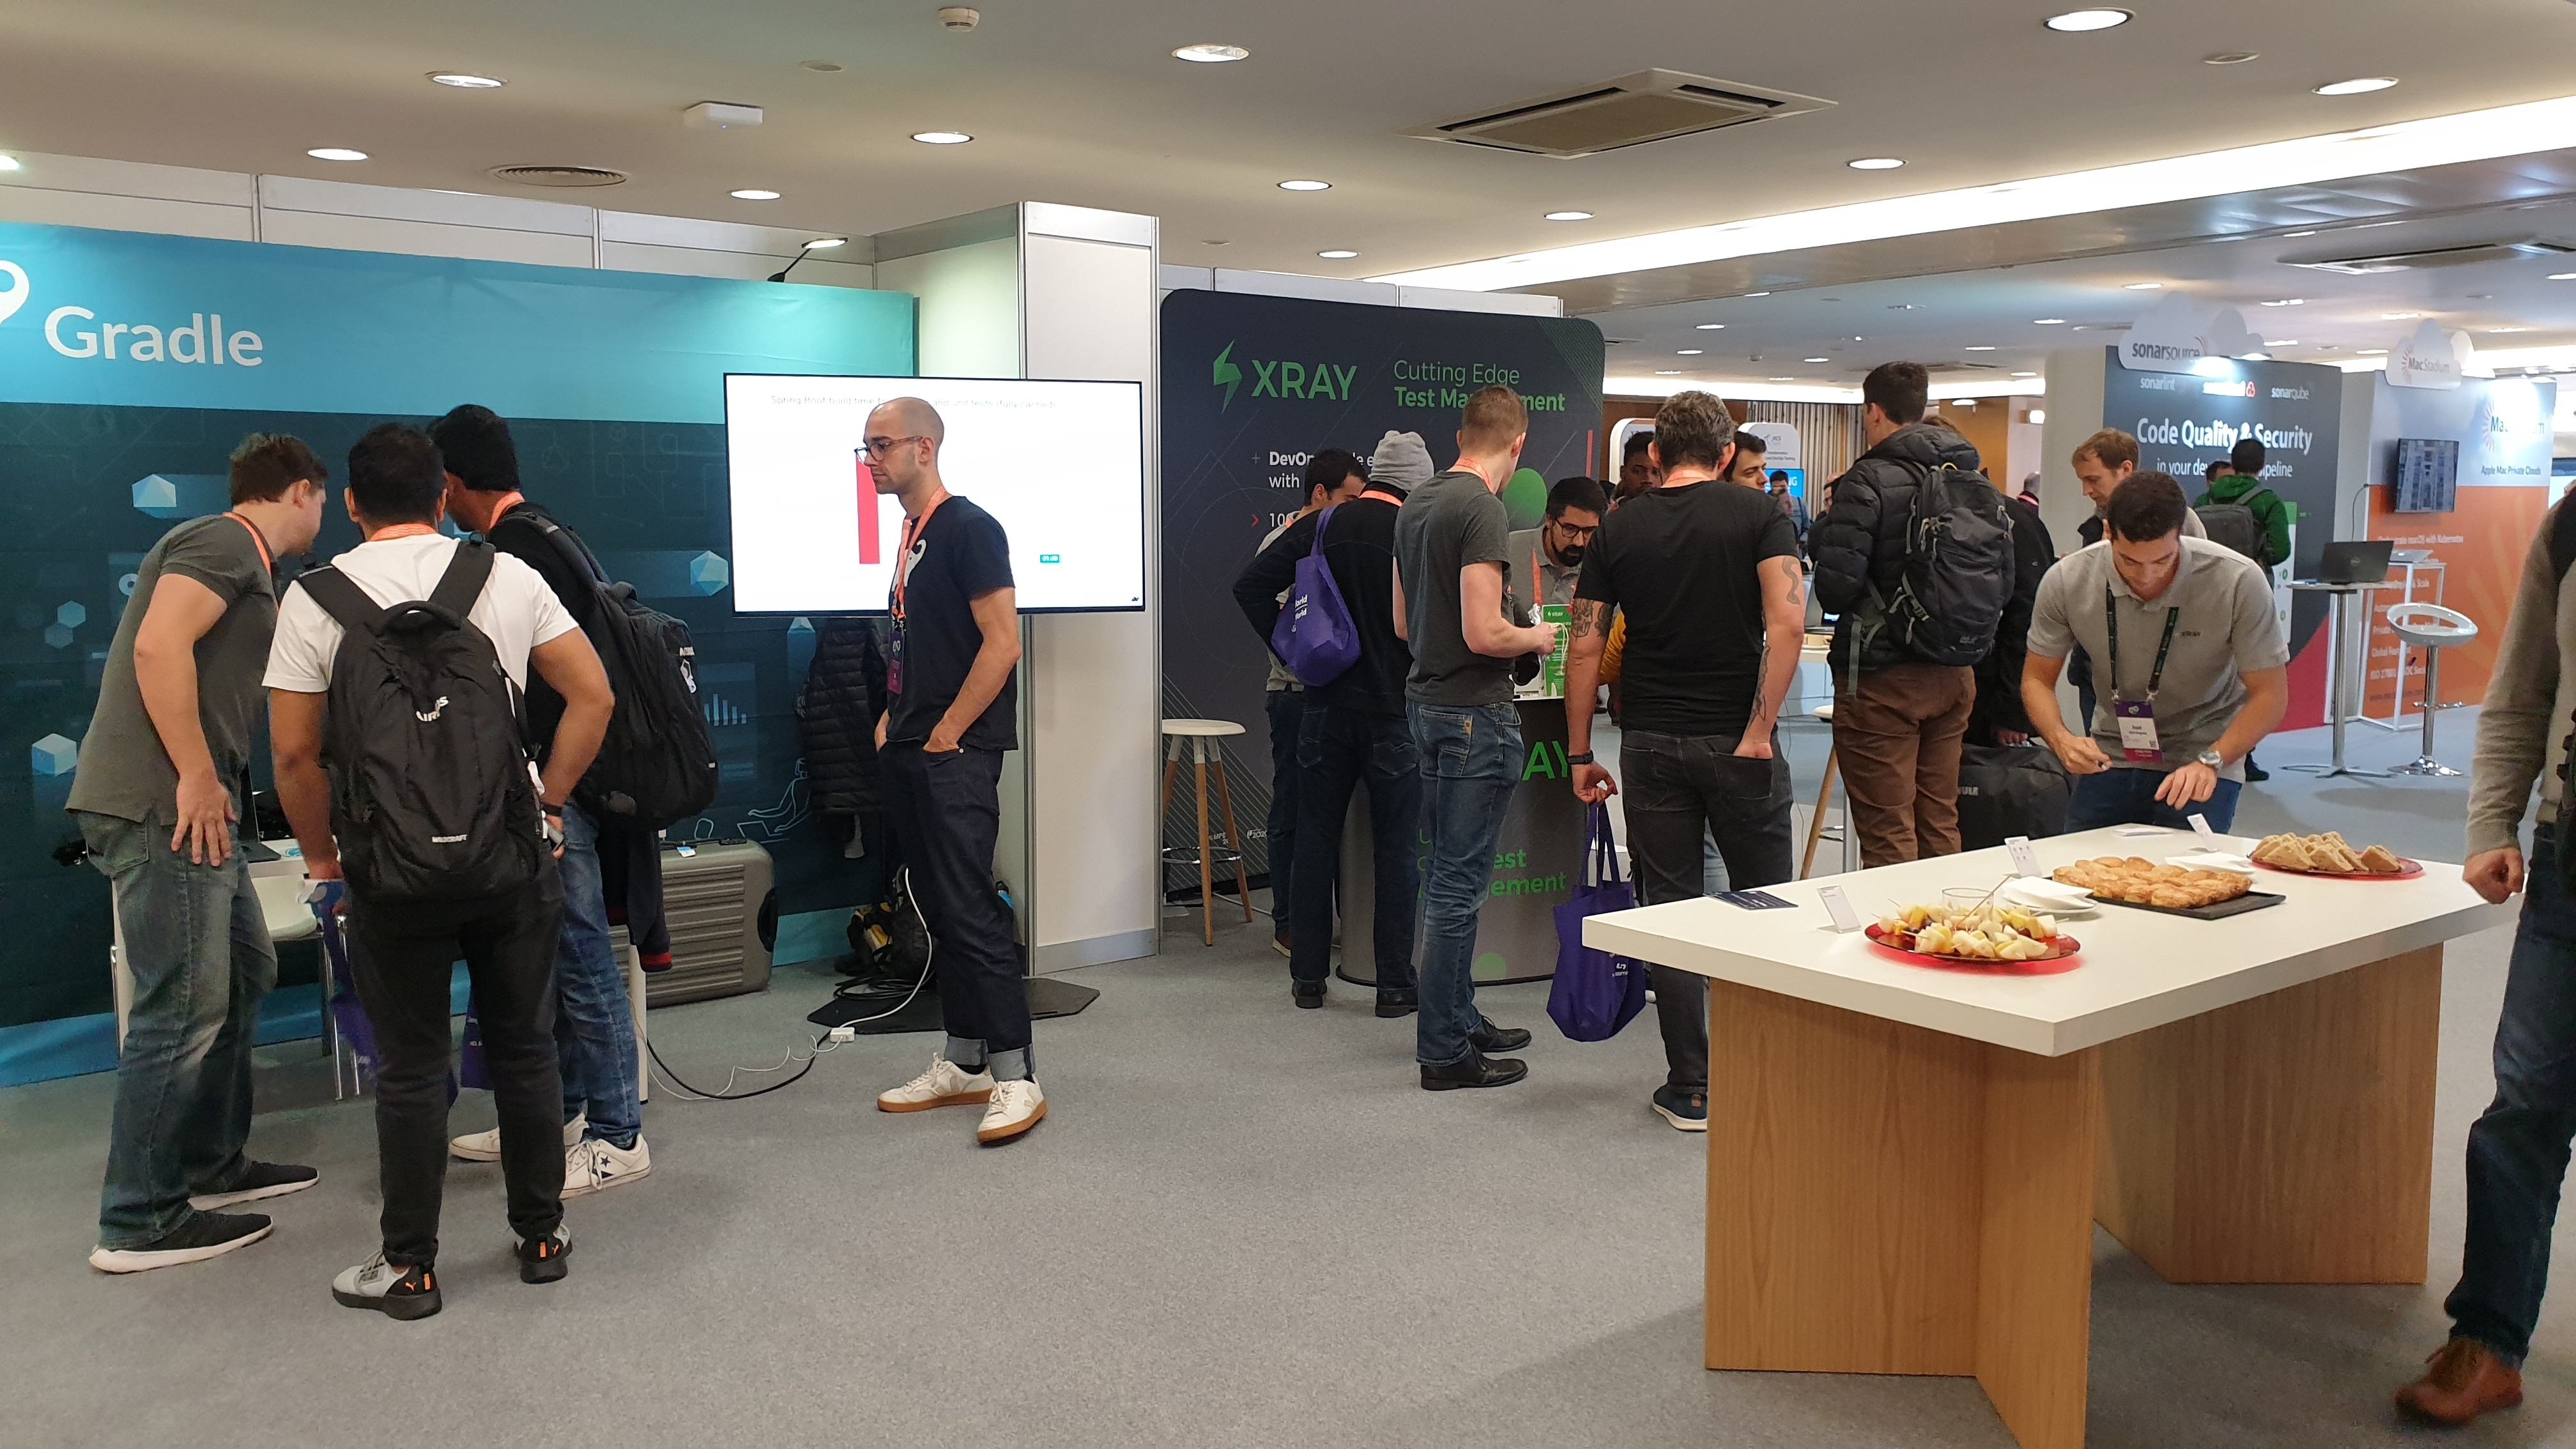
Below are the most important news that were presented and discussed in the DevOps World – Jenkins World 2019 conference.

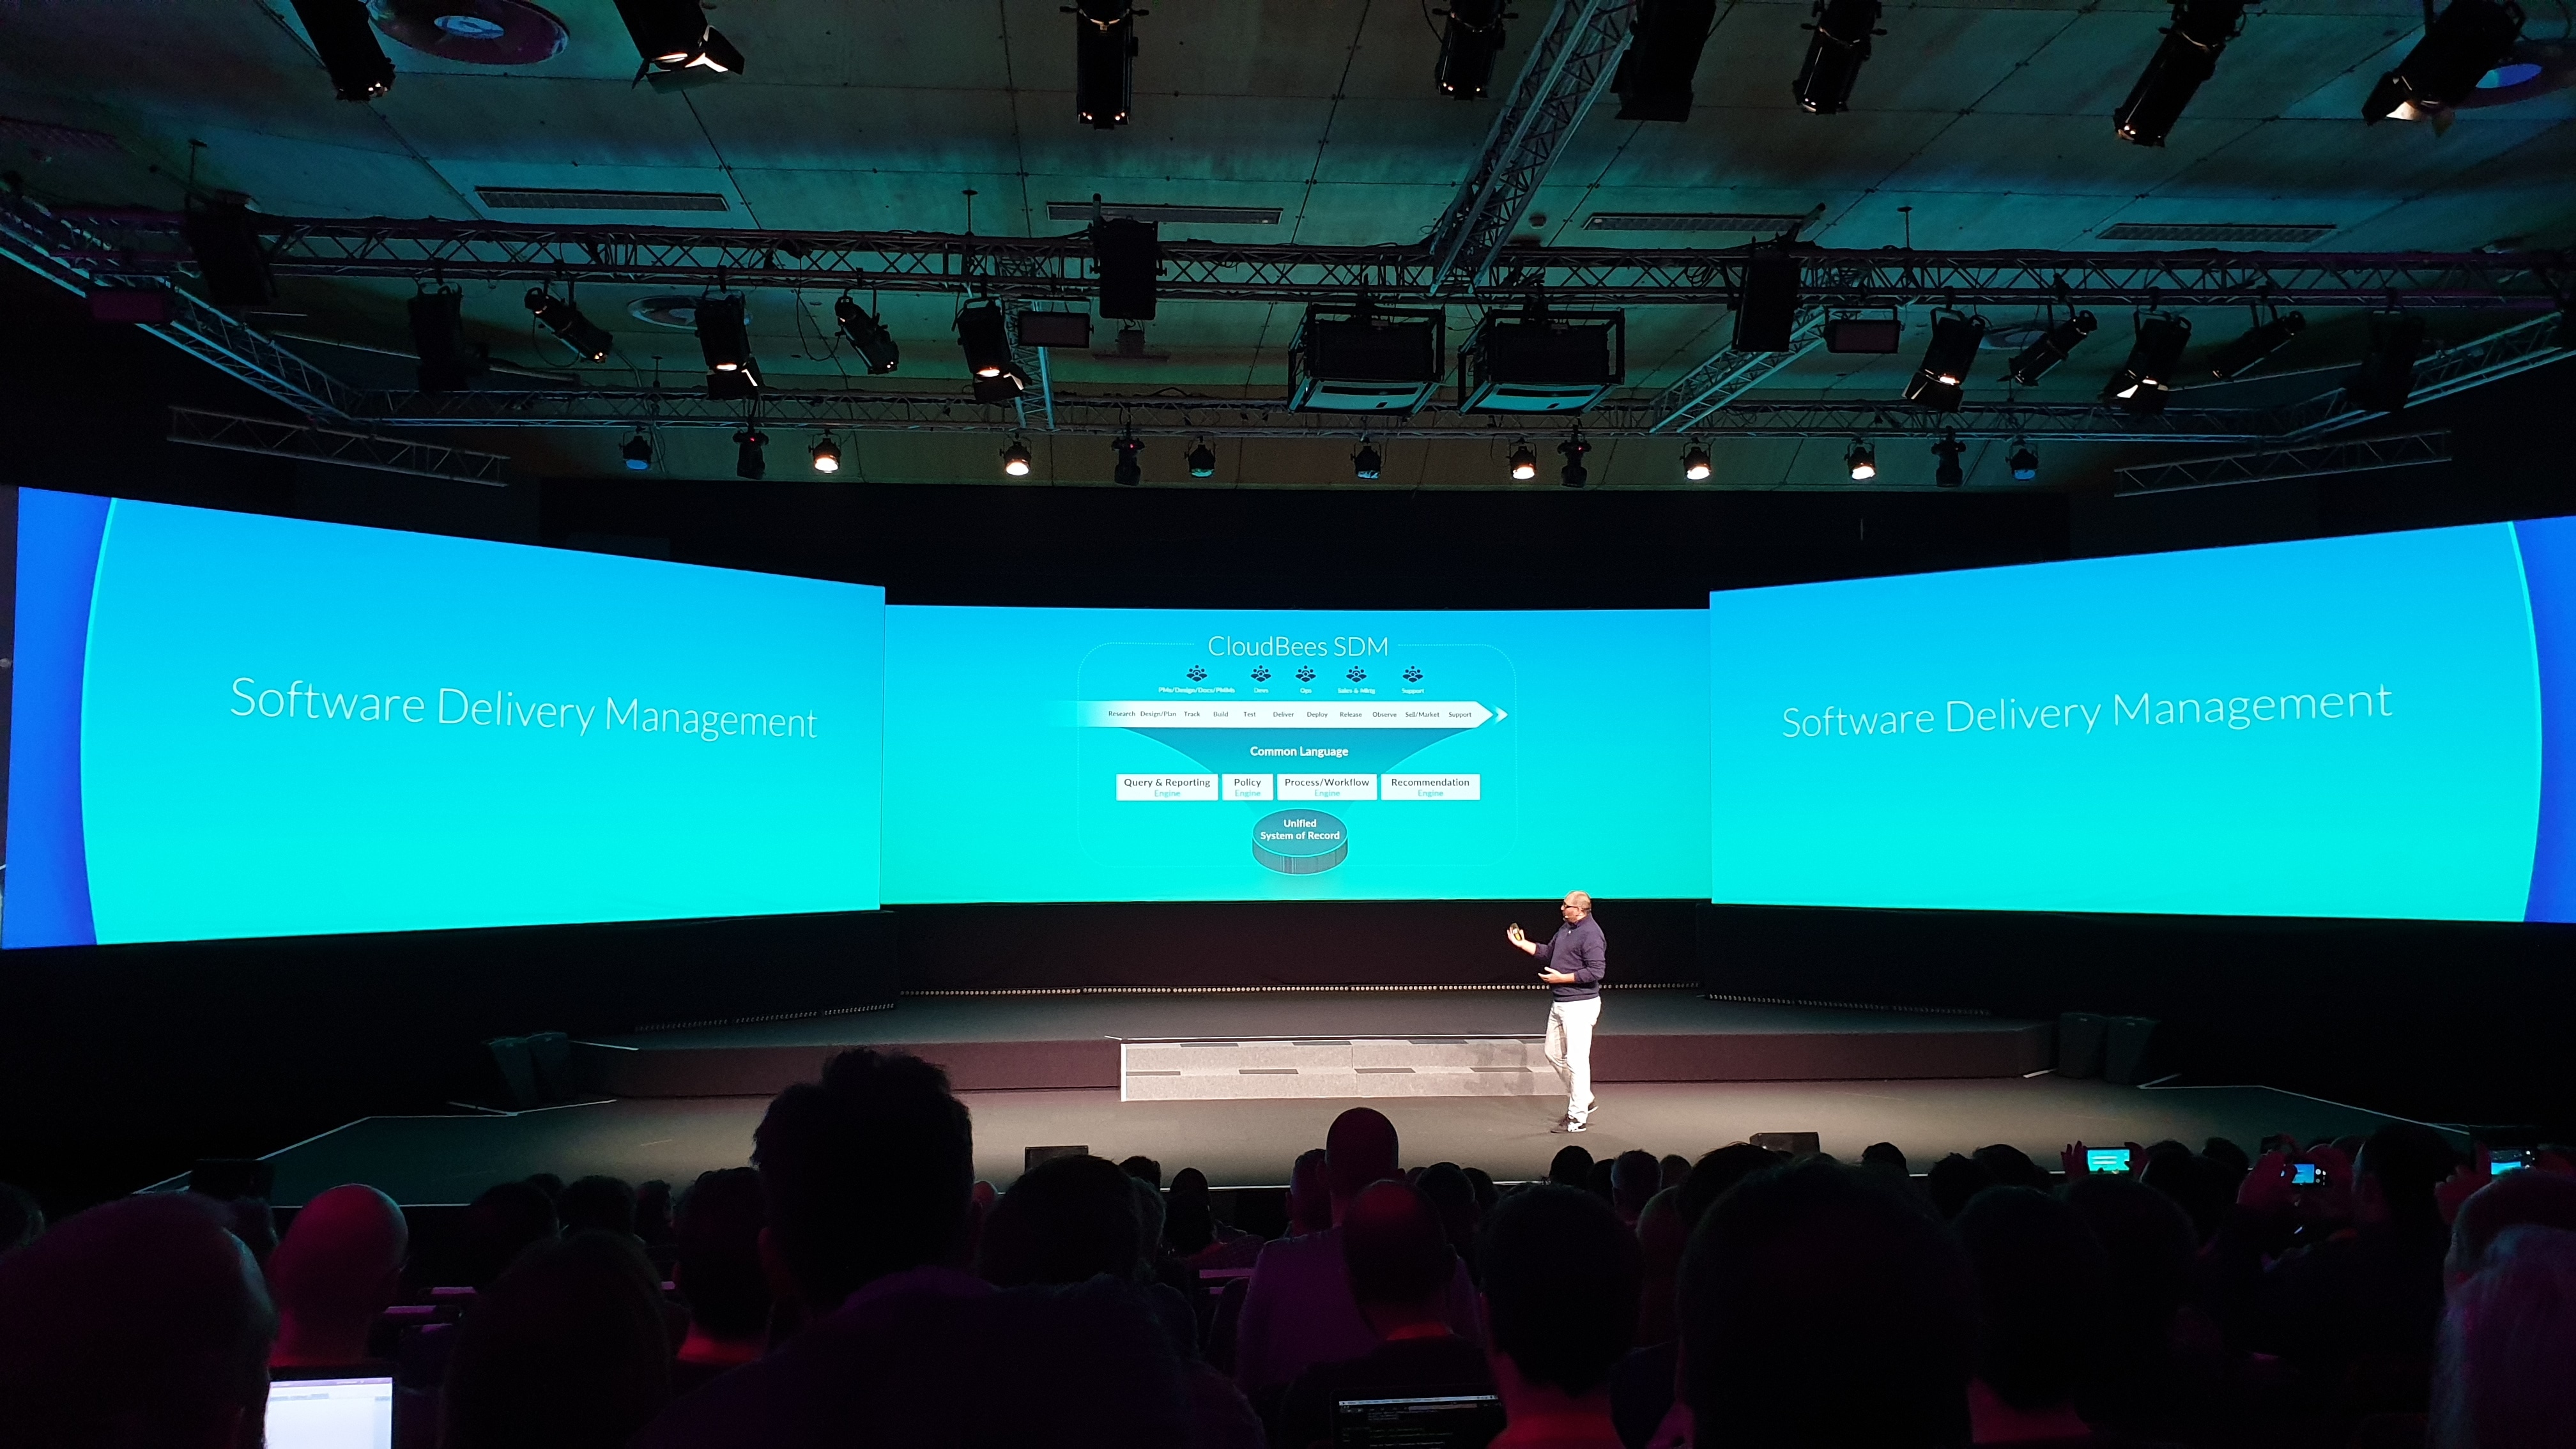
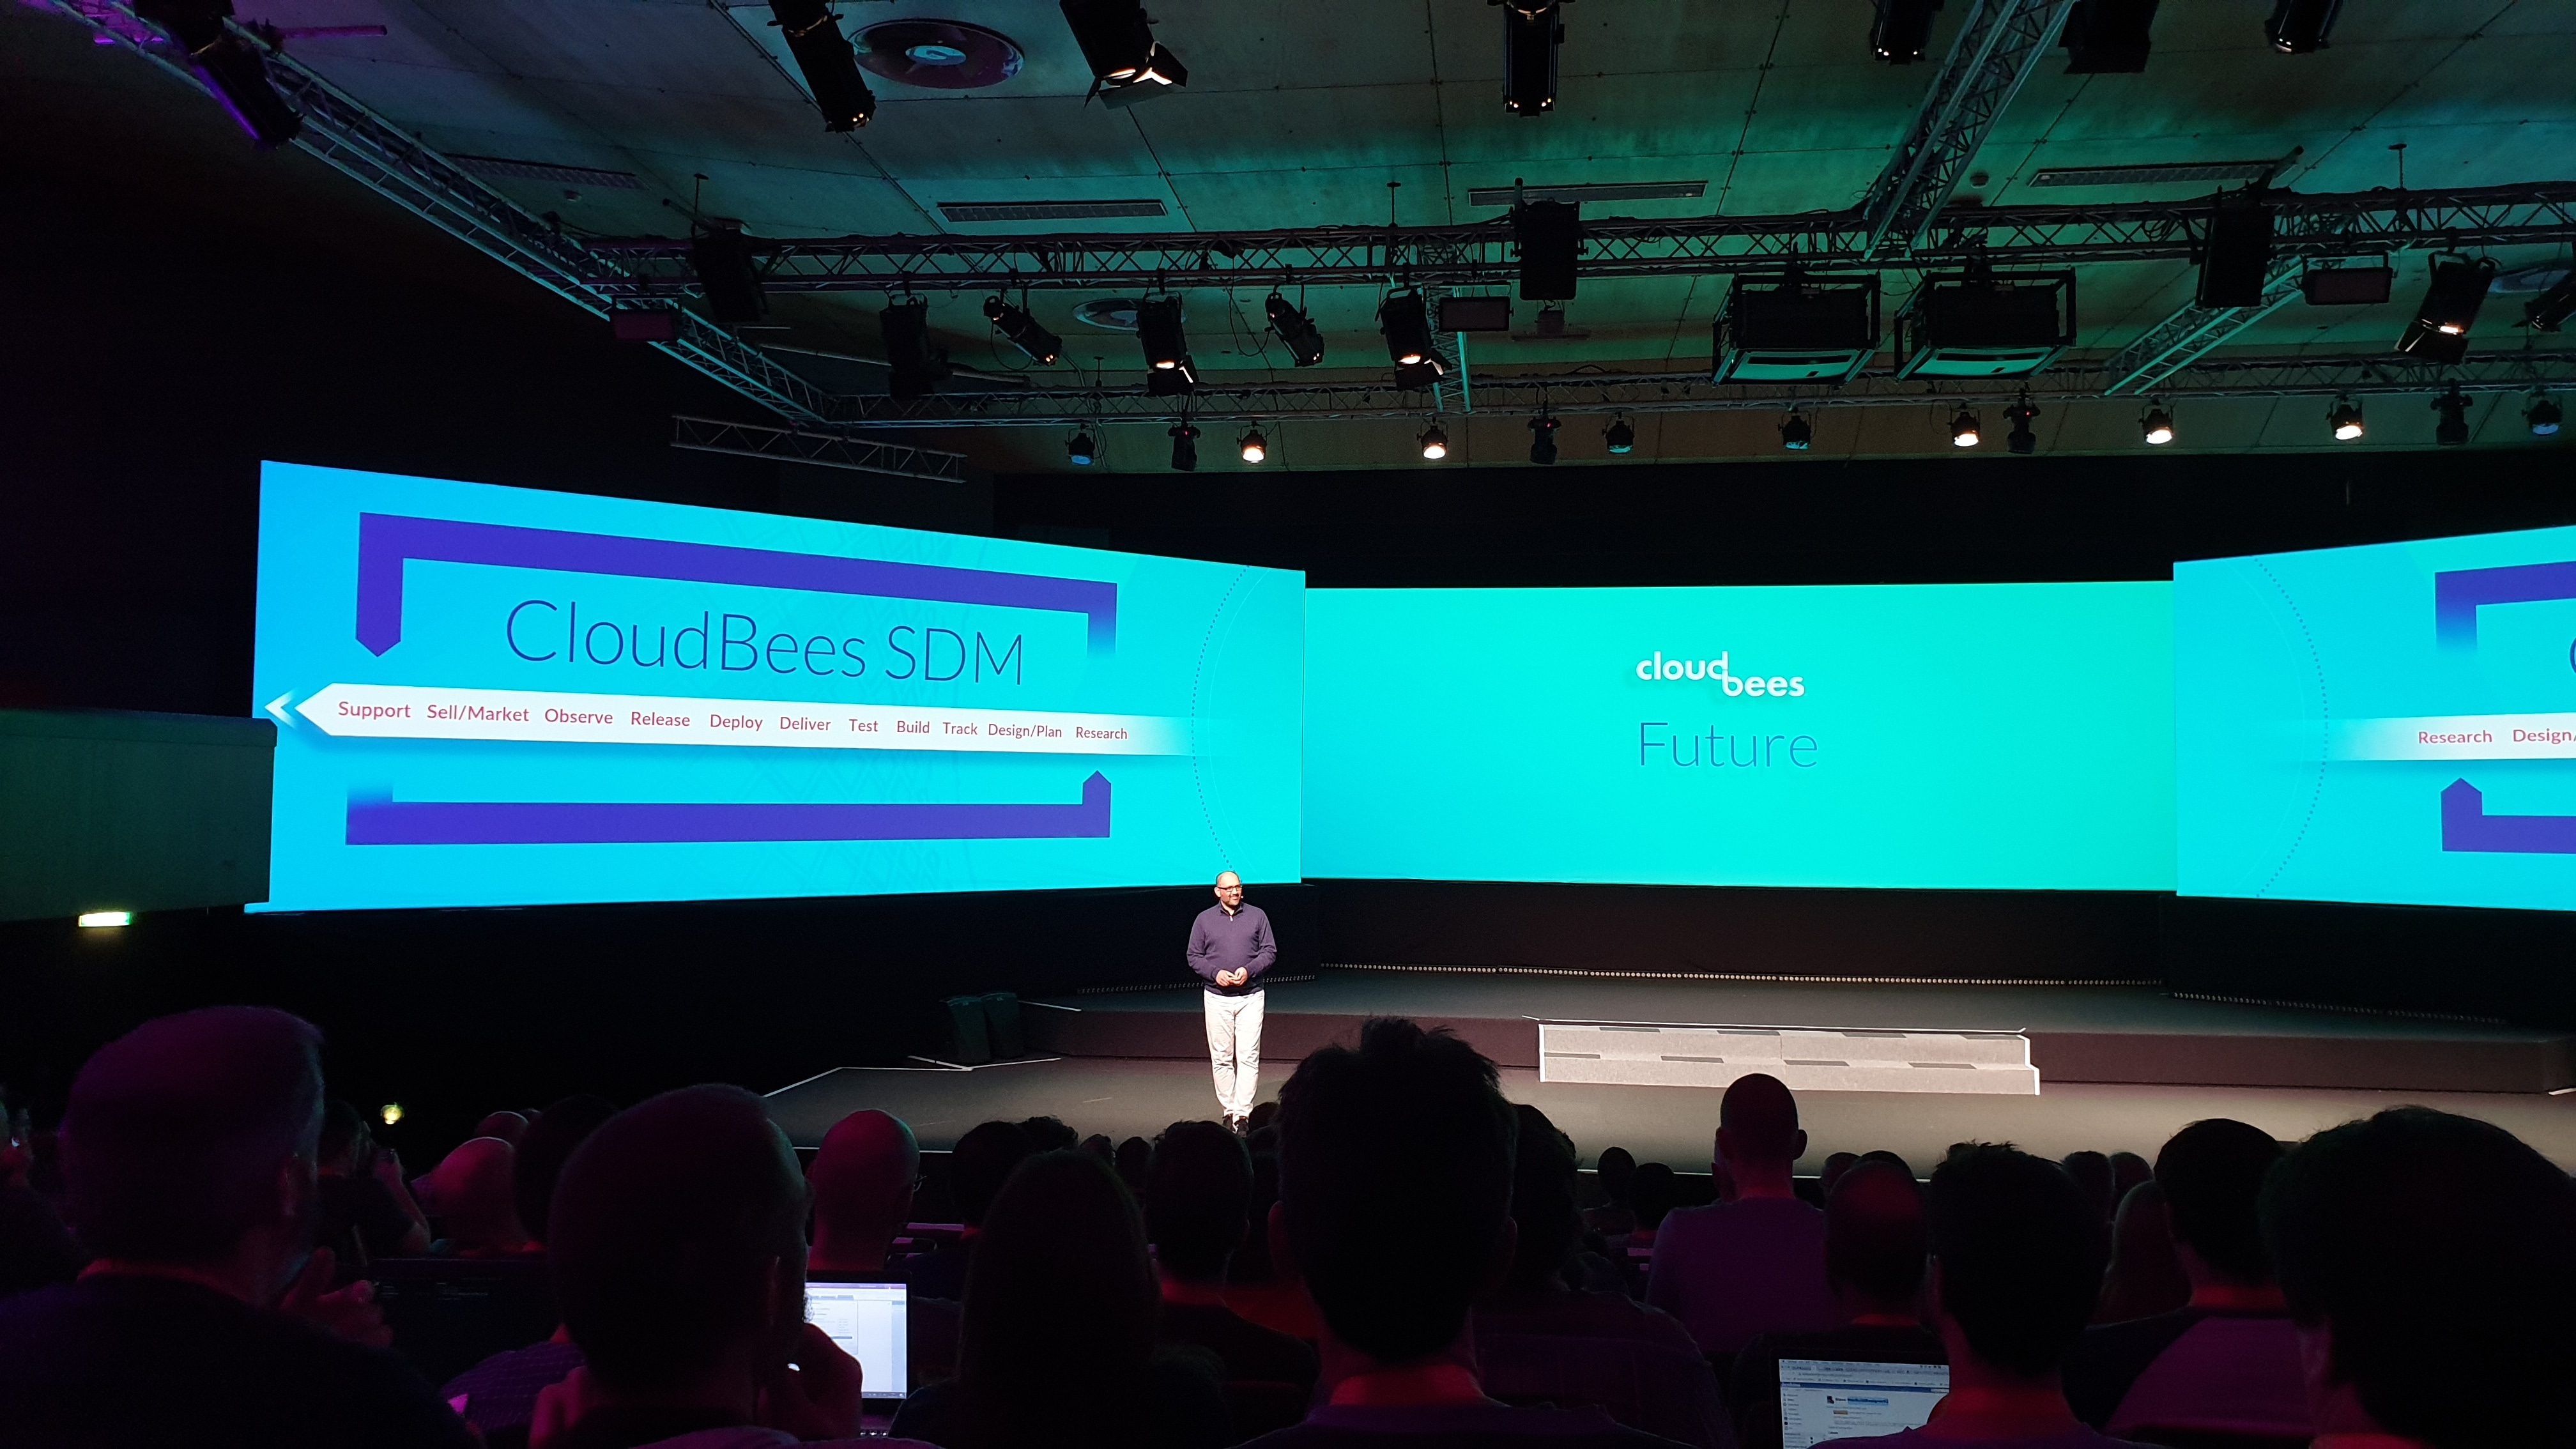
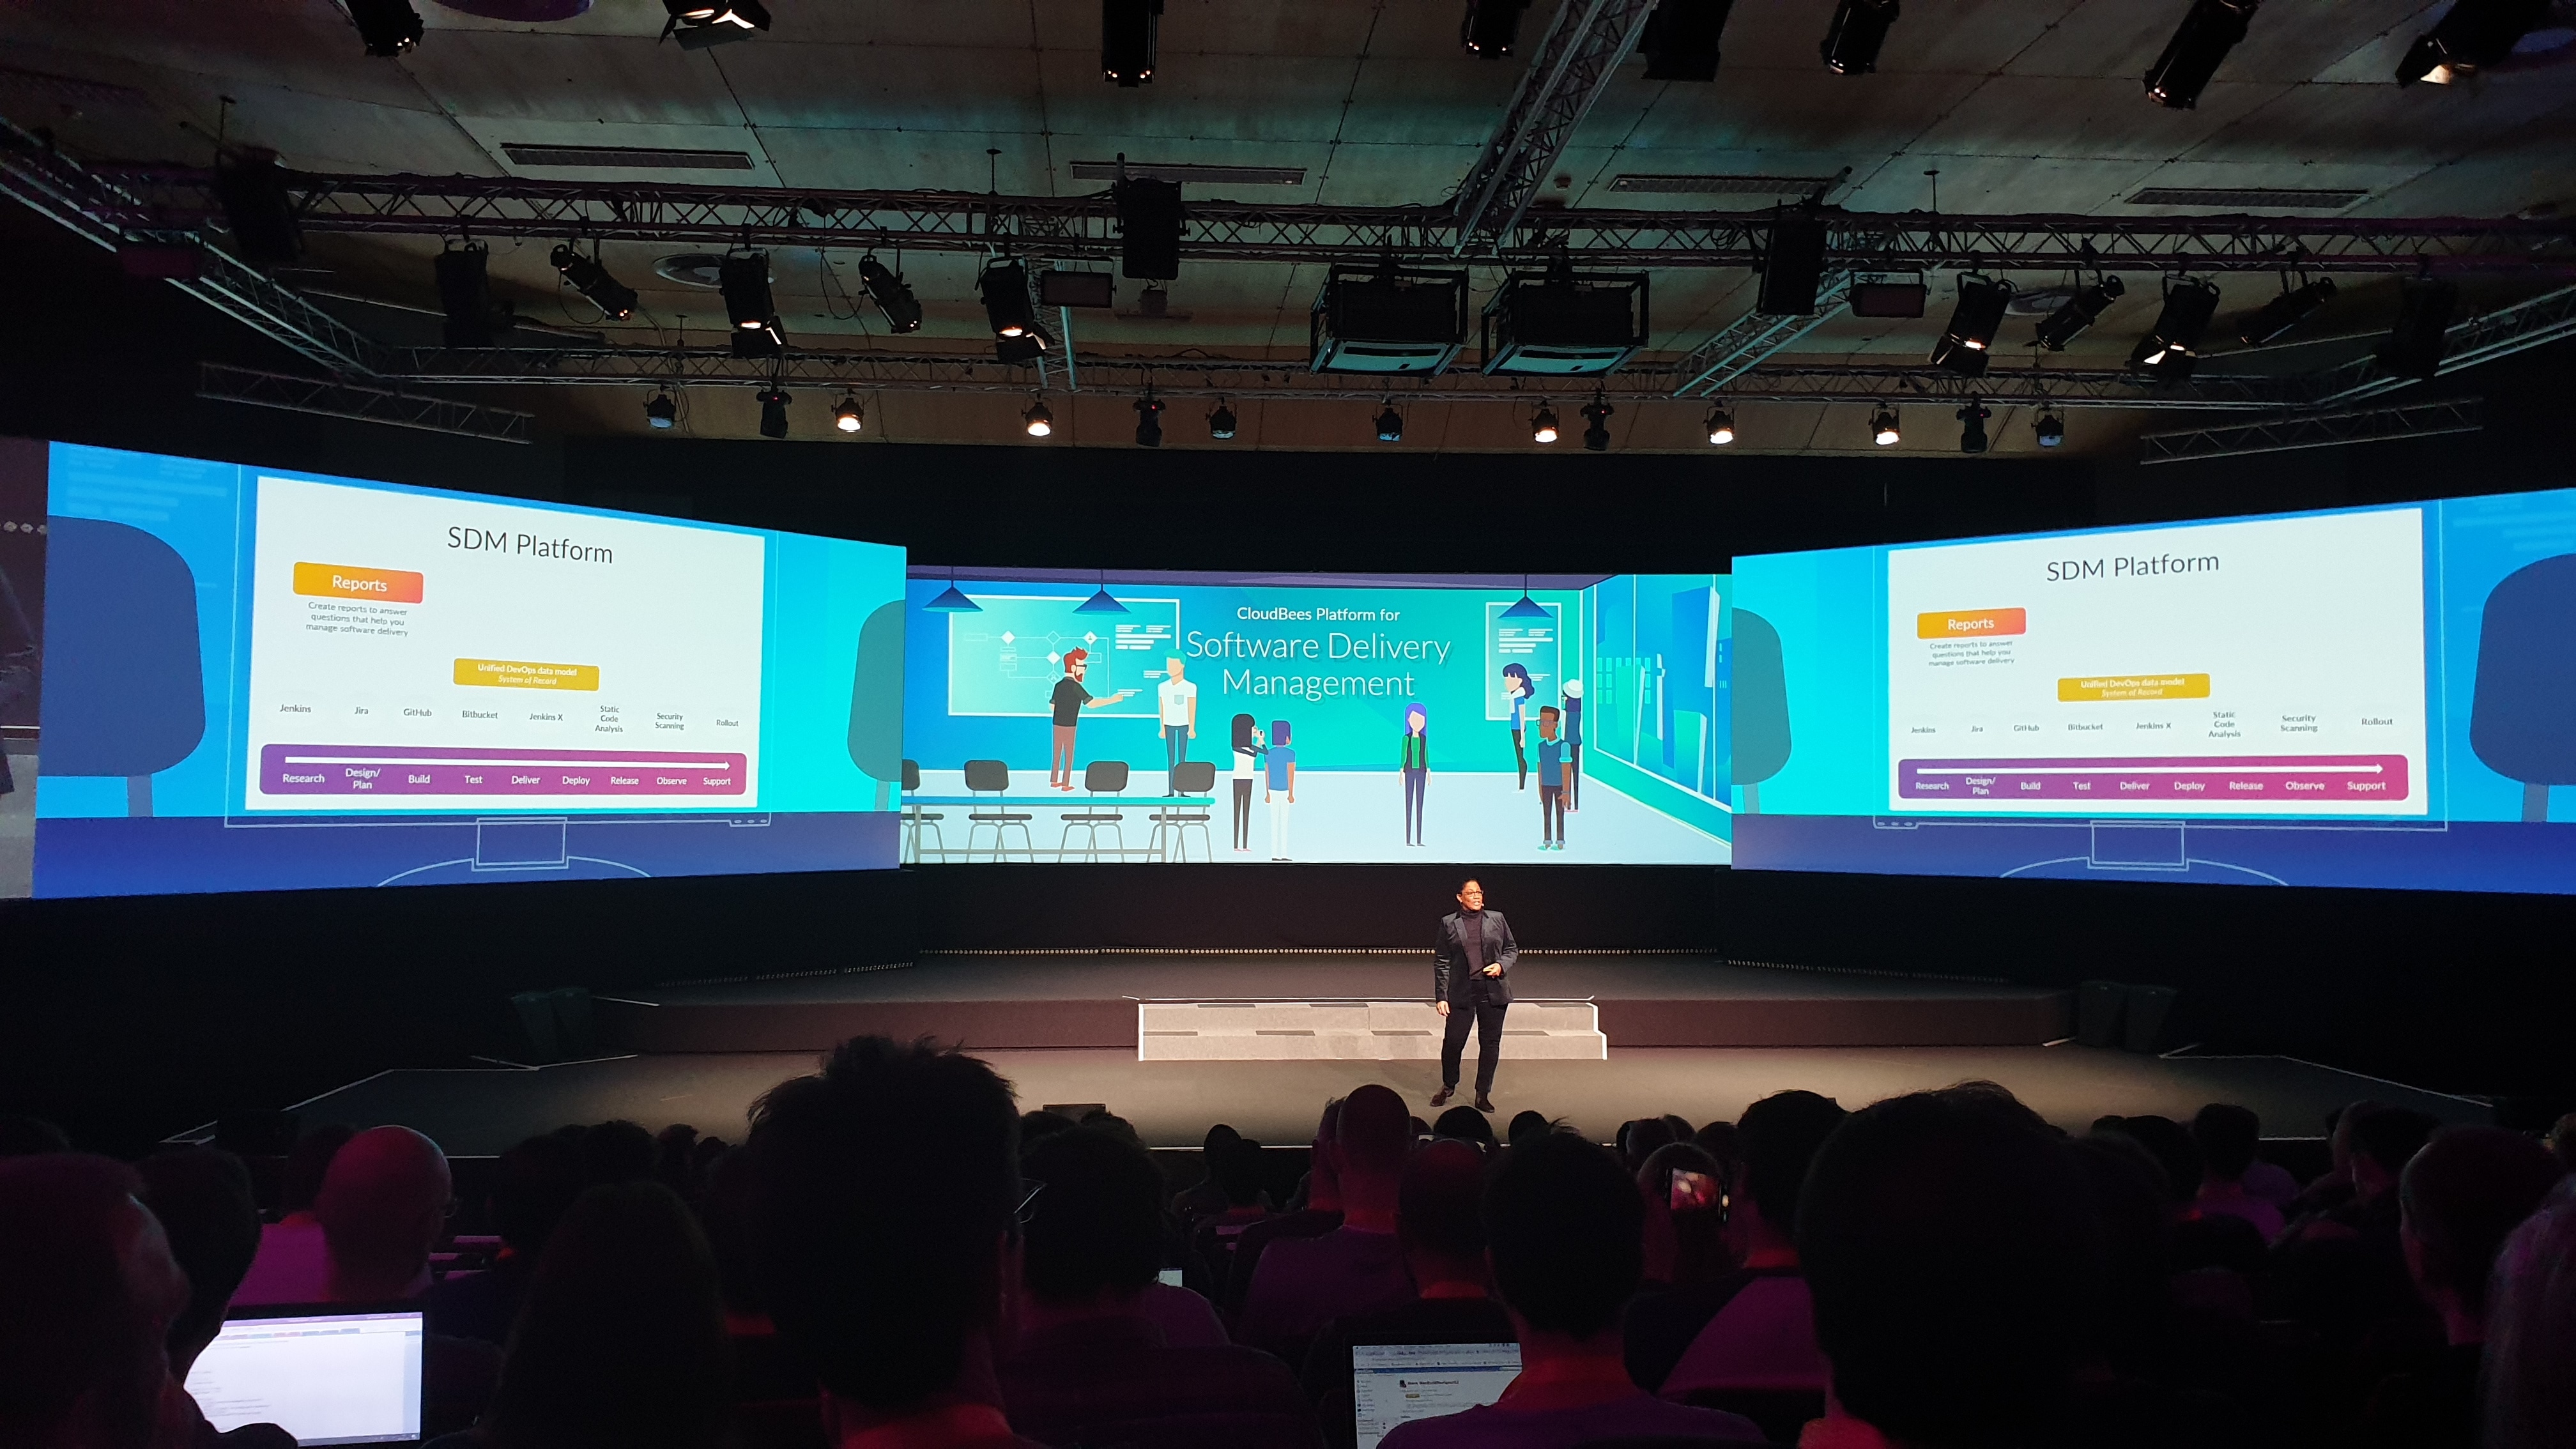
CloudBees SDM vision

As we know CI/CD processes bring together development and operations teams, as code should be integrated, tested and delivered continuously. The processes related to these teams have specific results but they also produce data for monitoring both the end product and the internal processes. But still there are teams disconnected, since delivery management of a product also includes other, very significant stages. On one hand we have the requirements gathering and management from the business perspective, that will be converted into more concrete requirements and user stories for the development teams. On the other hand we have the application release orchestration and its monitoring in terms of business benefits. With this array of tools, data and processes how can we ensure that value creation efforts create the maximum business impact?

CloudBees created one system called “Software Delivery Management” (SDM) with the vision of bi-directionally connecting all artifacts and data across an organization’s DevOps toolchain. Doing so, enables meaningful collaboration between all teams through universal insights, common connected processes, workflows and governance to truly develop and deliver software at an elite level. The main characteristics of SDM are:

  • common data, where information is captured as consistent models
  • visibility and insights enable continuous learning from all data in the organization
  • common connected processes to orchestrate delivery
  • all functions and teams within and around the software delivery organization work together to amplify value

You can signup for the CloudBees solution in SDM preview program.

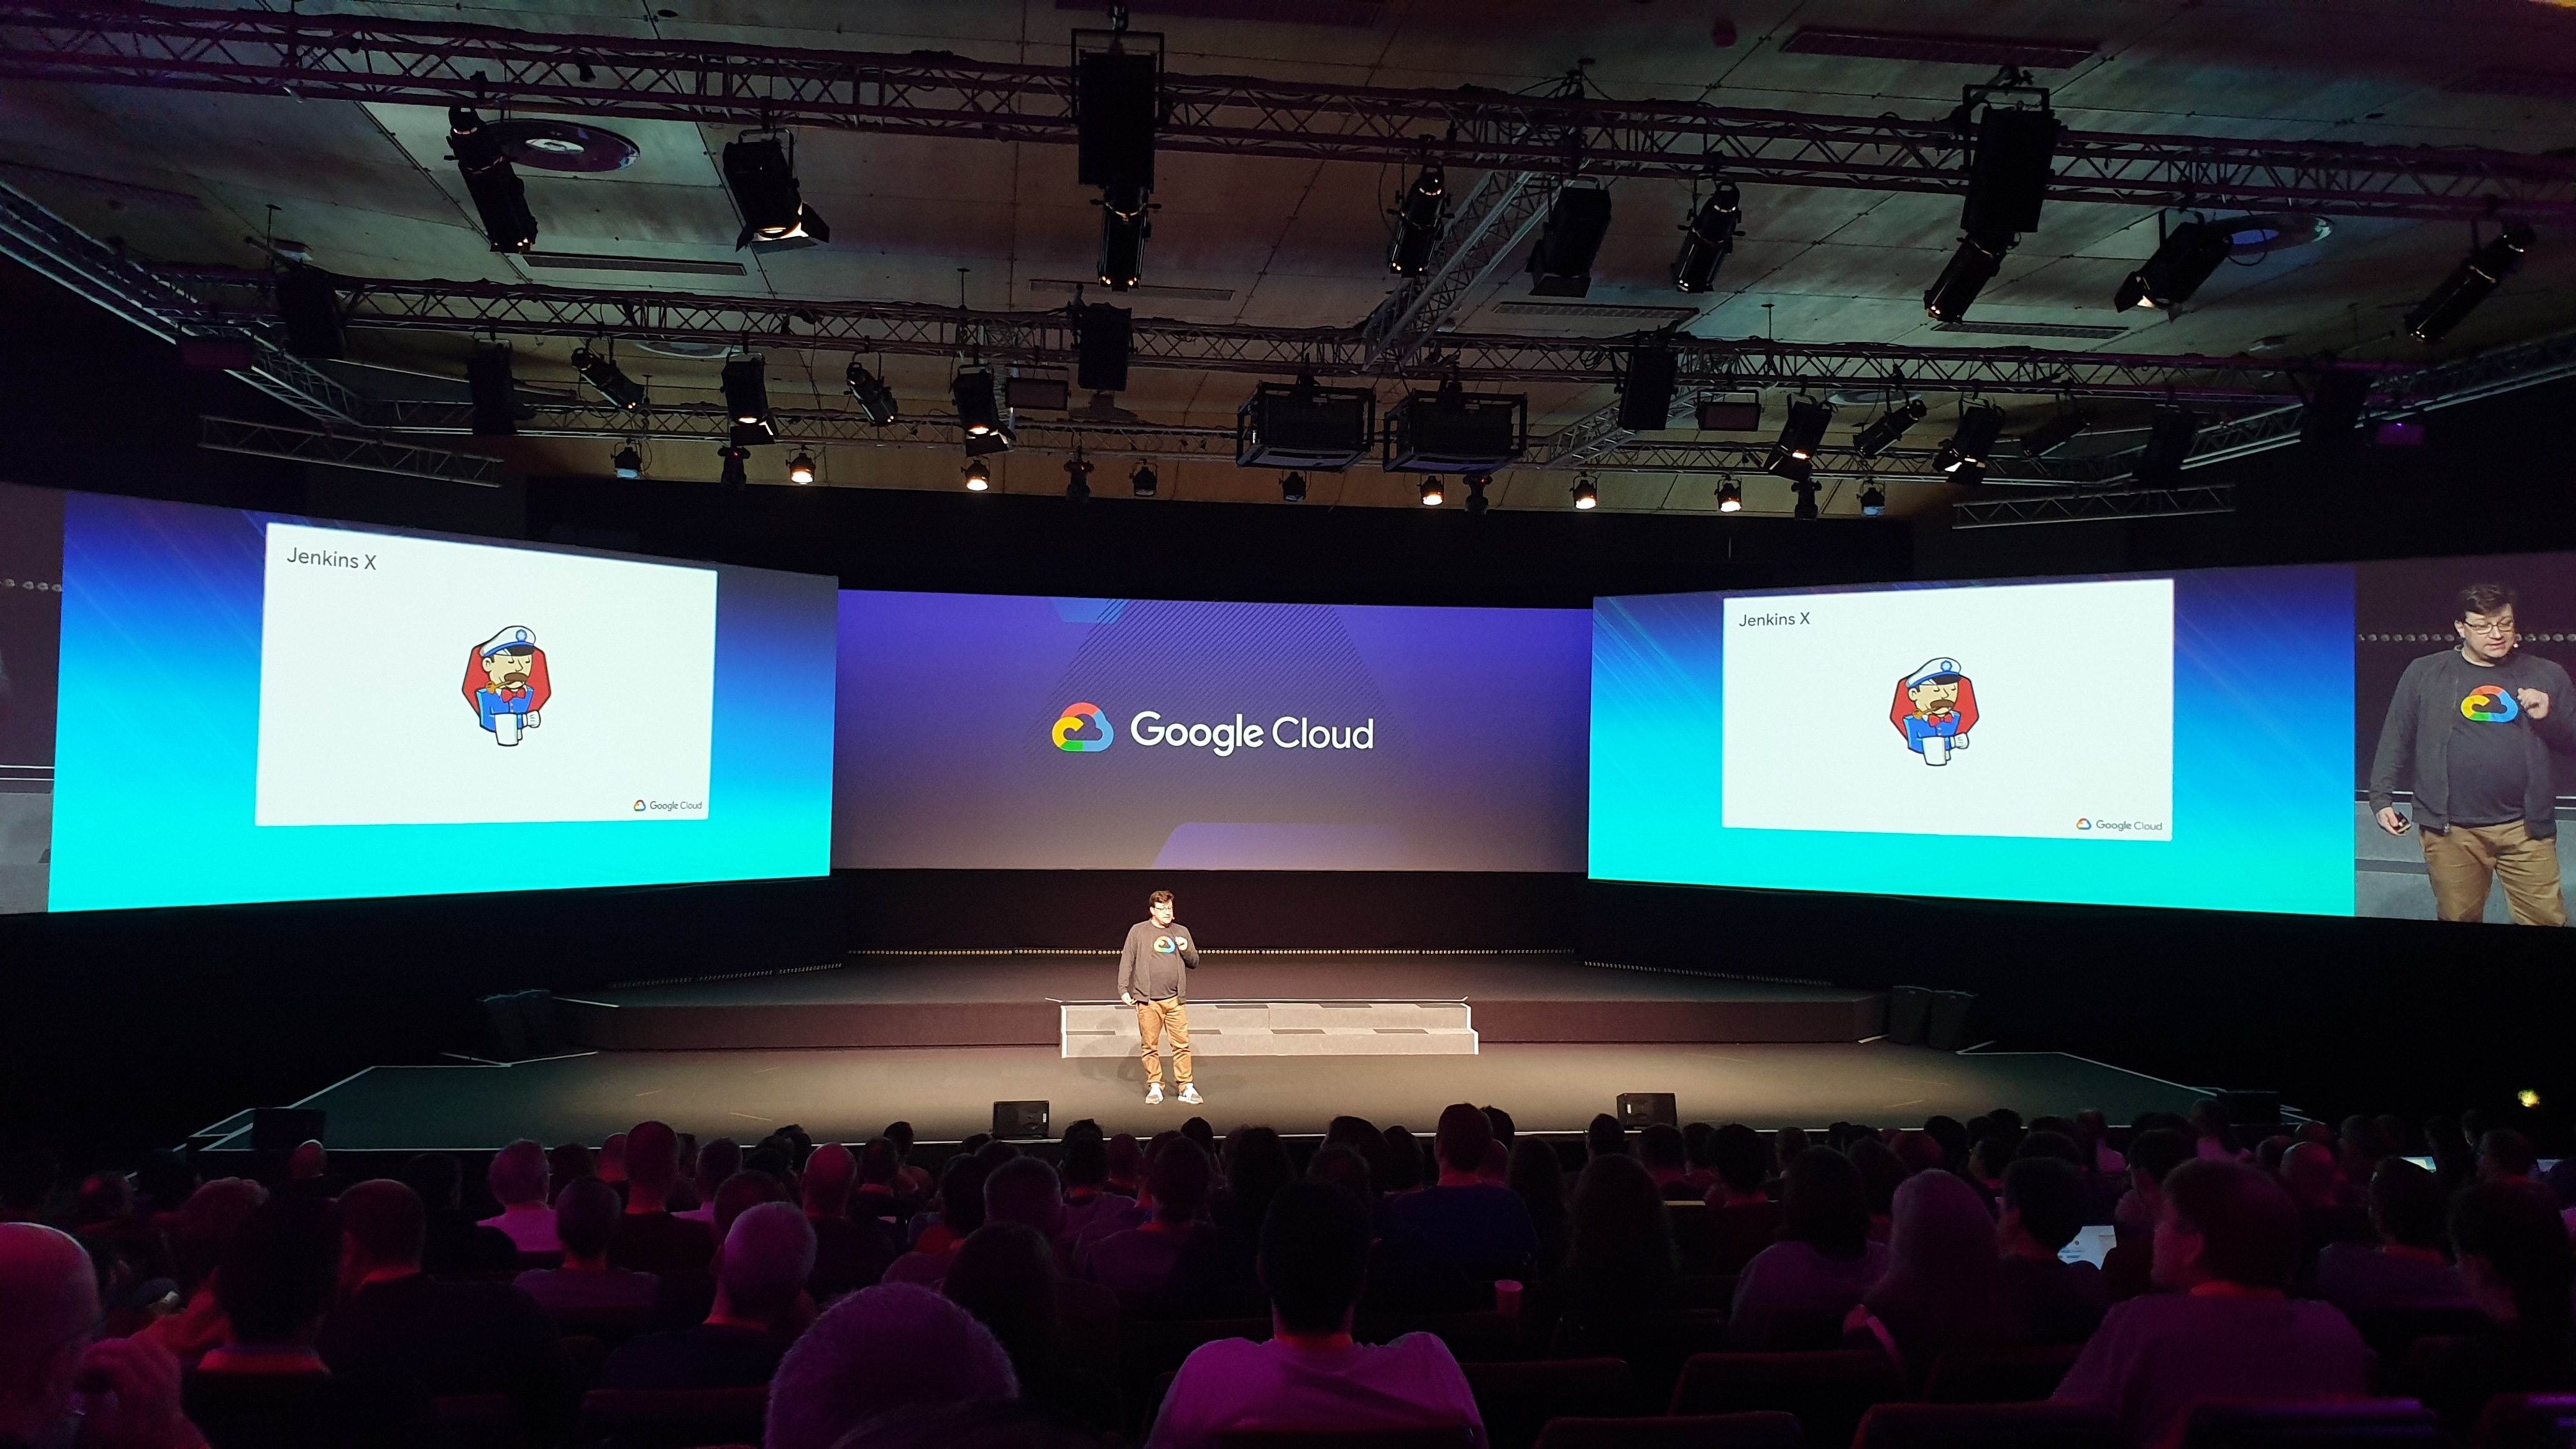
Jenkins X: the Cloud native CI/CD solution

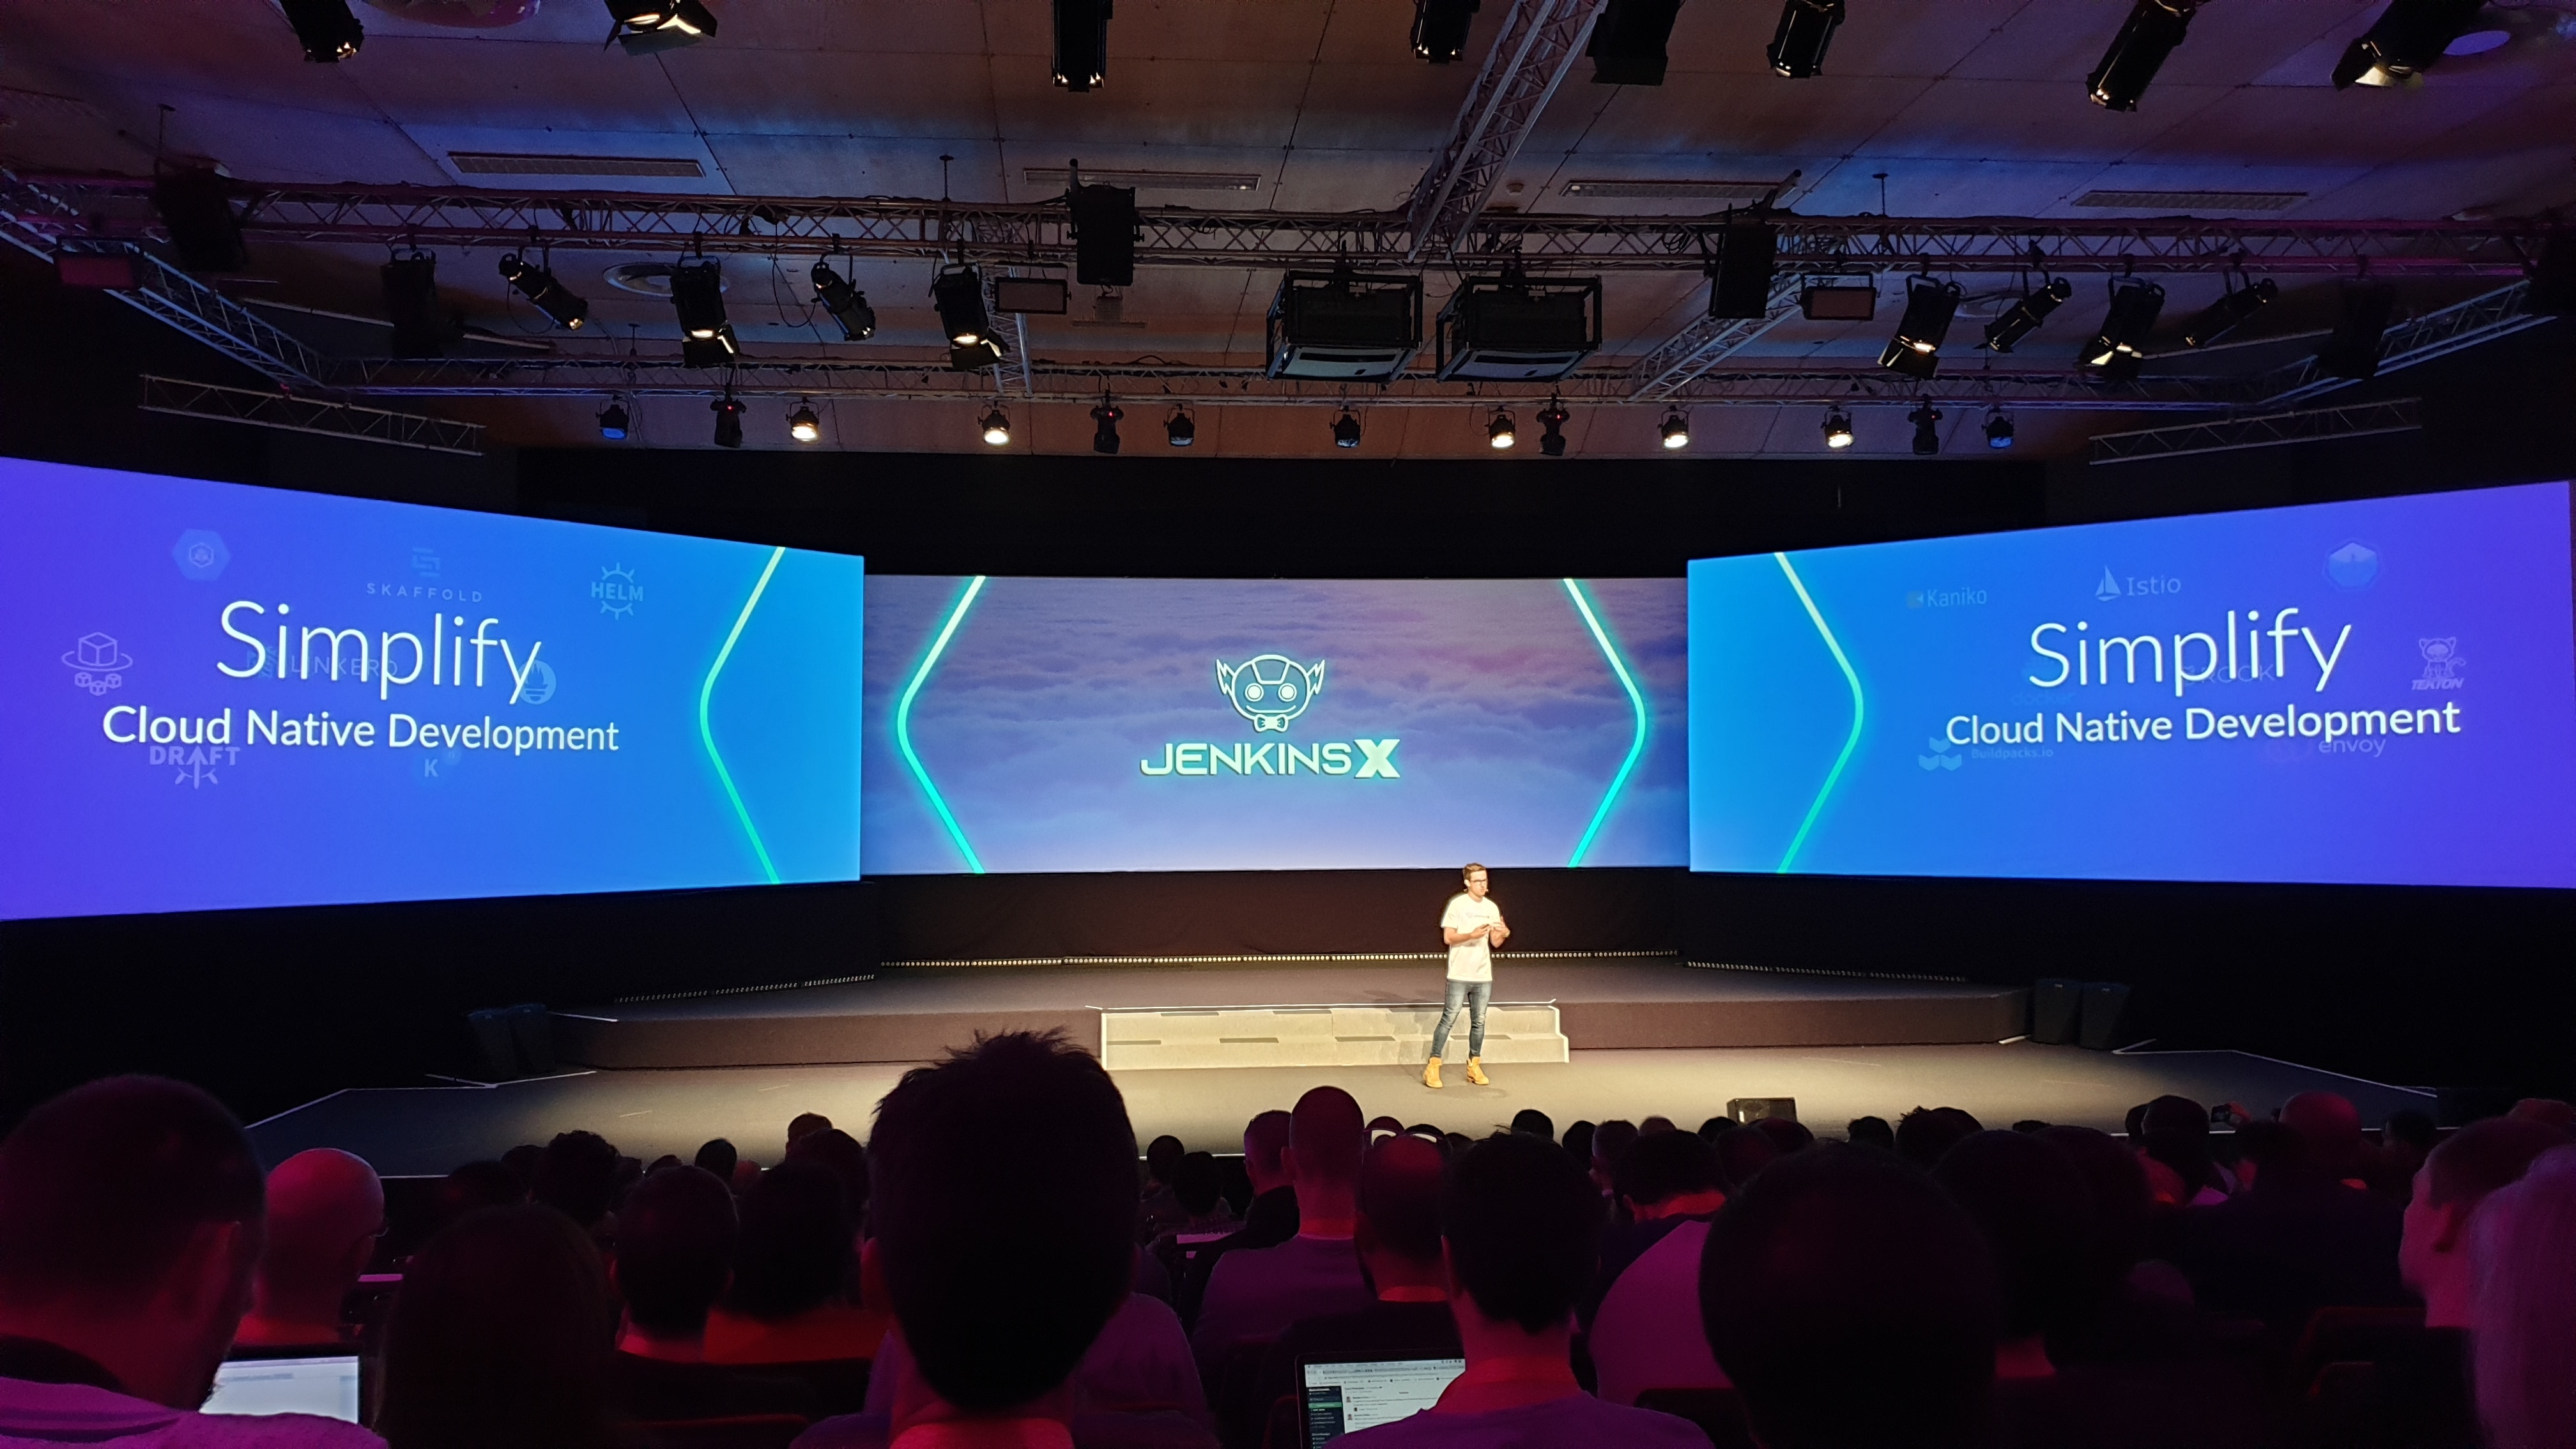
As expected, Jenkins X was in the spotlight, so there were introductory and more advanced talks about it. But what is Jenkins X? Jenkins X is a Kubernetes-native continuous integration and continuous delivery platform for developing cloud native applications. This means that you can:

  • create/import an existing project and it will be automatically recognized (language, build engine and tools)
  • the “buildpack” in Jenkins X generates the required yaml files for configuring the pipelines, docker containers and pods in Kubernetes
  • Jenkins X adds the files to the GitHub repository and sets up the appropriate WebHooks
  • it executes the pipelines for building the project and essentially creates different repositories for different environments
  • it can run the tests described in a pipeline, in isolated docker containers, and deploy a version to a “staging” environment

You can also promote a version to production and rollback in any version if something goes wrong. Additionally, there are preview environments that are created and destroyed automatically for each pull request and this allows you to see the effect of your changes before merging them.

What is the difference between Jenkins and Jenkins X?

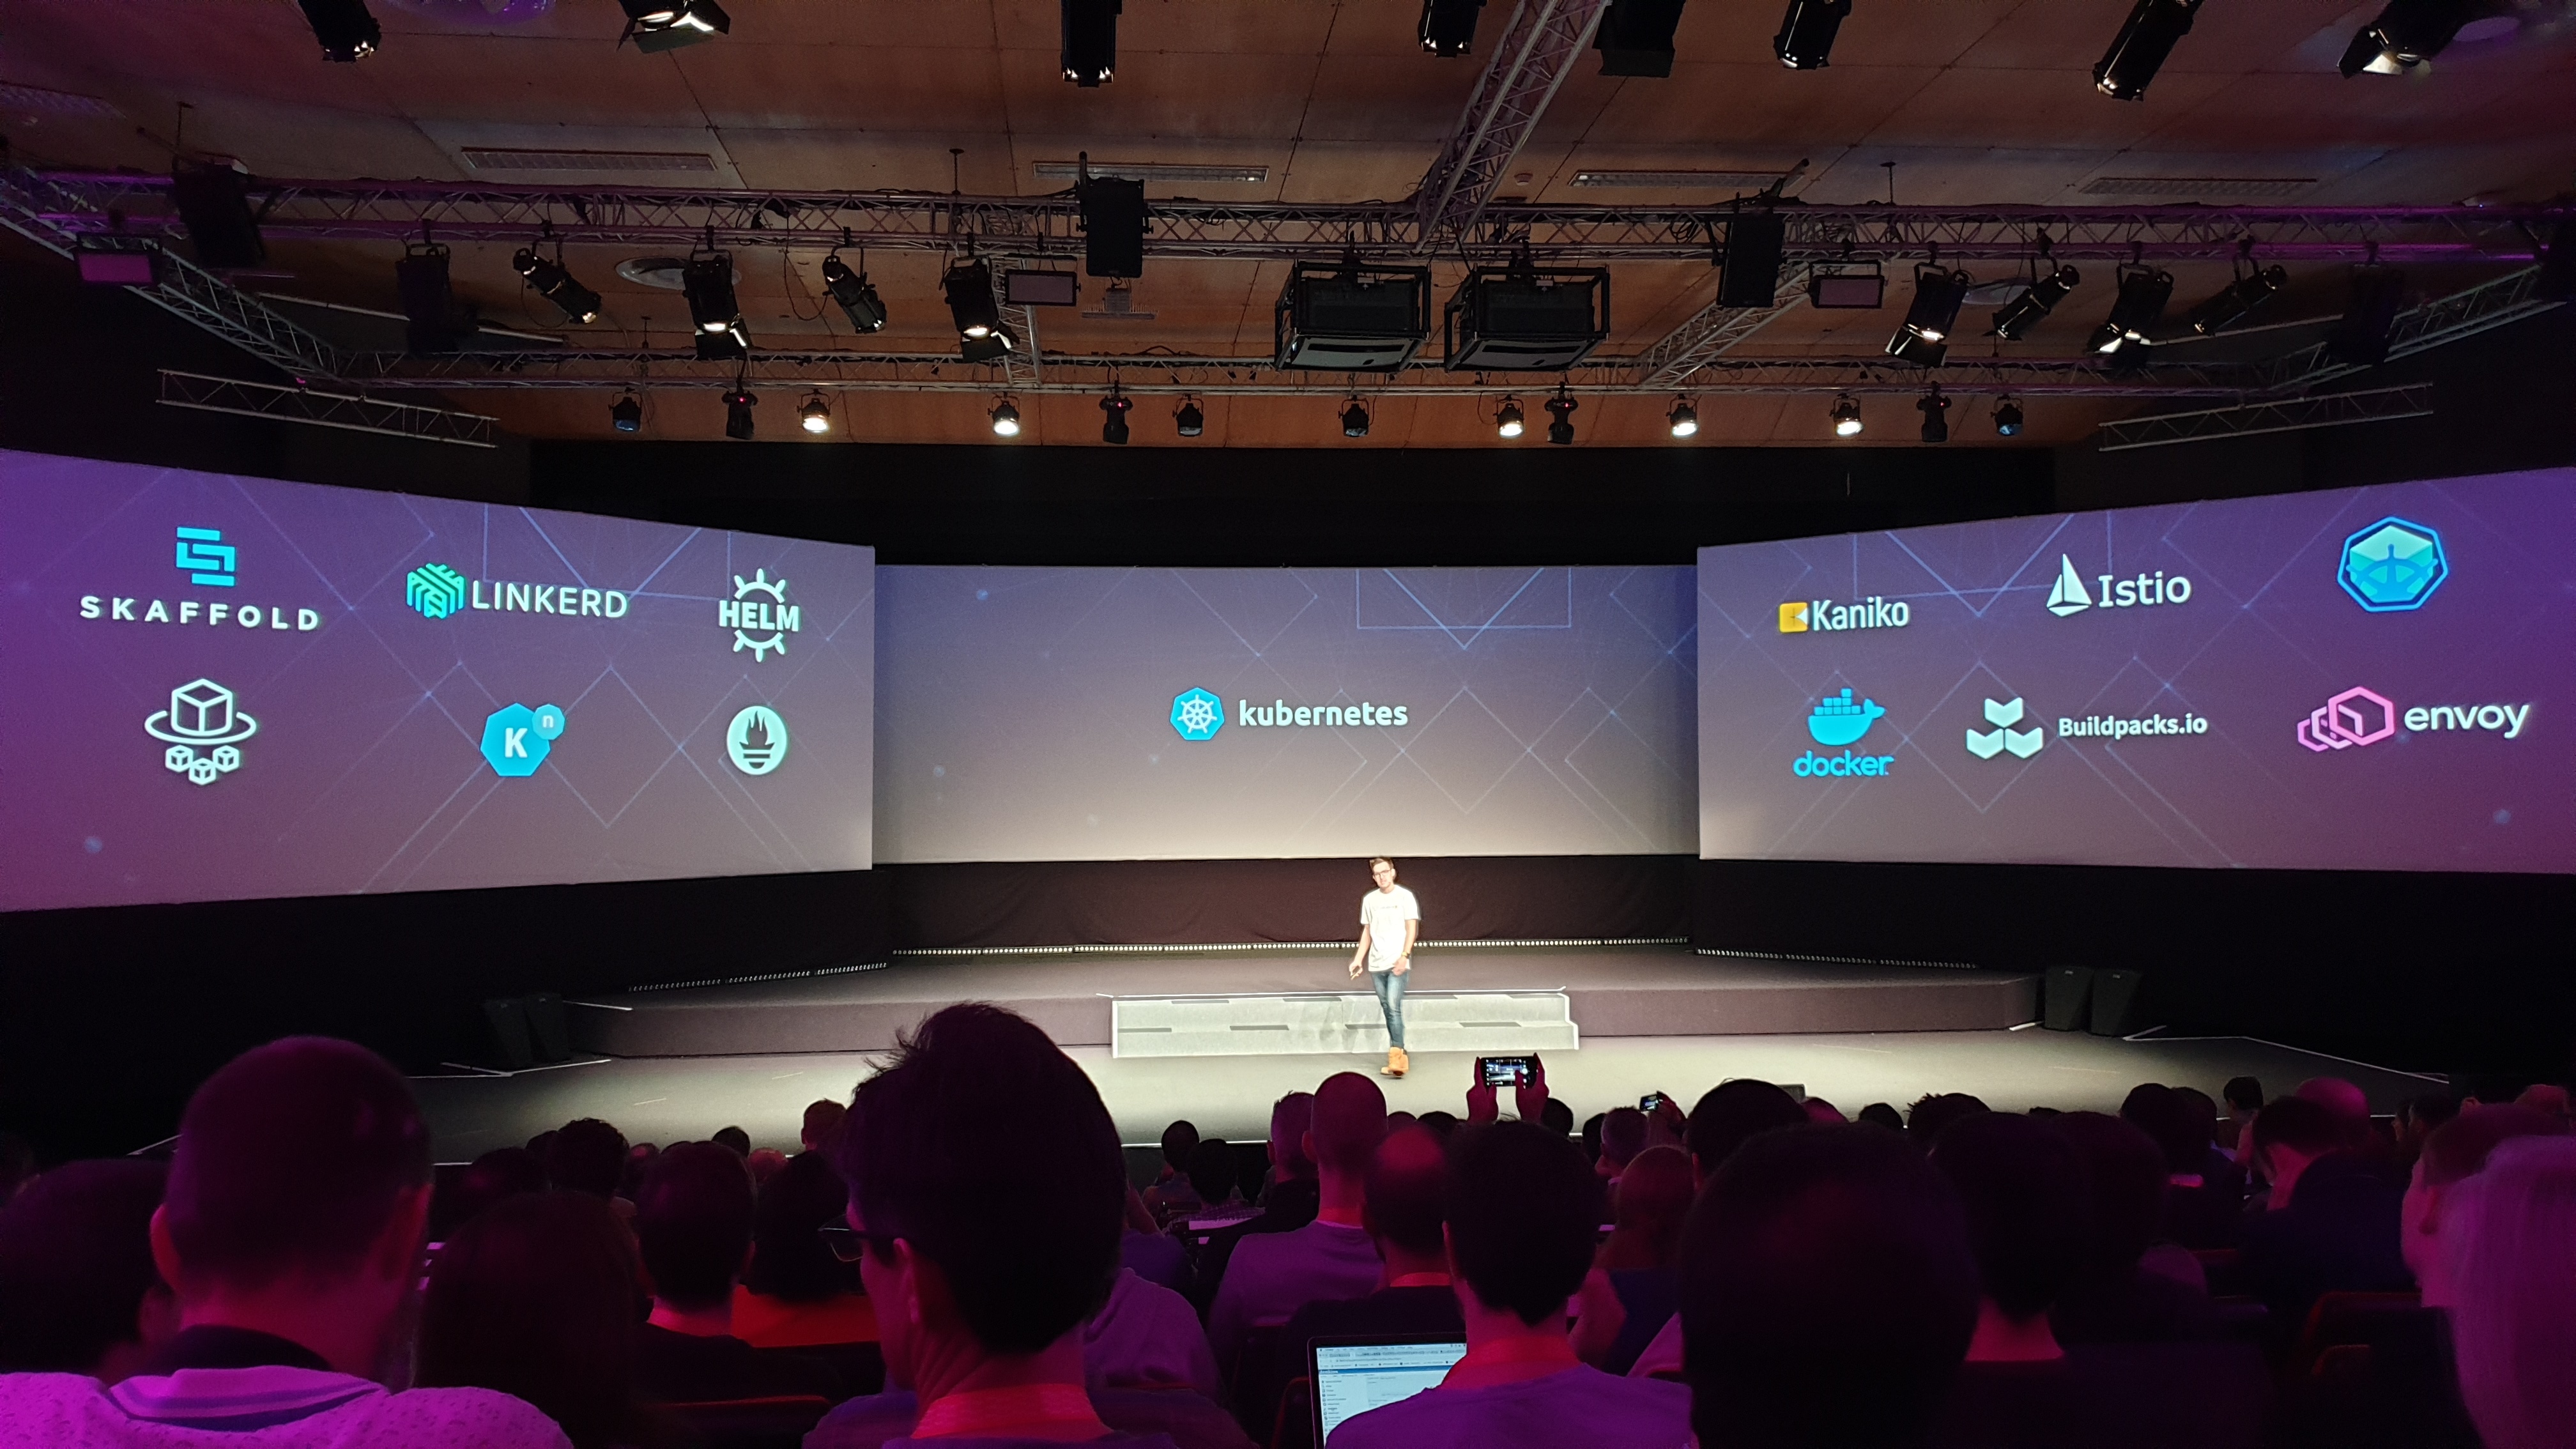
Jenkins X is inspired by Jenkins. It simplifies everything you can do with Jenkins and its plugins by using open source tools and incorporating docker containers in the CI/CD processes for an application in Kubernetes. In your cluster there will be no Jenkins instance installed, but you will still be able to use pre-configured or custom pipelines for continuous integration and continuous deployment. Under the hood, Jenkins X uses Helm to package and perform installations and upgrades for your applications, and utilizes the Tekton engine to execute the pipelines in the Kubernetes cluster.

The prerequisite to use Jenkins X is for your application to be “Kubernetes-ready” and have a cluster so that Jenkins X can be installed. A good use case is an application where you are deploying microservices. If you are already doing this, you probably use Kubernetes for orchestration. You can now benefit with faster deployments that abstract you from knowing all the little details of the famous container orchestration platform.

Is Jenkins X production ready?

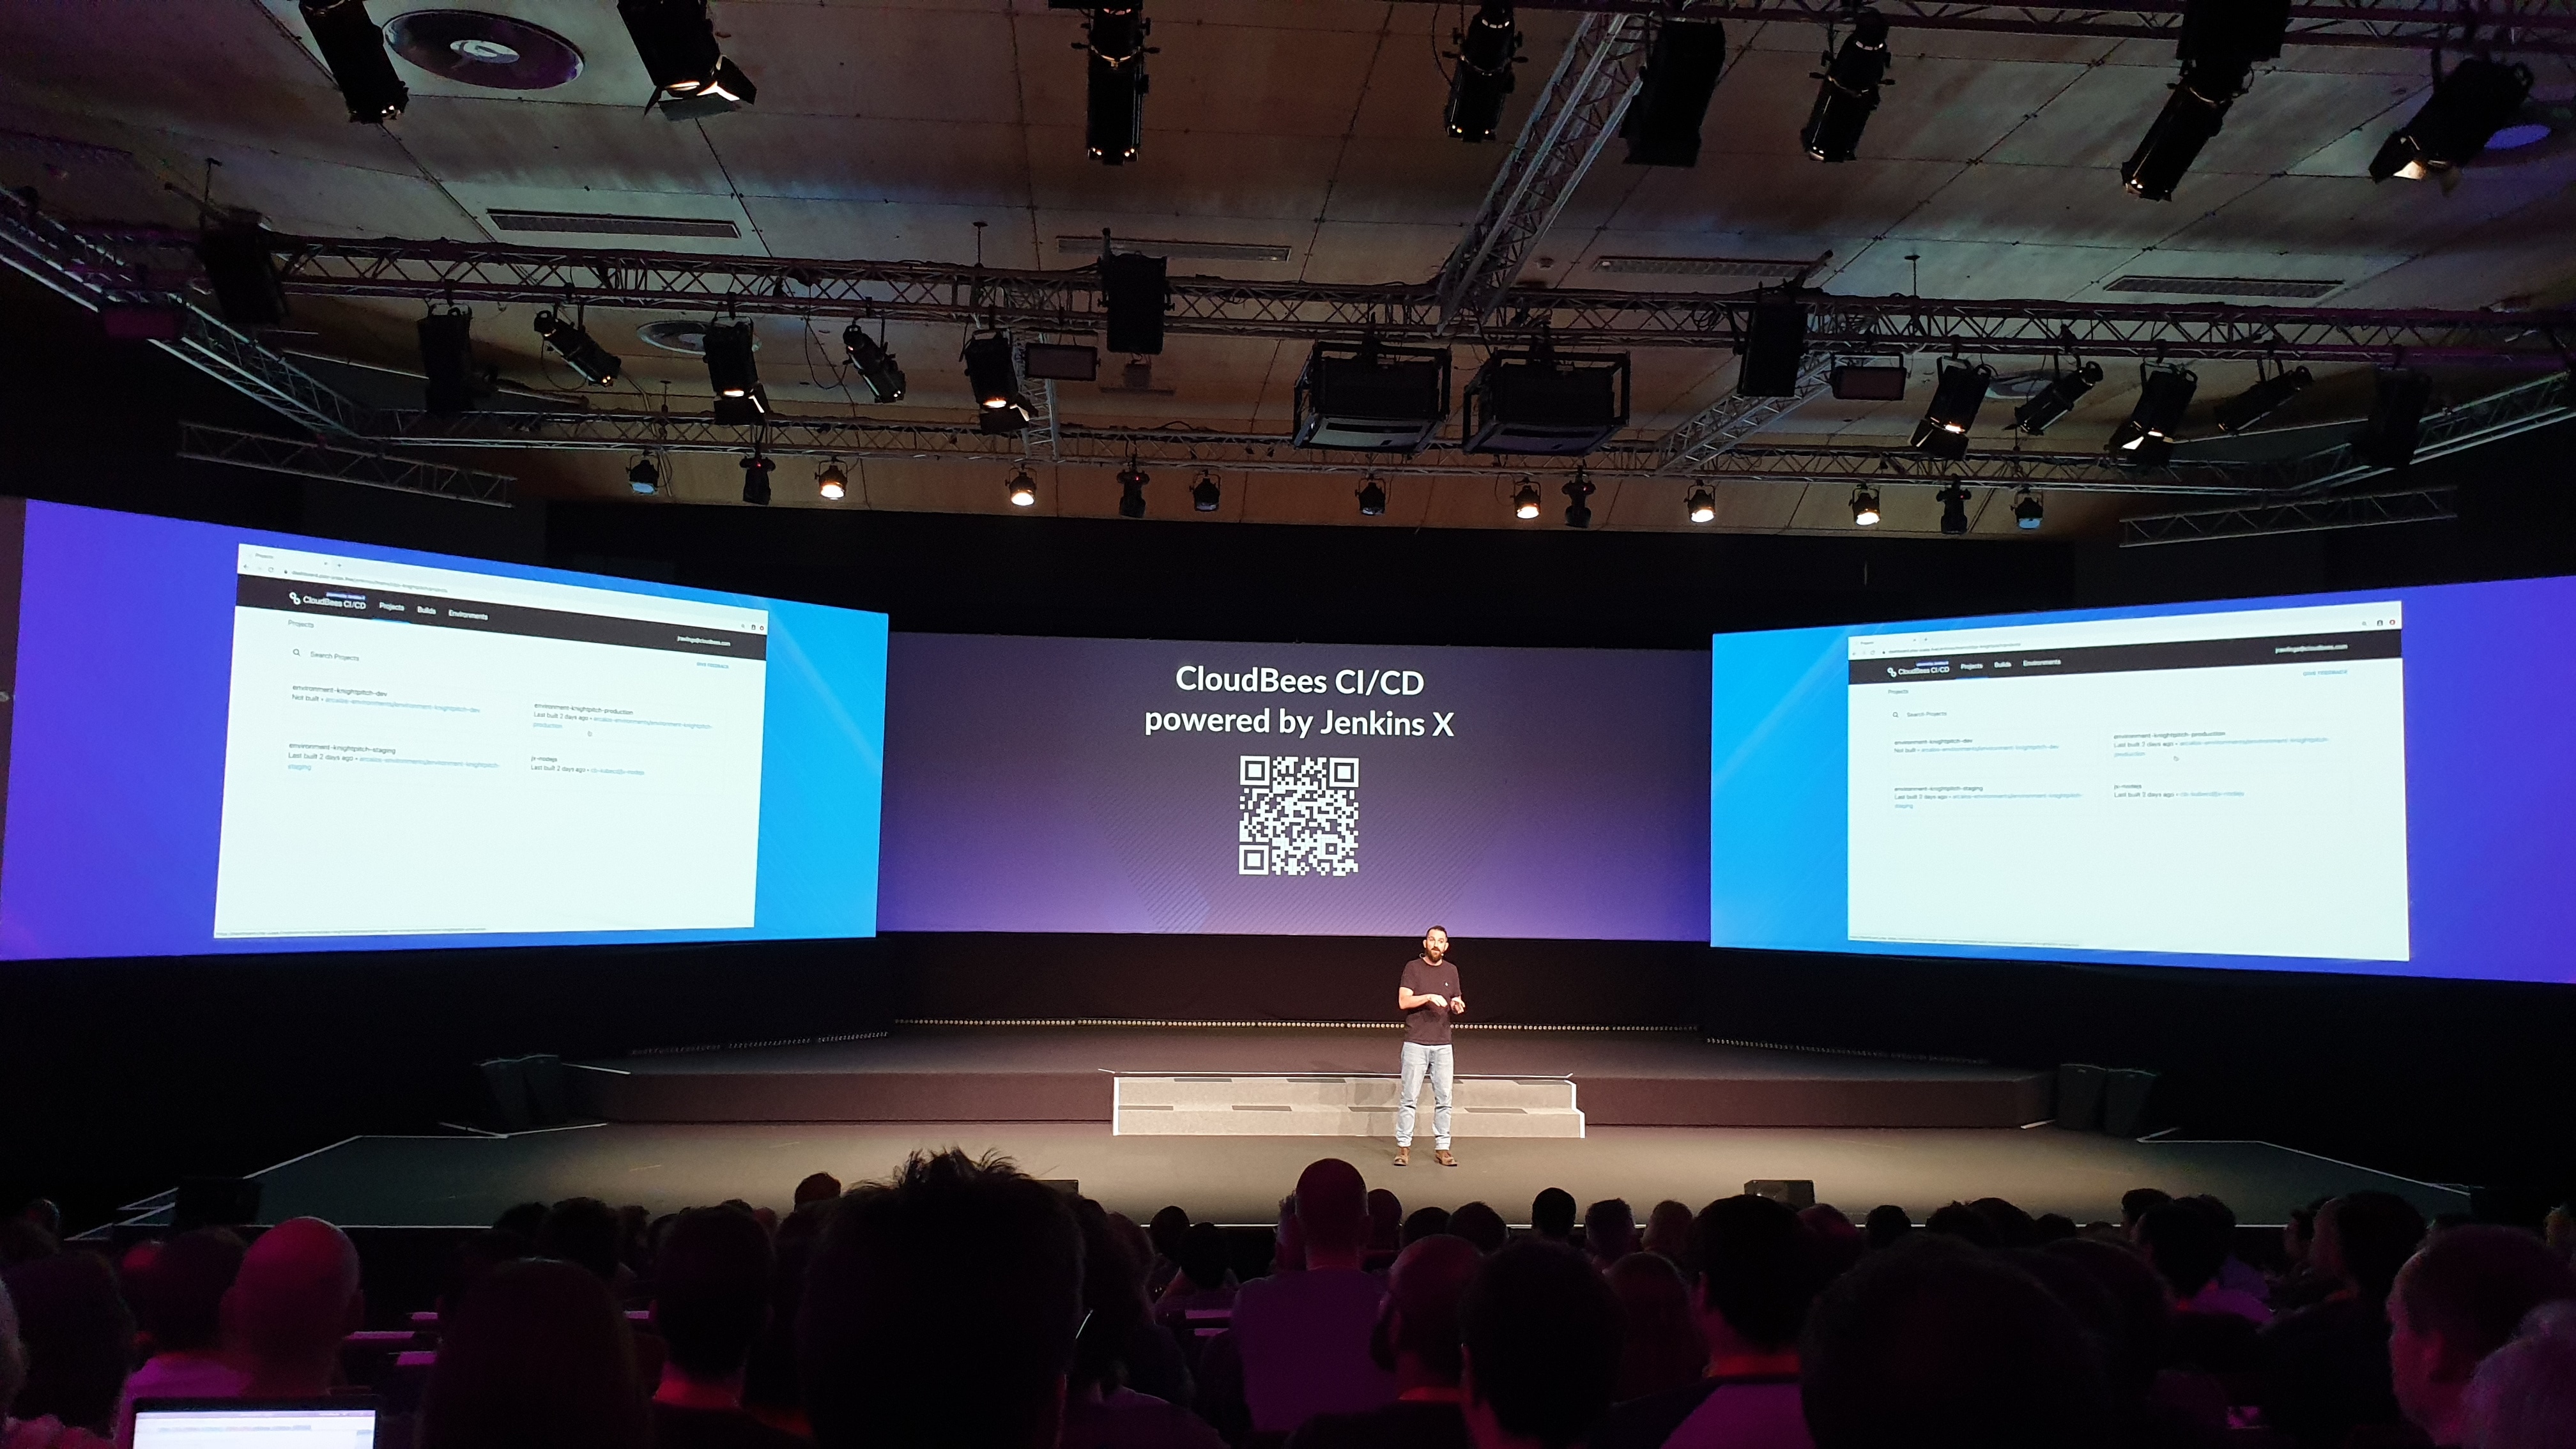
First released in 2018, Jenkins X is now production ready. This year CloudBees released its official Jenkins X Distribution. It can be easily installed on an existing cloud provider for Kubernetes and you can get up and running in minutes. Jenkins X is reliable and uses already tested and established open source tools for the cloud. The exciting news is that now users can execute certain functionalities by using the new User Interface, without having to resort to the command line every time. This also allows us to visualize the environments and promote a version of the application easy and fast.

Jenkins Configuration-as-Code and new UX

Of course the traditional Jenkins server platform could not be missing from the talks. On the contrary, we learned some very important tips and tricks on Declarative pipelines and explored the best practices to avoid common mistakes and reduce complexity. While using Jenkins the right way is important, administration is also crucial in terms of security, performance and monitoring. But in order to have a healthy system as a core in our CI/CD architecture we need to be able to automatically reinstall and configure the Jenkins instance. Here comes the importance of the “Configuration-as-Code” paradigm where all Jenkins configuration and plugins are defined in simple, human-friendly, plain text yaml syntax. This lets us easily restore a Jenkins instance in minutes with no manual intervention. The configuration can be validated and applied to a Jenkins master in a fully reproducible way and it can also be saved in a version control system.

Apart from Jenkins administration and pipelines, what’s new in Jenkins?

Well, there is ongoing work to optimize commands for making Declarative pipelines easier to create and maintain, and there is also the big news about Blue Ocean. As we know Blue Ocean is the graphical interface that lets us create pipelines, but there is the known problem of not every Jenkins plugin being able to share its functionality with the Blue Ocean GUI. Furthermore, most developers of plugins have already abandoned this area of functionality and CloudBees is working for an entirely new User Experience (UX), so a new UI is in the works that will replace Blue Ocean following the mentality “lessons learned”. And this is great news.

Summary

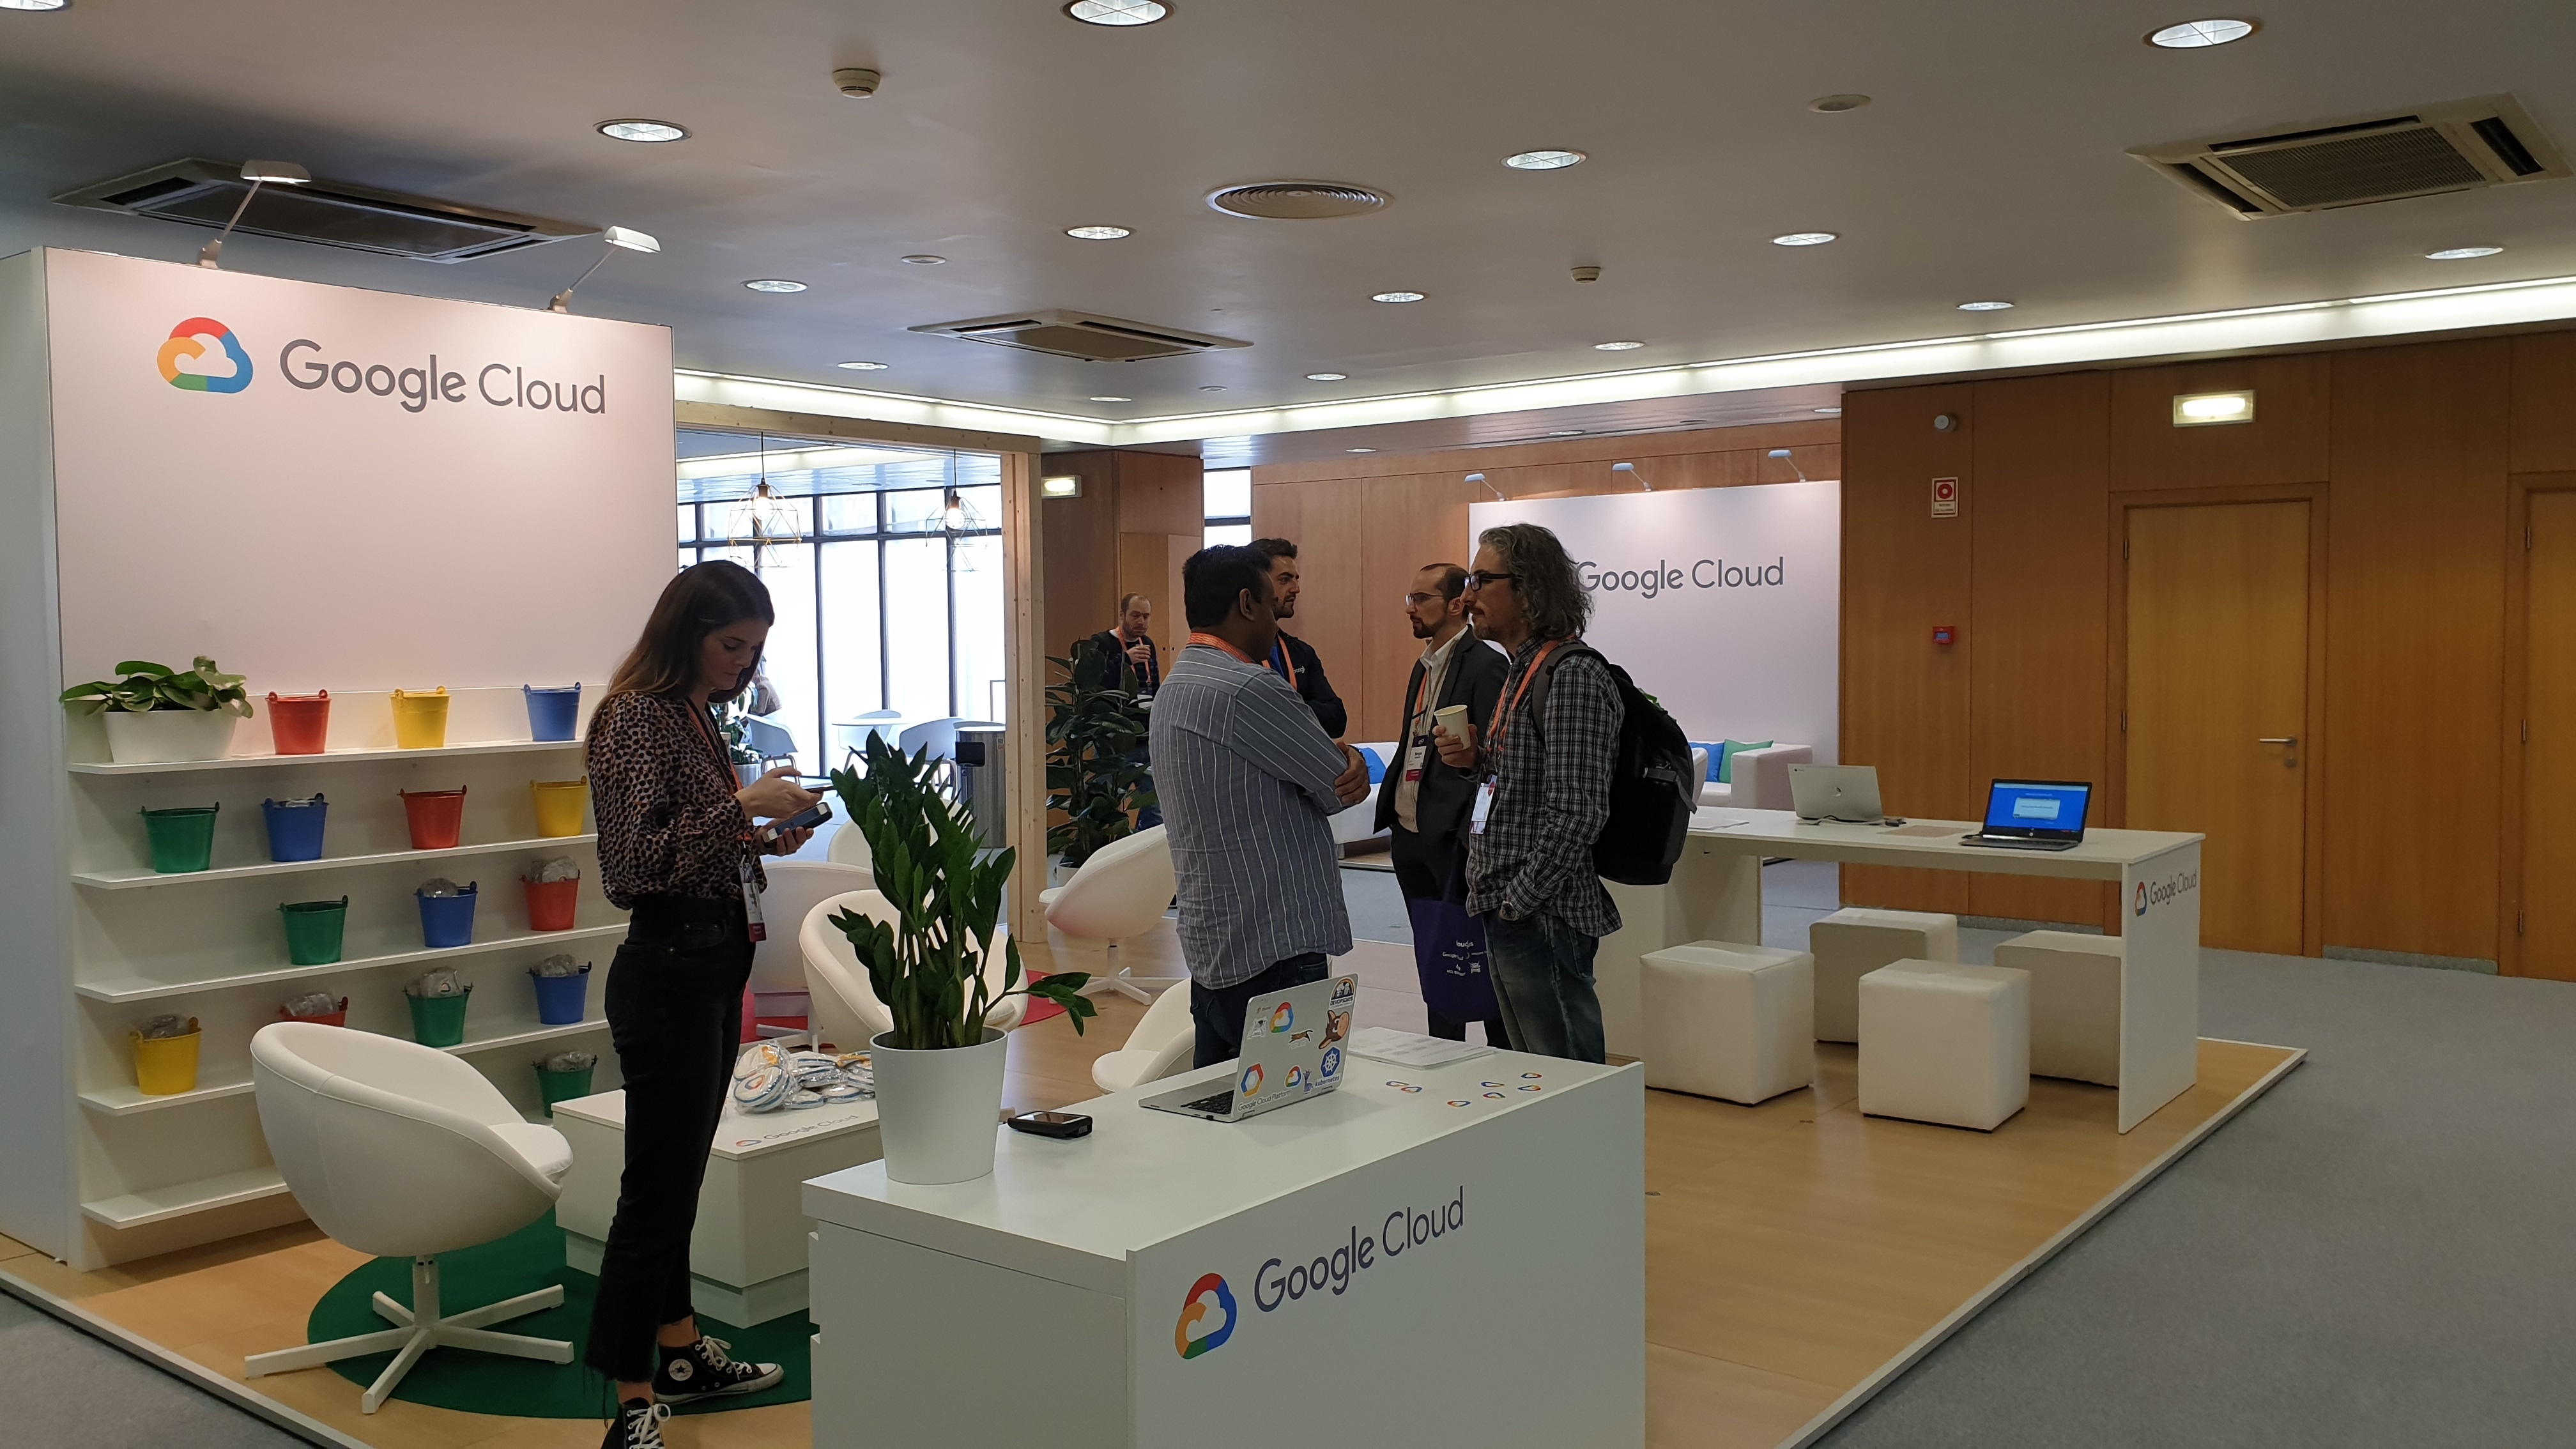
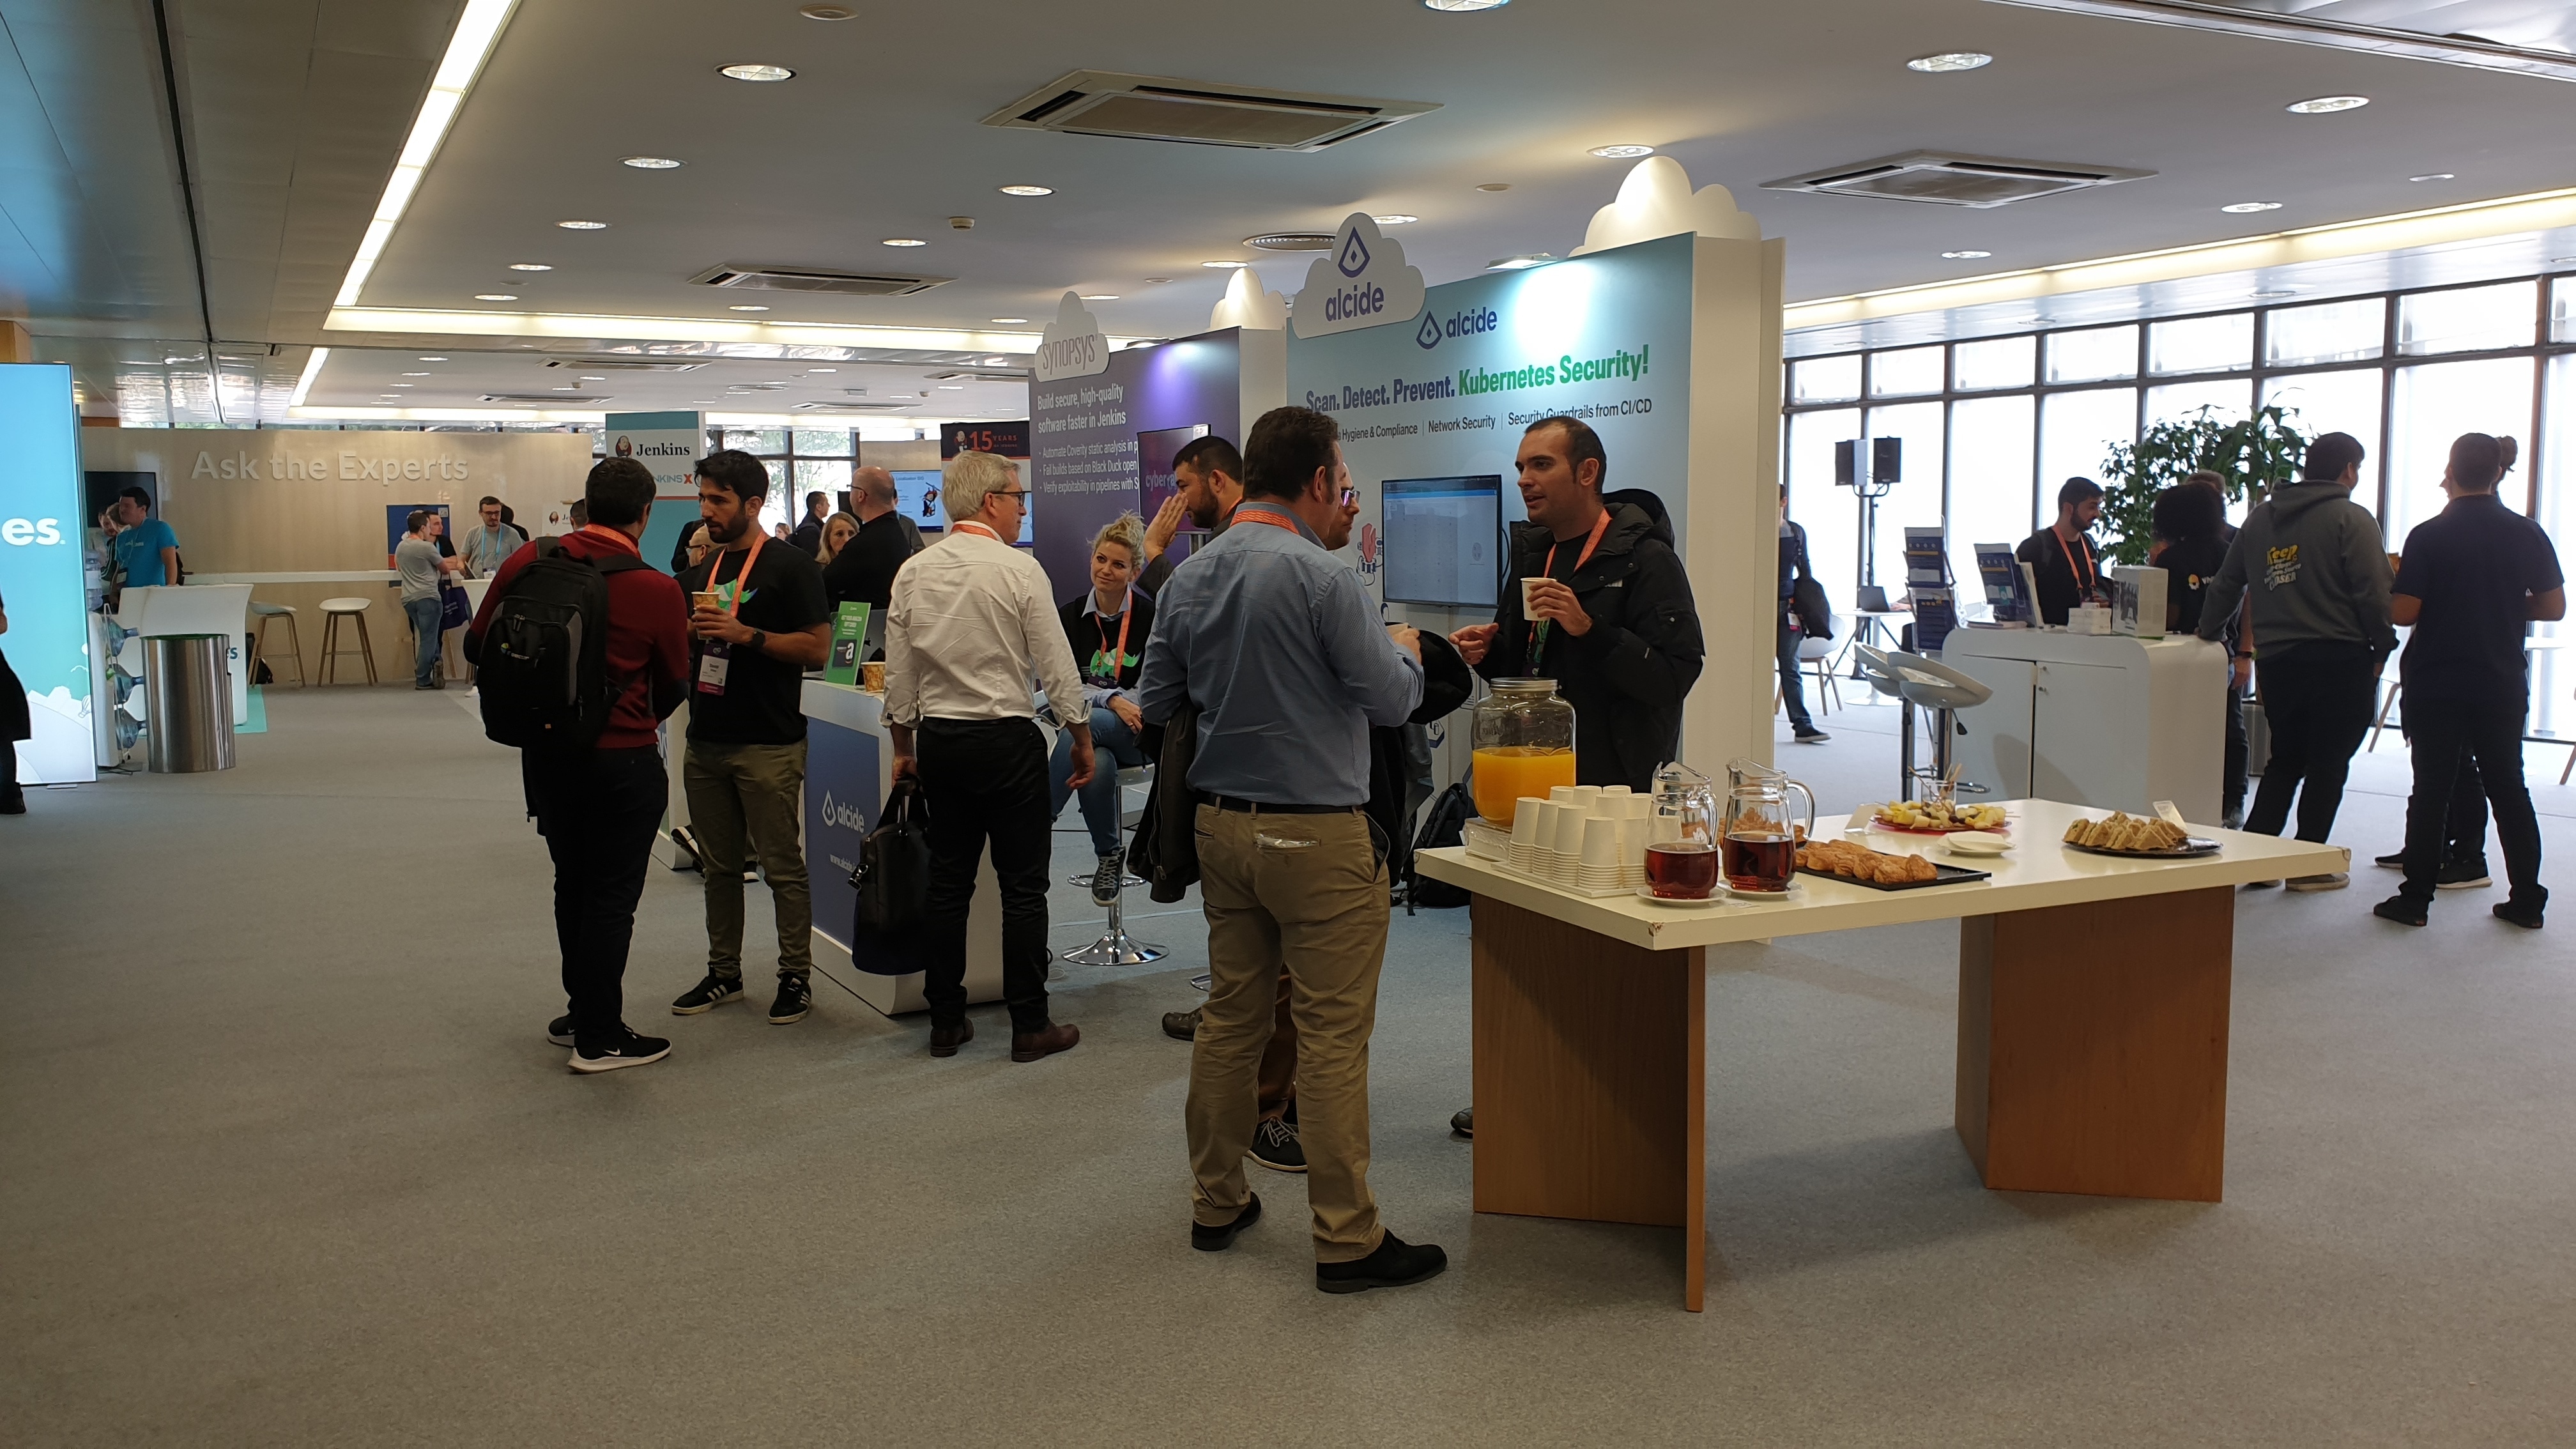
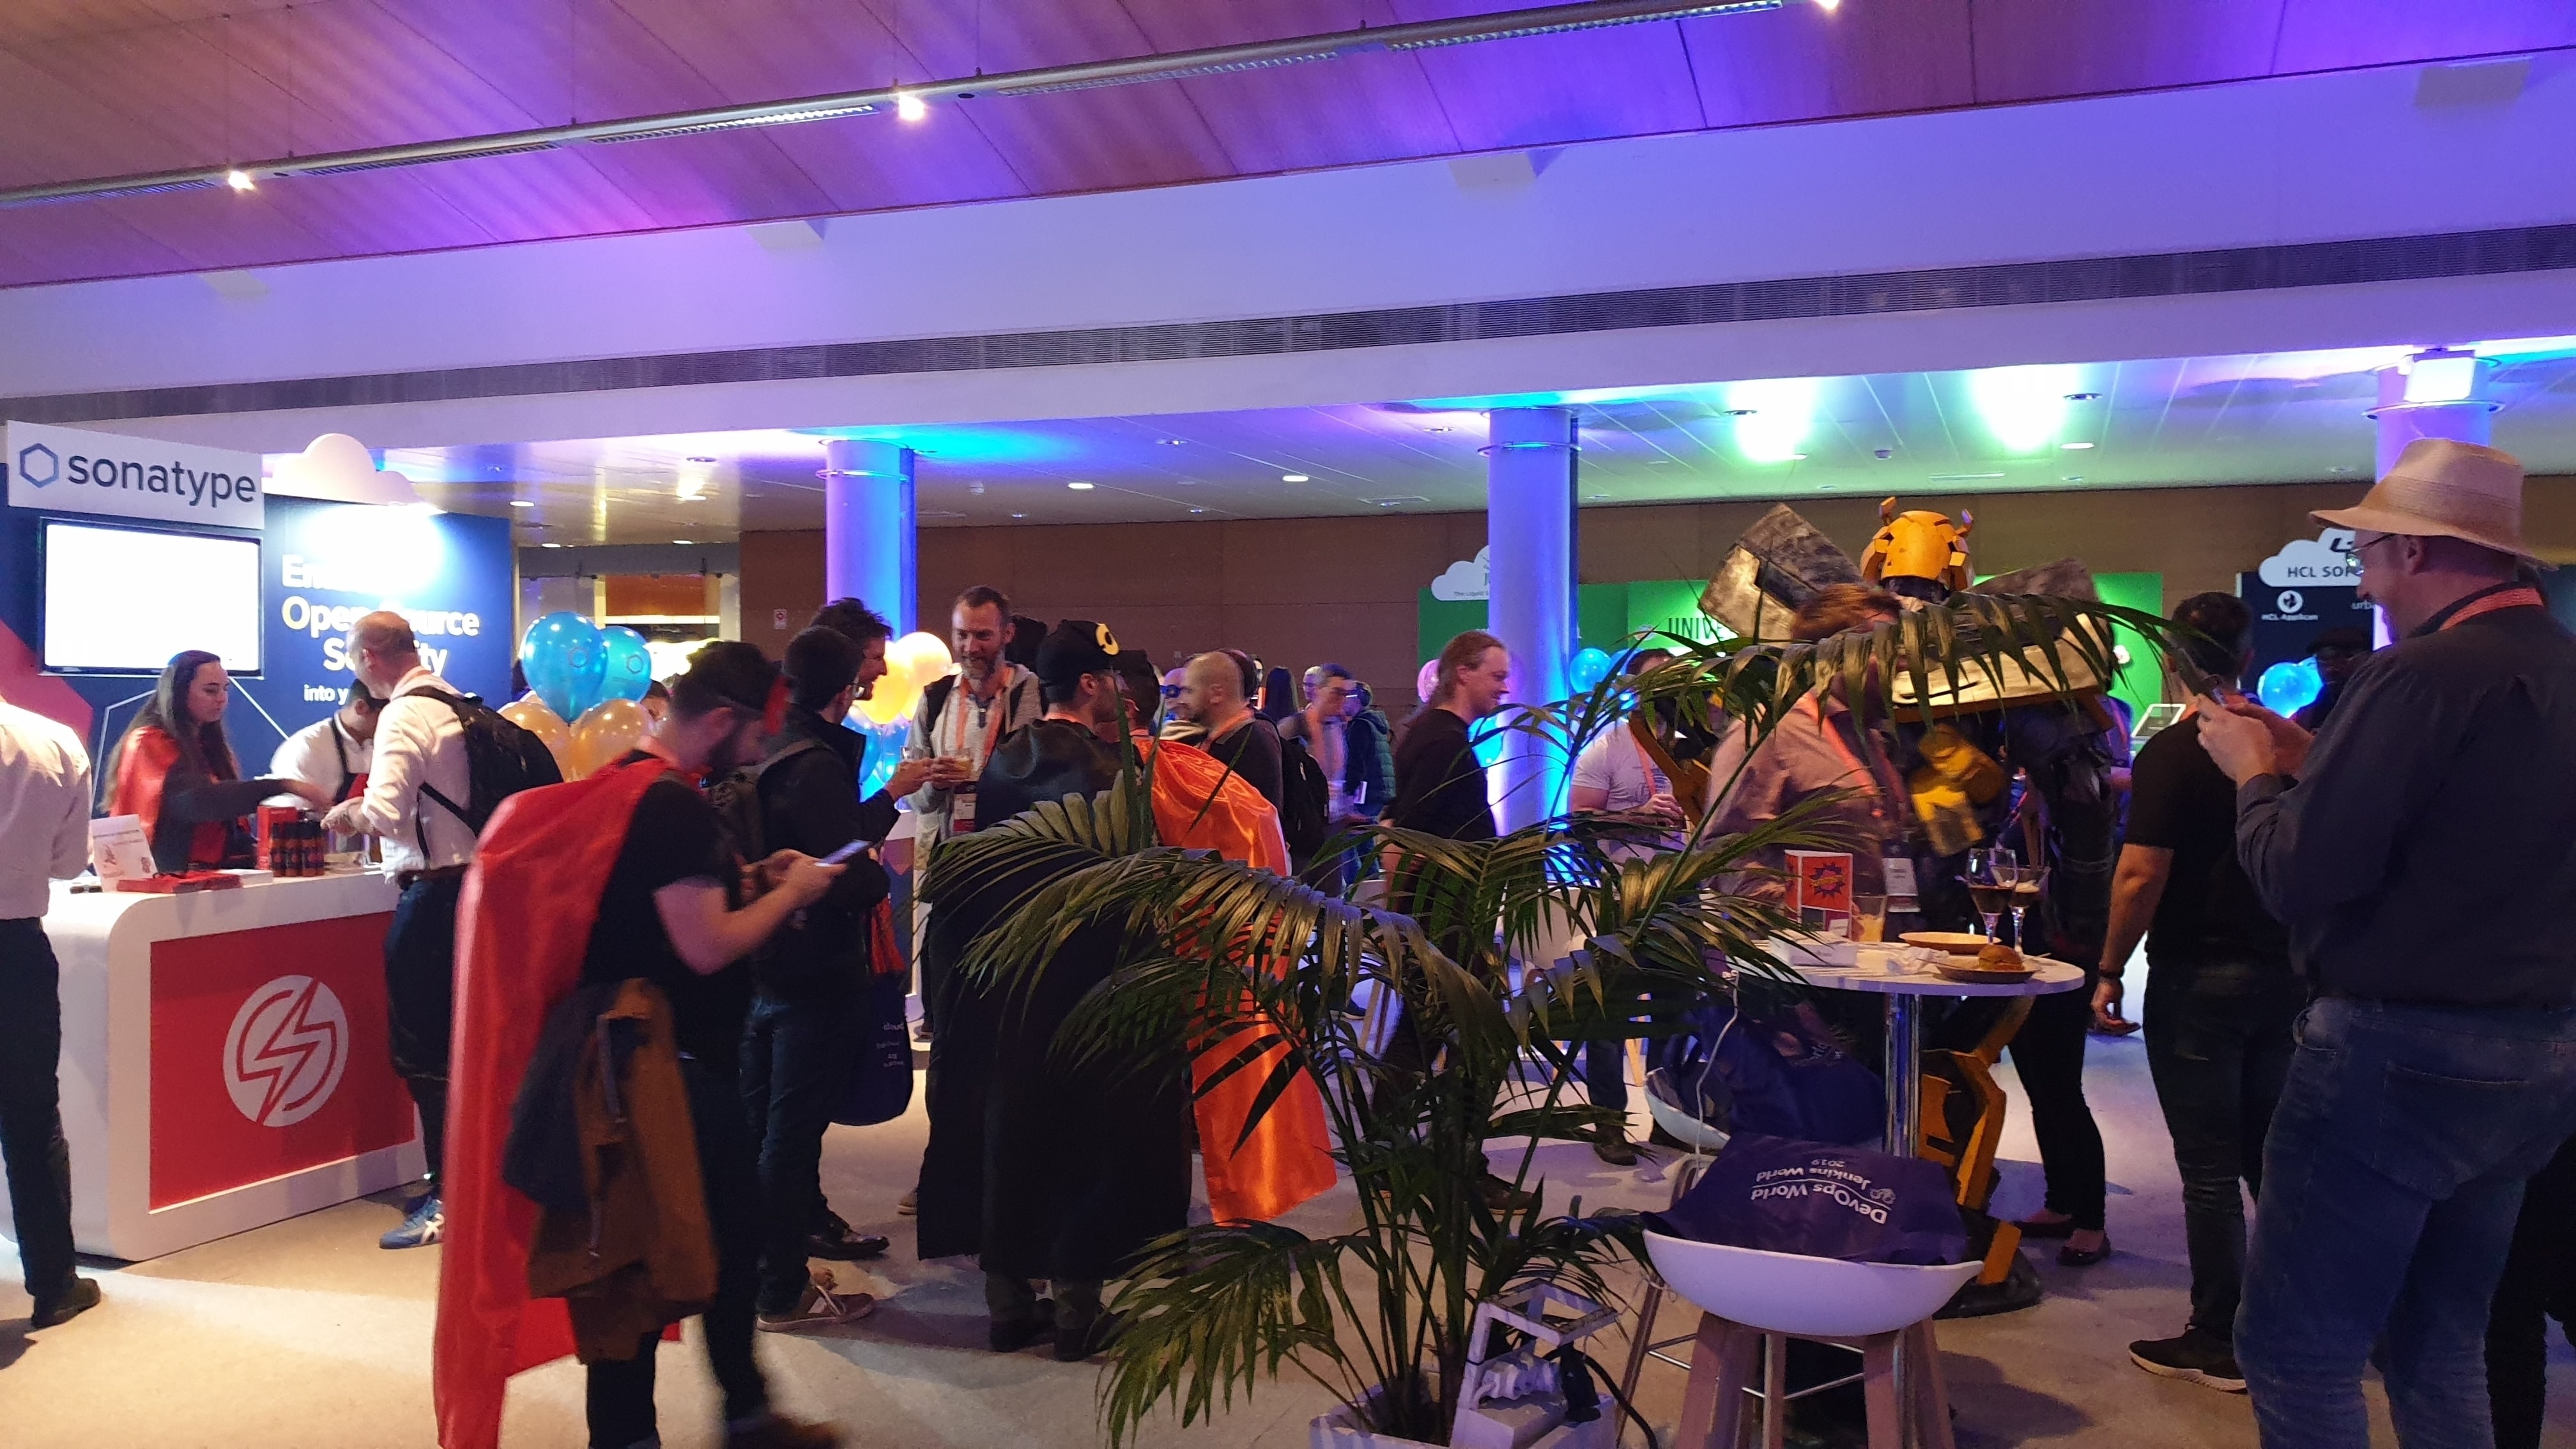
“DevOps World – Jenkins World 2019” was THE event for DevOps and CI/CD enthusiasts. Talks were excellent, insightful and aspiring. Social interactions between the attendees gave opportunities for new business collaborations. Knowledge was shared through training sessions and many of us earned our certification as Certified Jenkins Engineers in the exams. We learned where we are going, how the teams are growing and how to become more mature. Google and CloudBees are now one big team creating the tools for DevOps. Google Cloud and Kubernetes is becoming the new standard for cloud native application development. CI/CD processes need to be scalable, have executors/workers on demand, up-to-date and secure. Jenkins X is the proposed CI/CD solution for microservices in the cloud.

CloudBees showed a demo with a new UI that is coming for Jenkins X, which is already available for preview. Traditional Jenkins administration and “Configuration-as-Code” proper practices along with pipelines creation, security and a new UX that will replace the Blue Ocean UI, were also announced. Last but not least, CloudBees shared its vision about one software platform, the Software Delivery Management for enabling the creation of common data and artifacts across an organization’s DevOps toolchain and teams. This is how we can connect teams and make sure that value creation efforts create the maximum business impact.

DevOps World 2019 is over.

Goodbye Lisbon, goodbye fellow developers and testers.

I am looking forward to DevOps World 2020 !!!

DevOps World – Jenkins World 2019 (part 1)

By | Blog | No Comments

Introduction

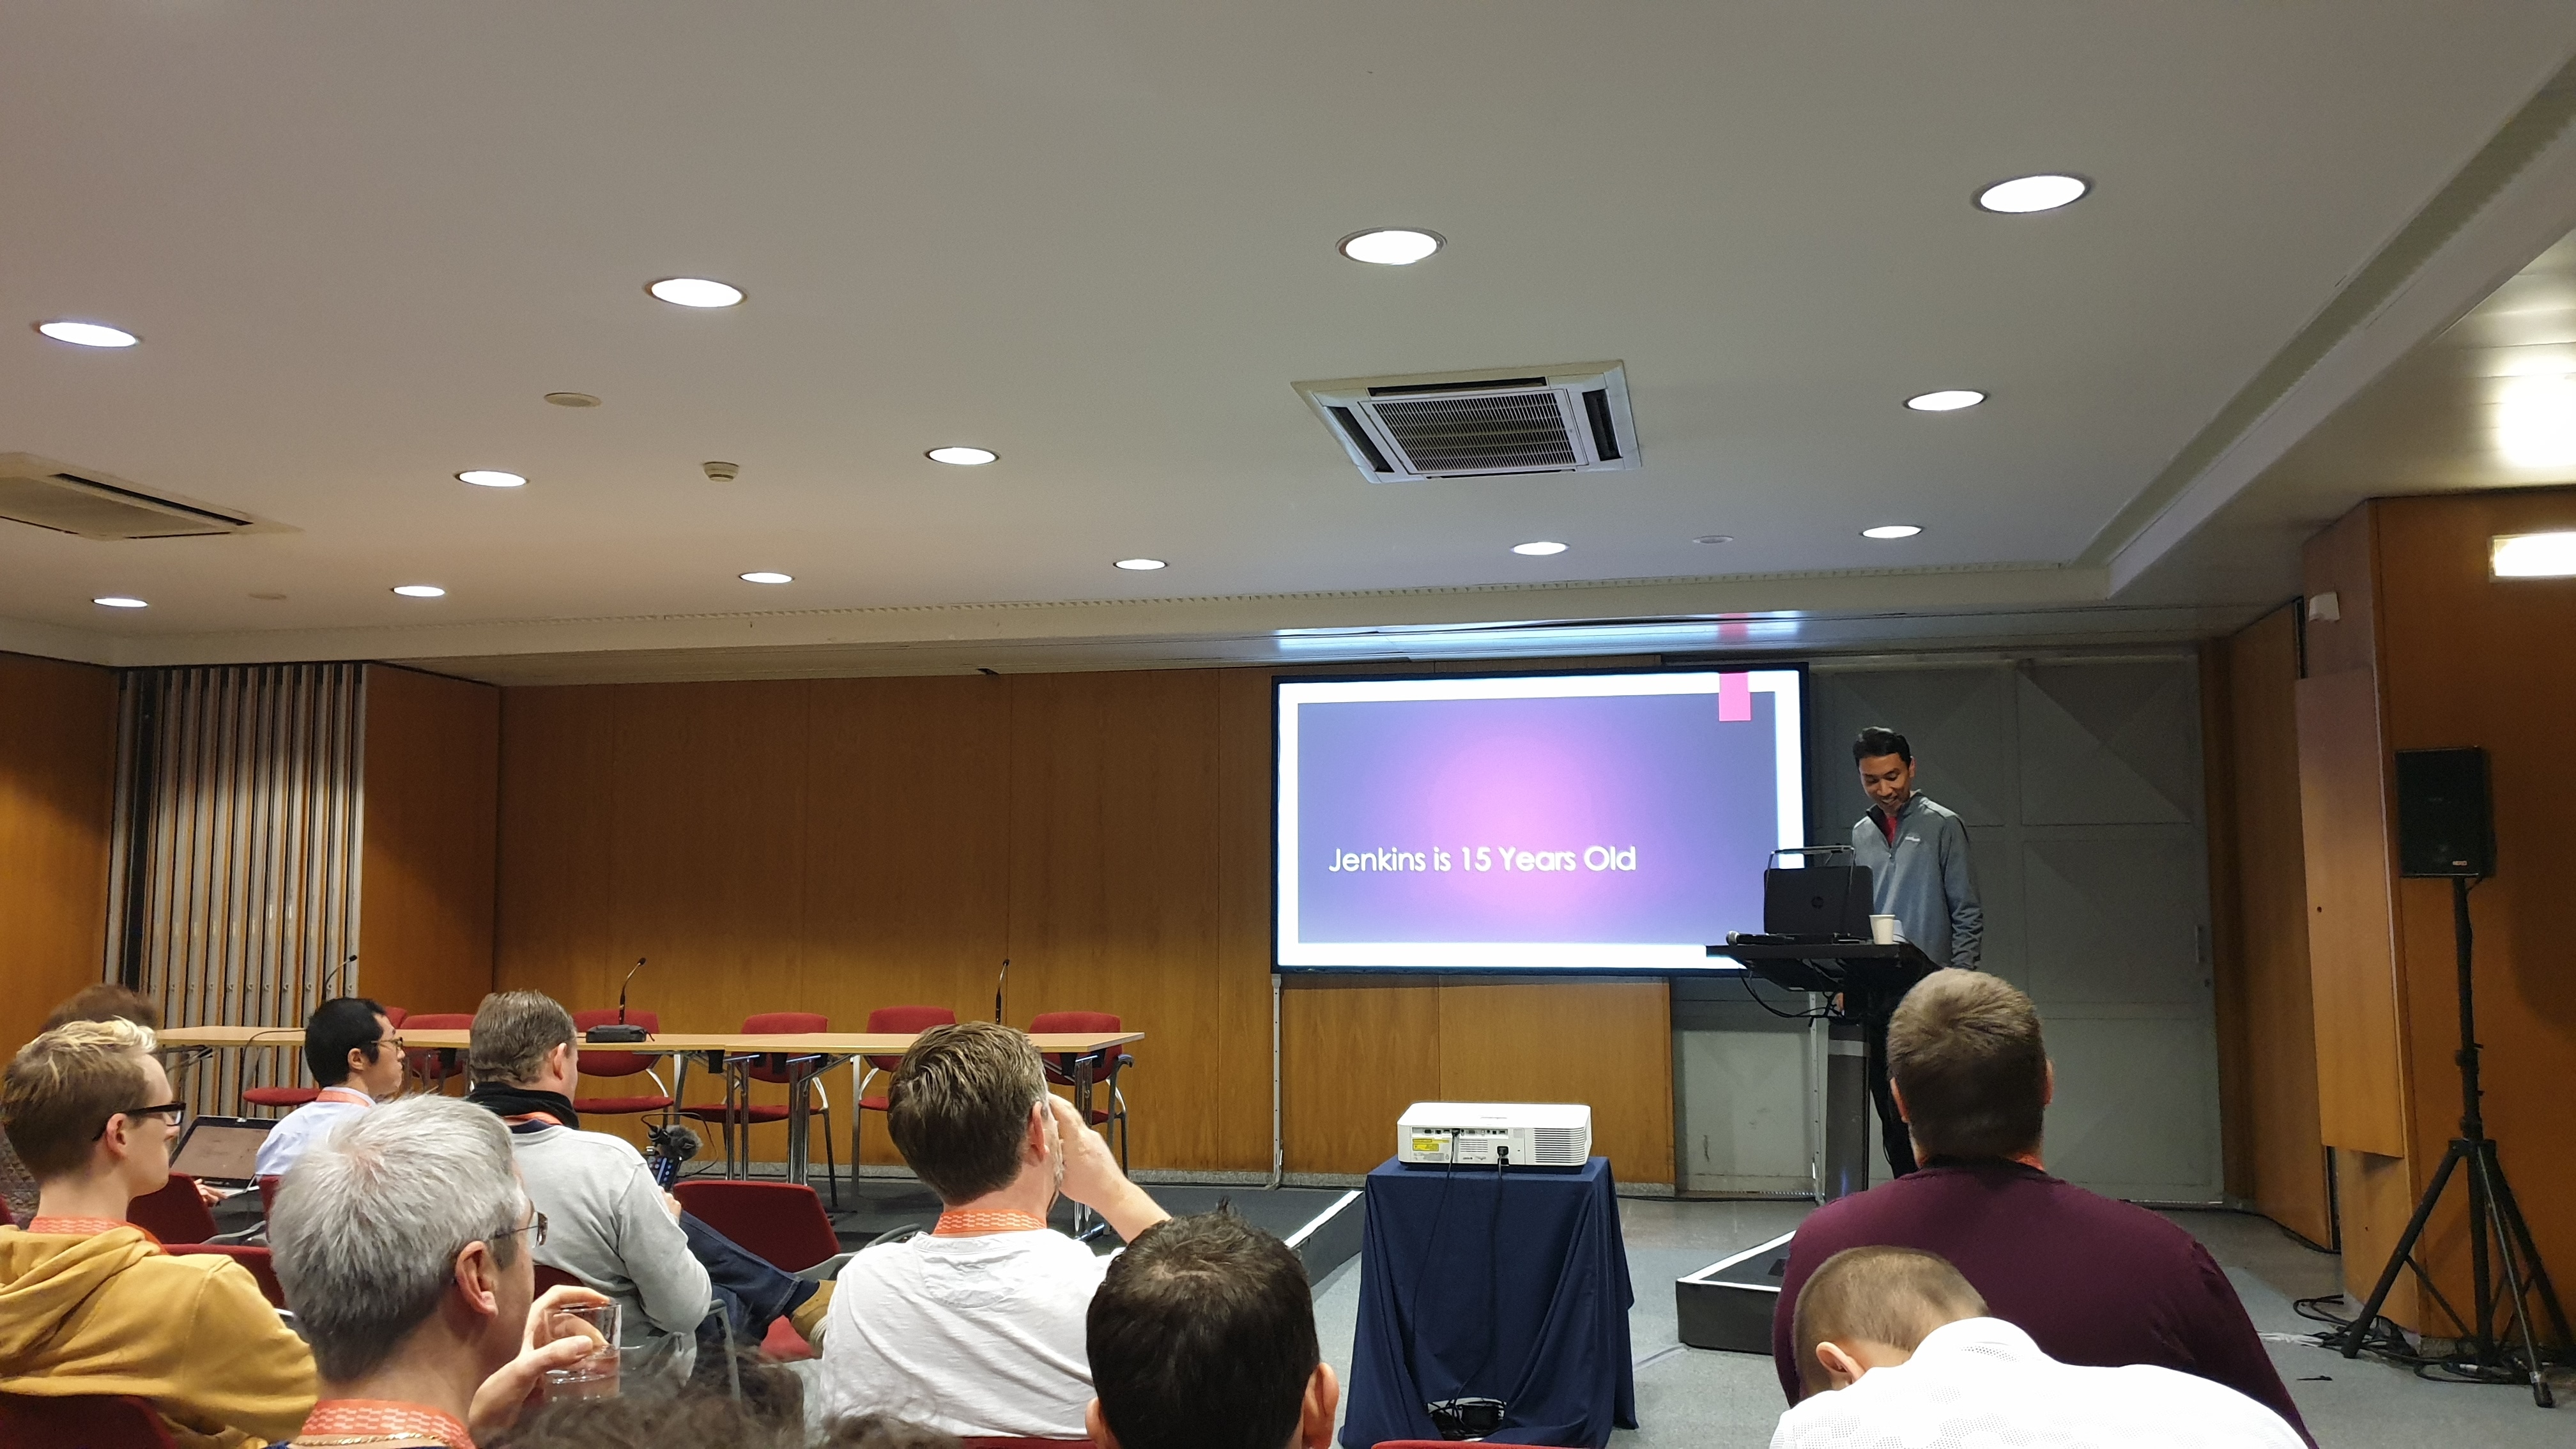
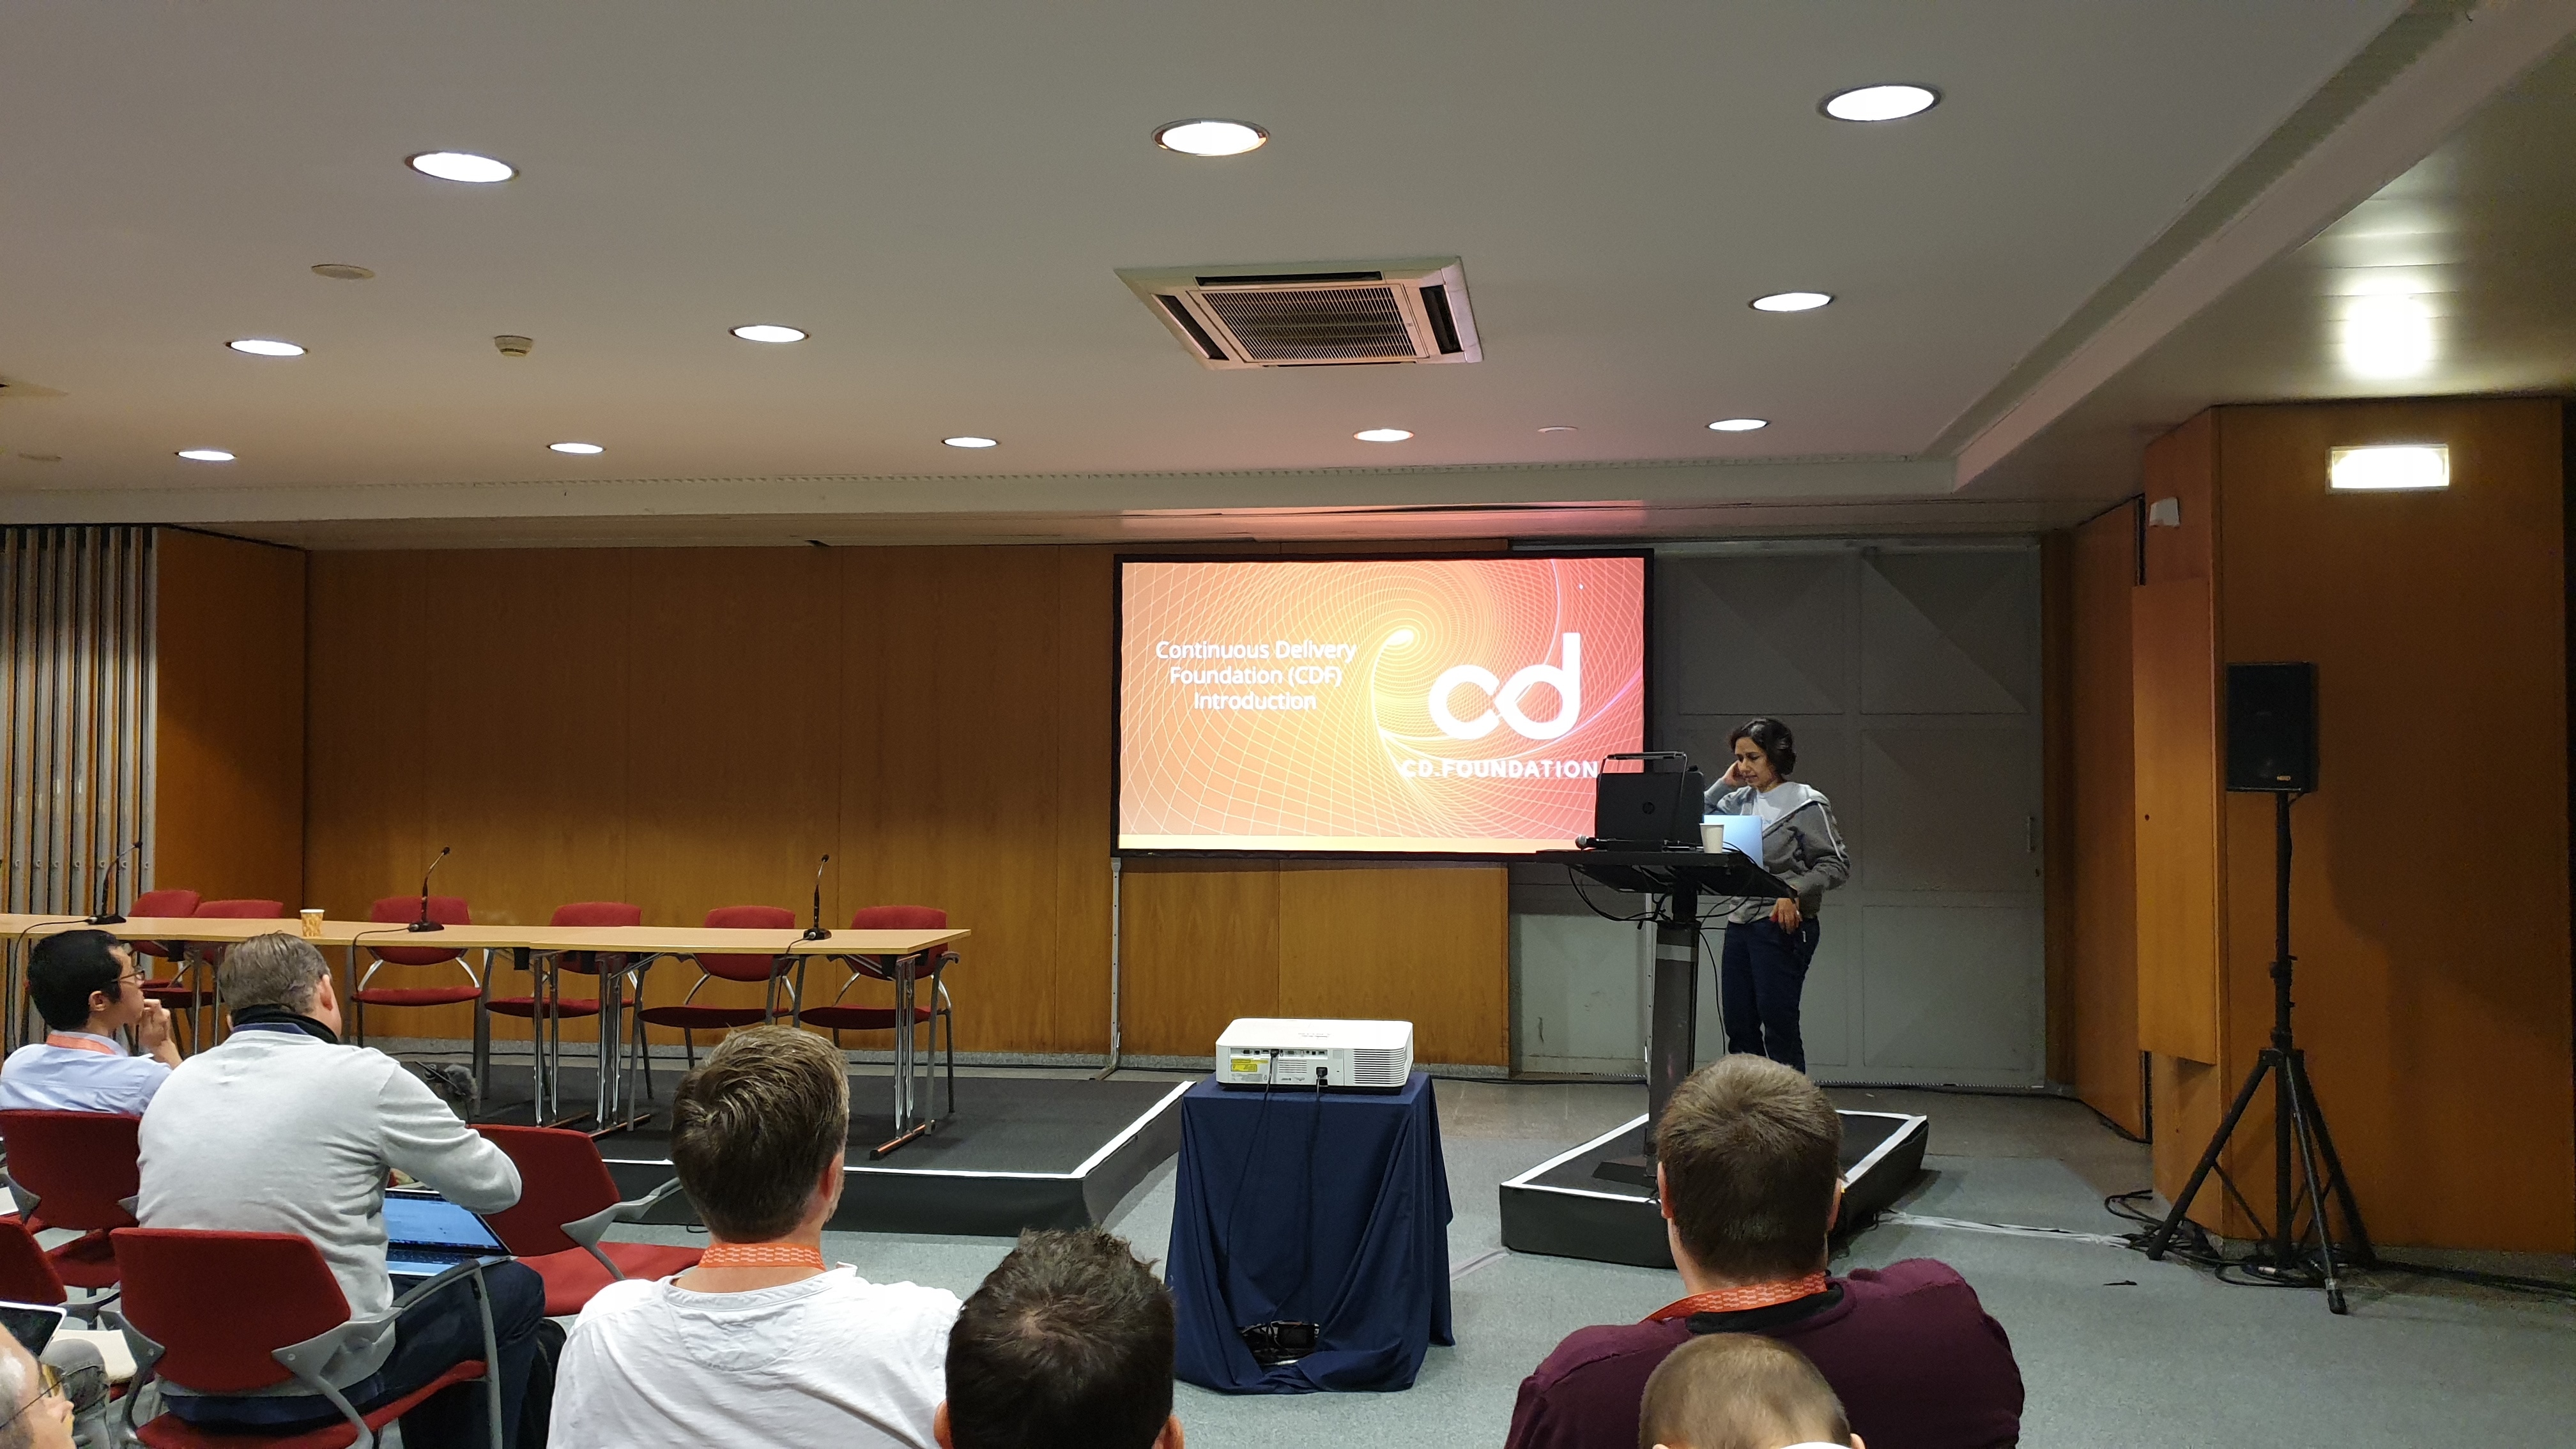
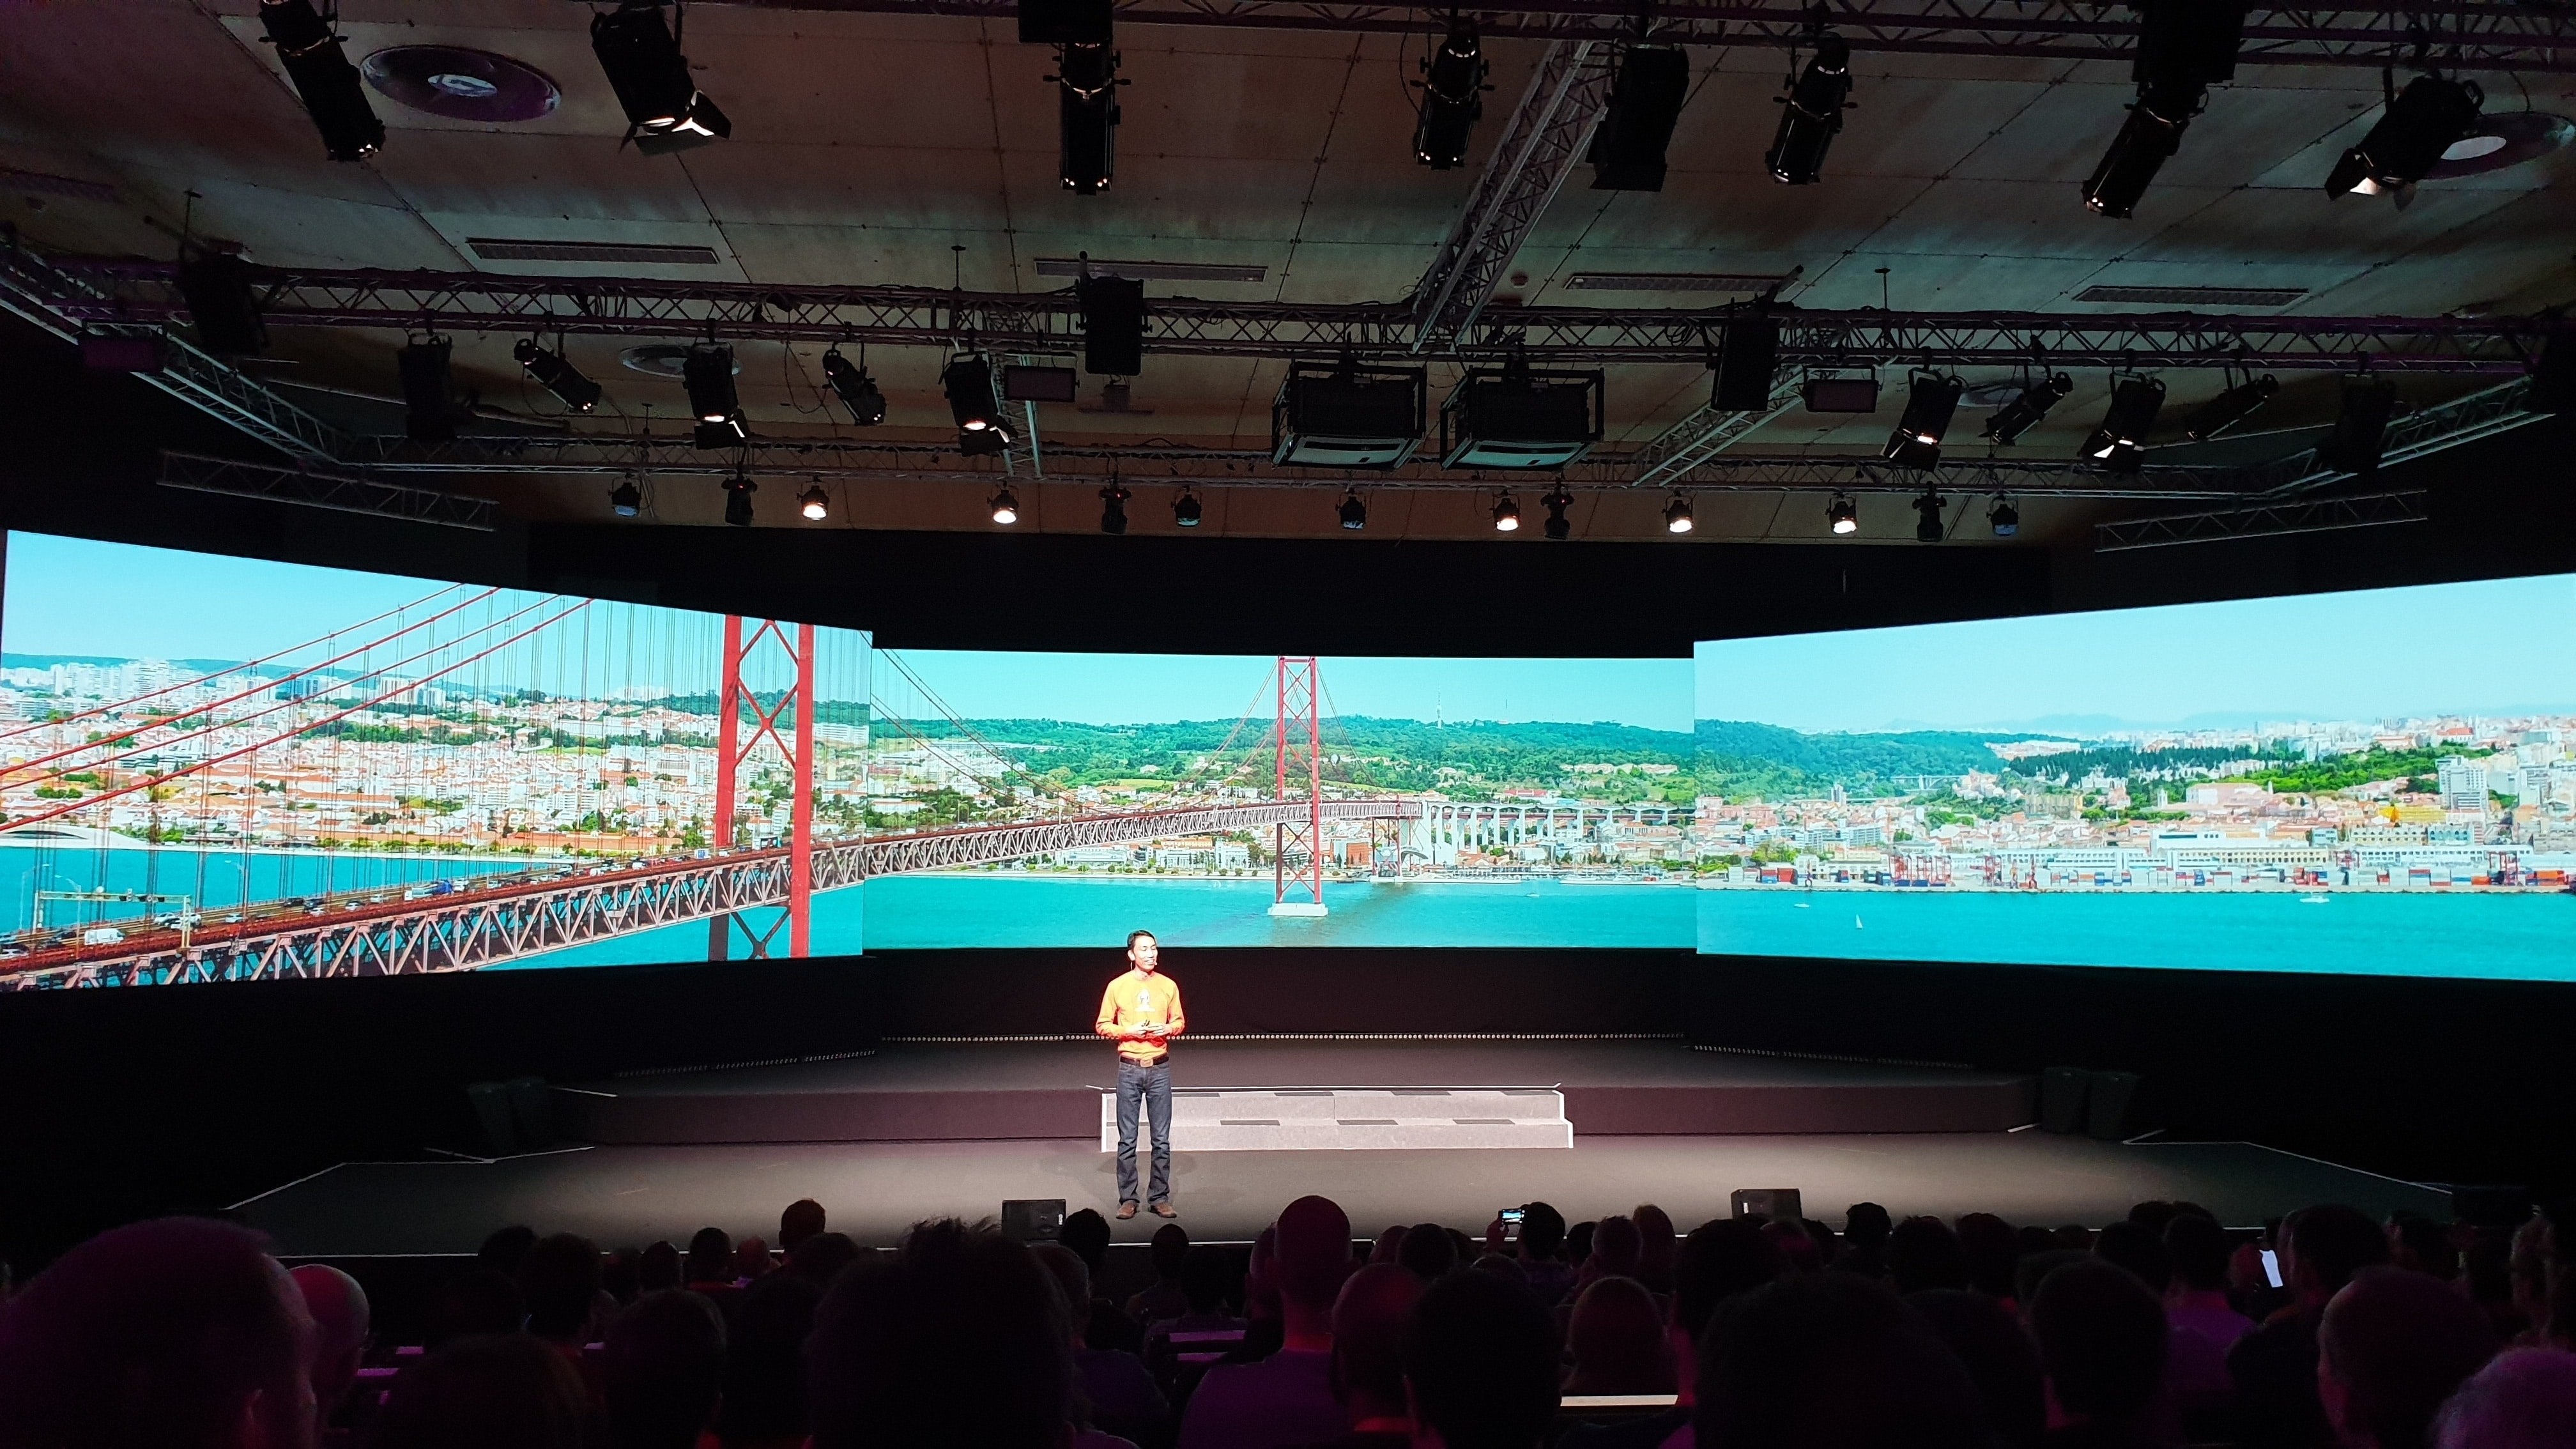
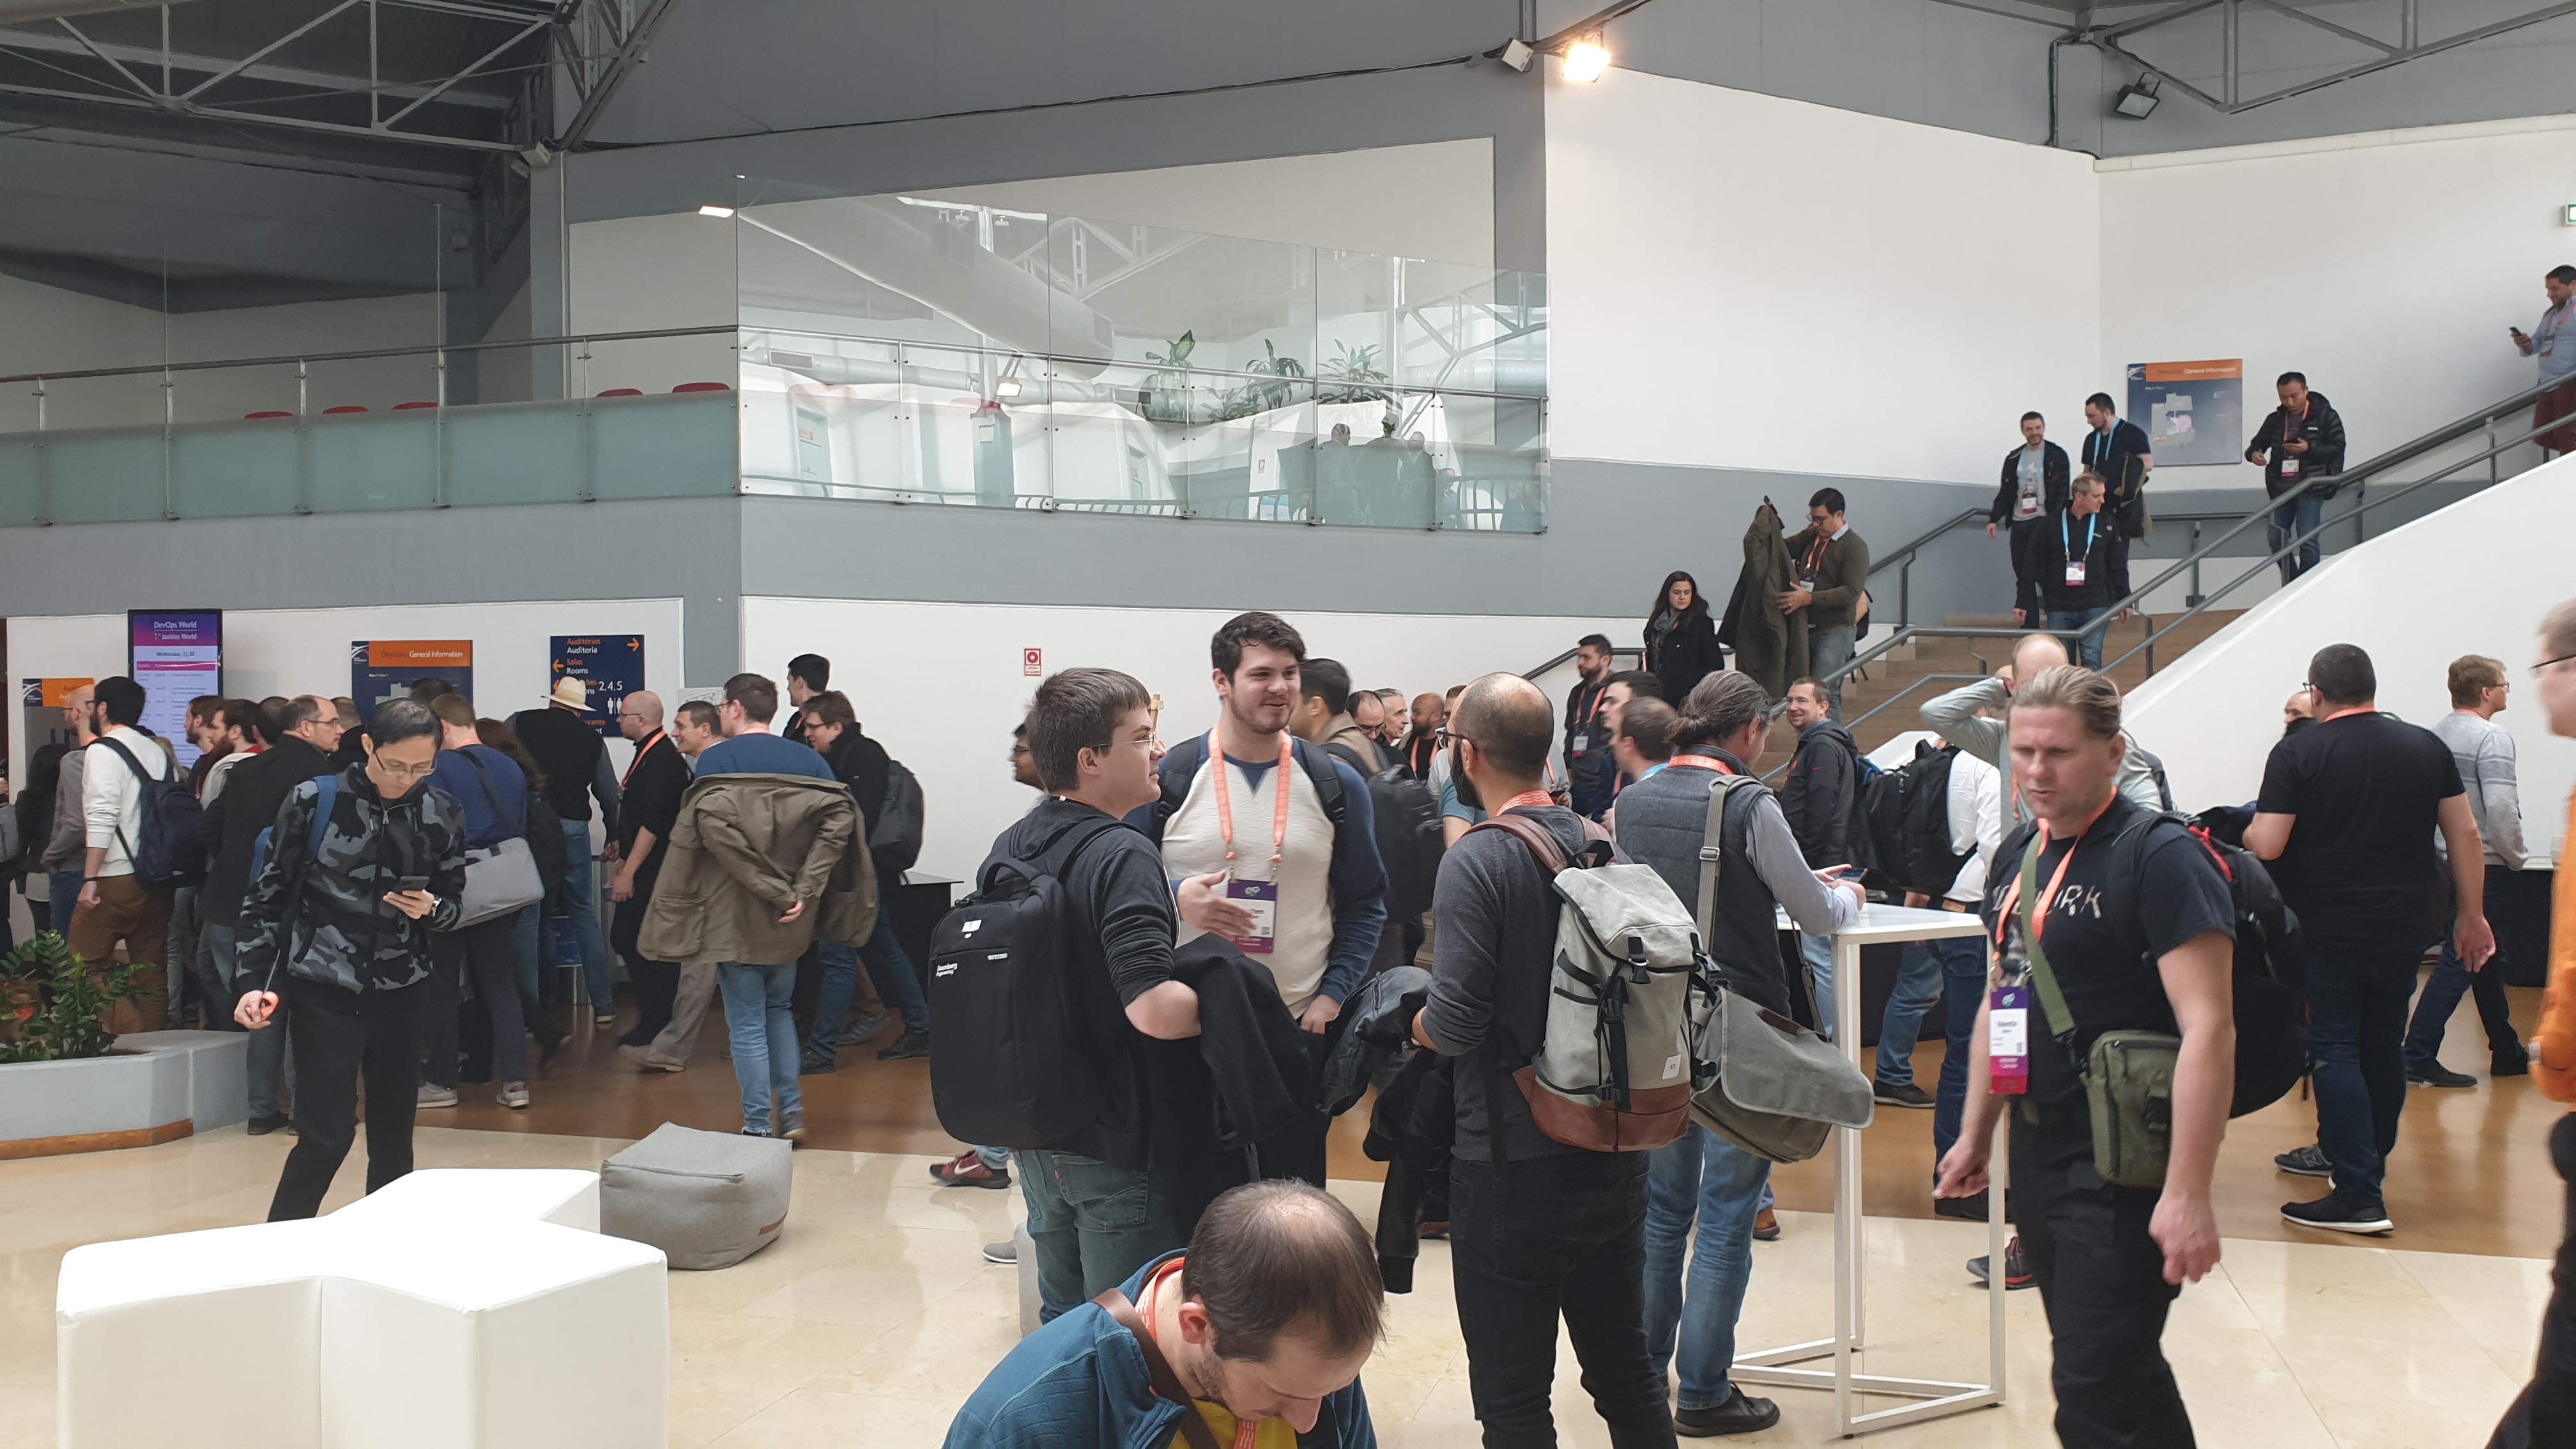
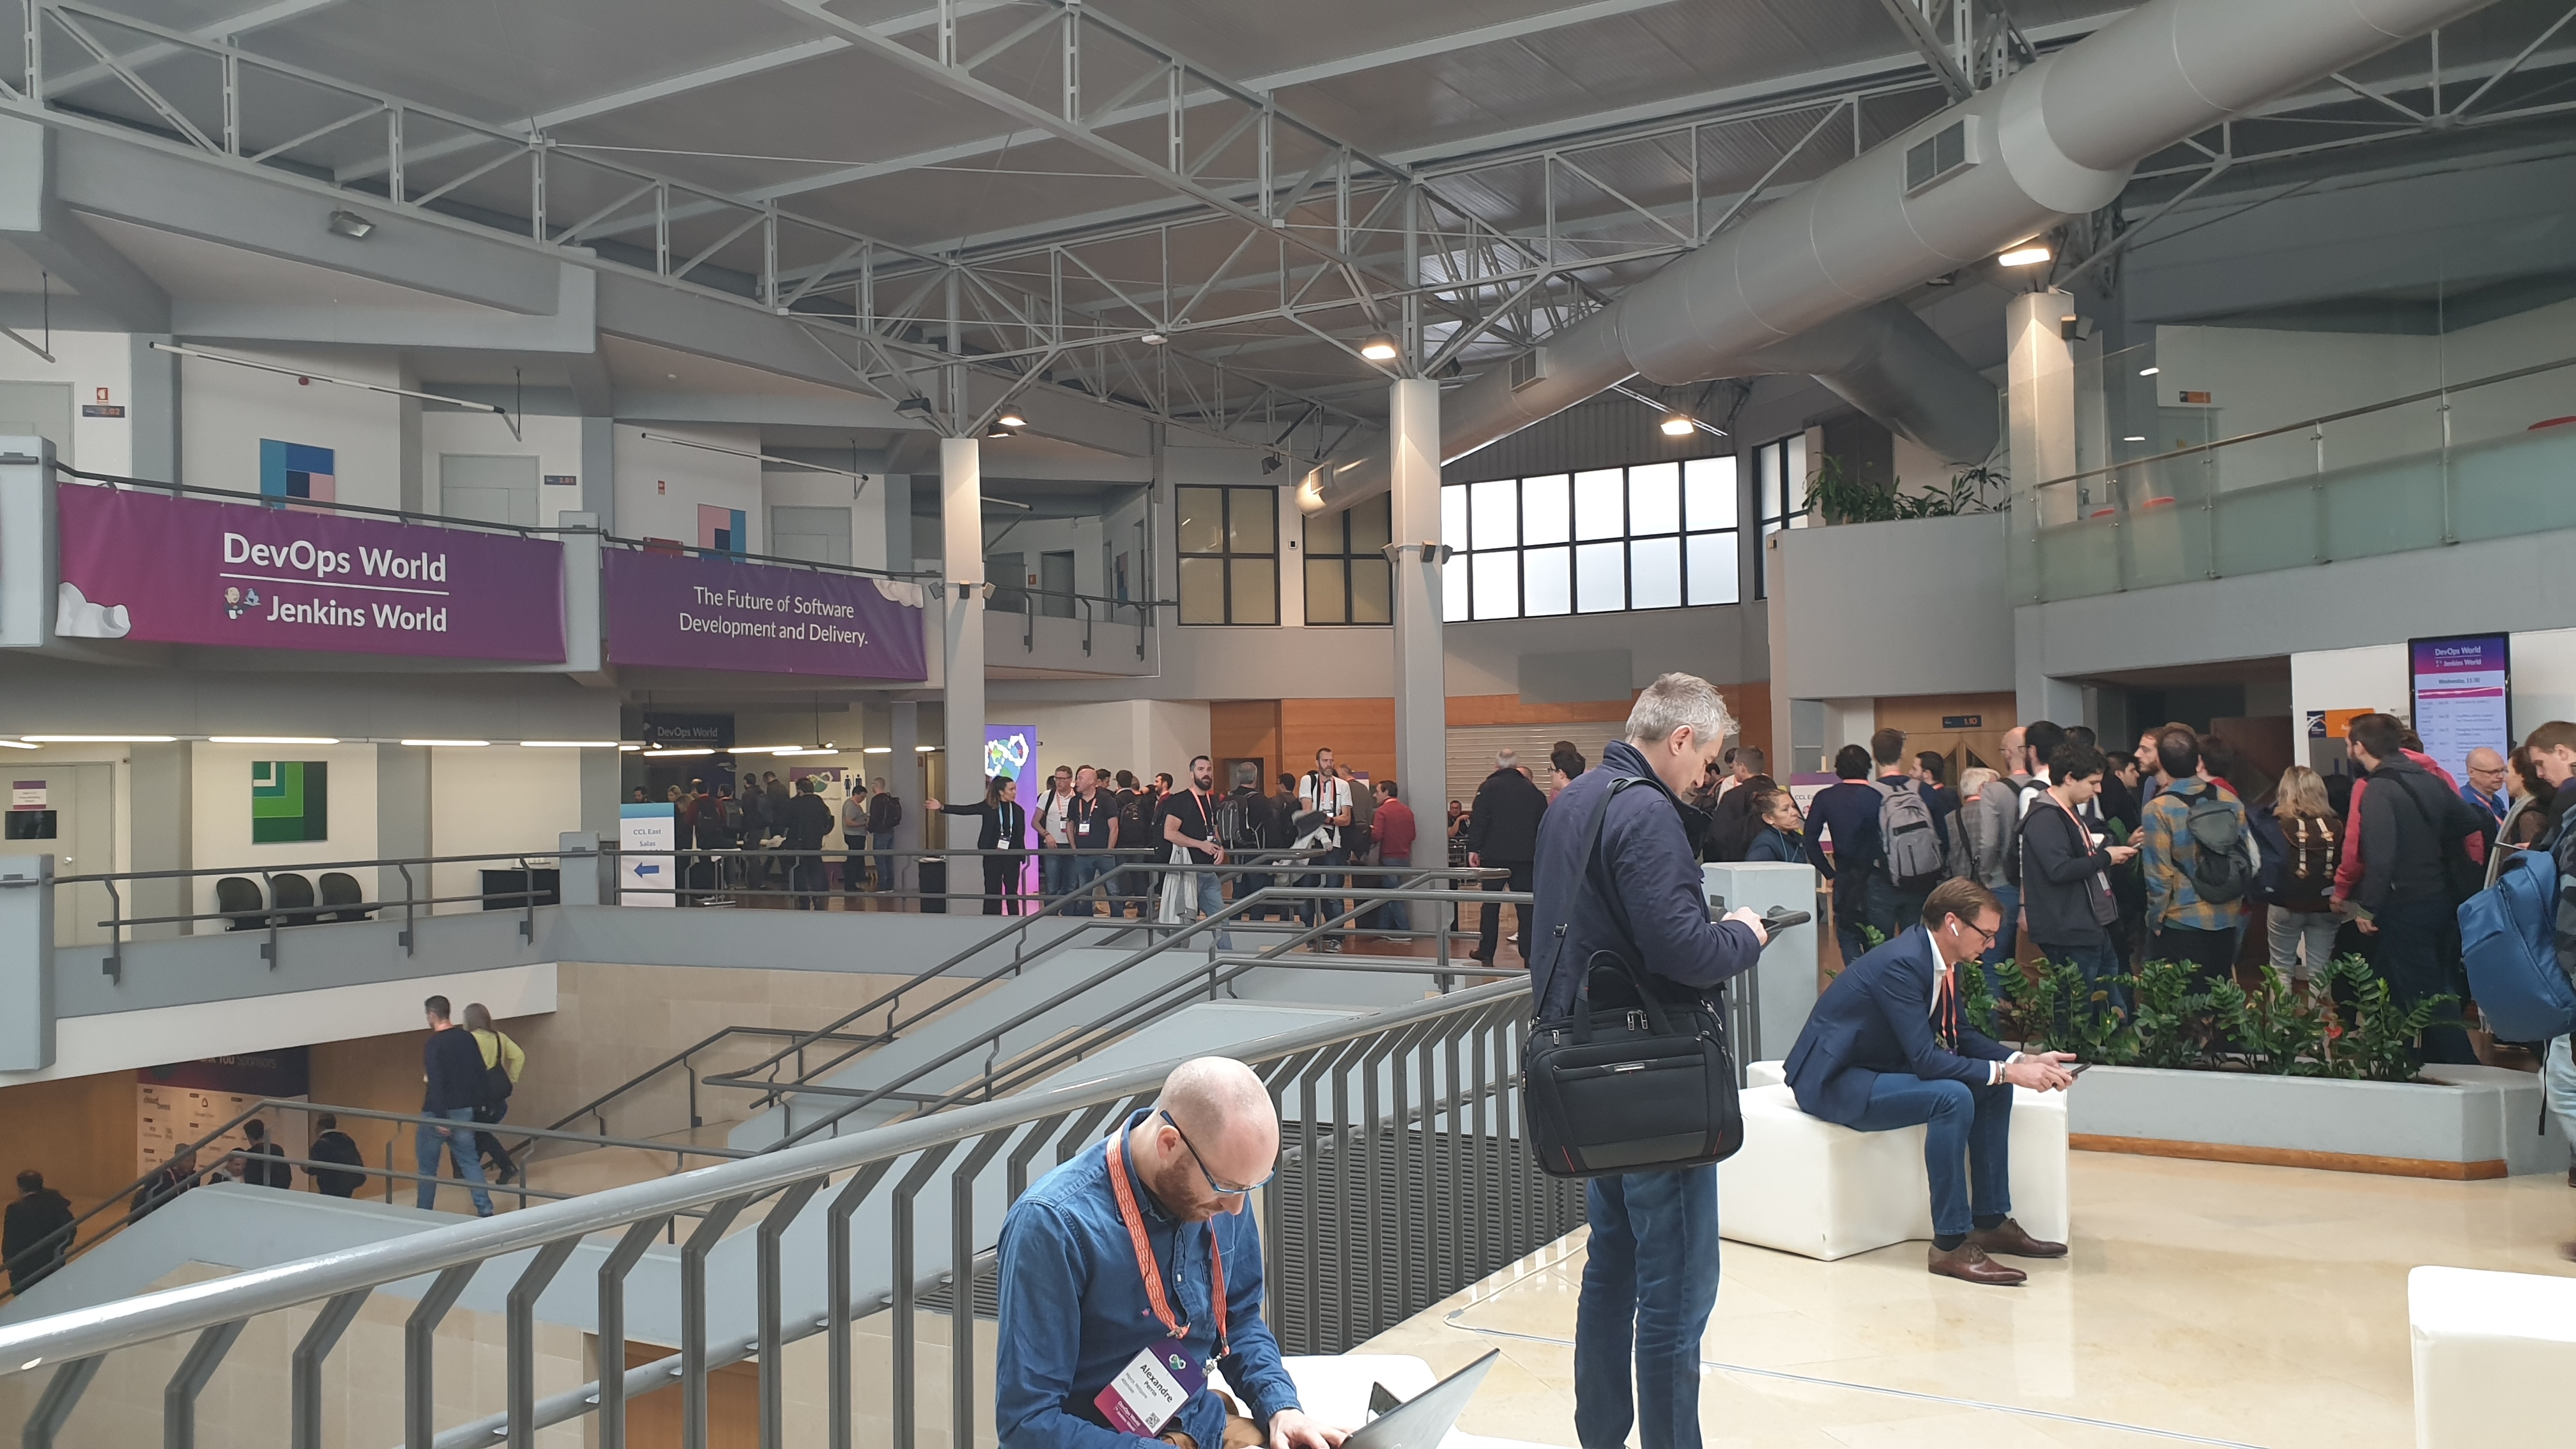
At Comquent, we offer services in Quality Assurance, and a very important part of ensuring a product of high quality is to establish the right CI/CD processes. This means that we should also concentrate in the technical aspects of such an infrastructure. The “DevOps World – Jenkins World 2019” conference was a great opportunity not only for us, but also for all enthusiasts in the DevOps community to learn what’s new in the CI/CD world and to educate oneself in all things about Jenkins. The event takes place once a year in a different city in Europe. This time it was held in Lisbon! We all had a great time sharing knowledge and listening to talks about Cloud evolution, Kubernetes, Jenkins and, of course, Jenkins X.

Day 1

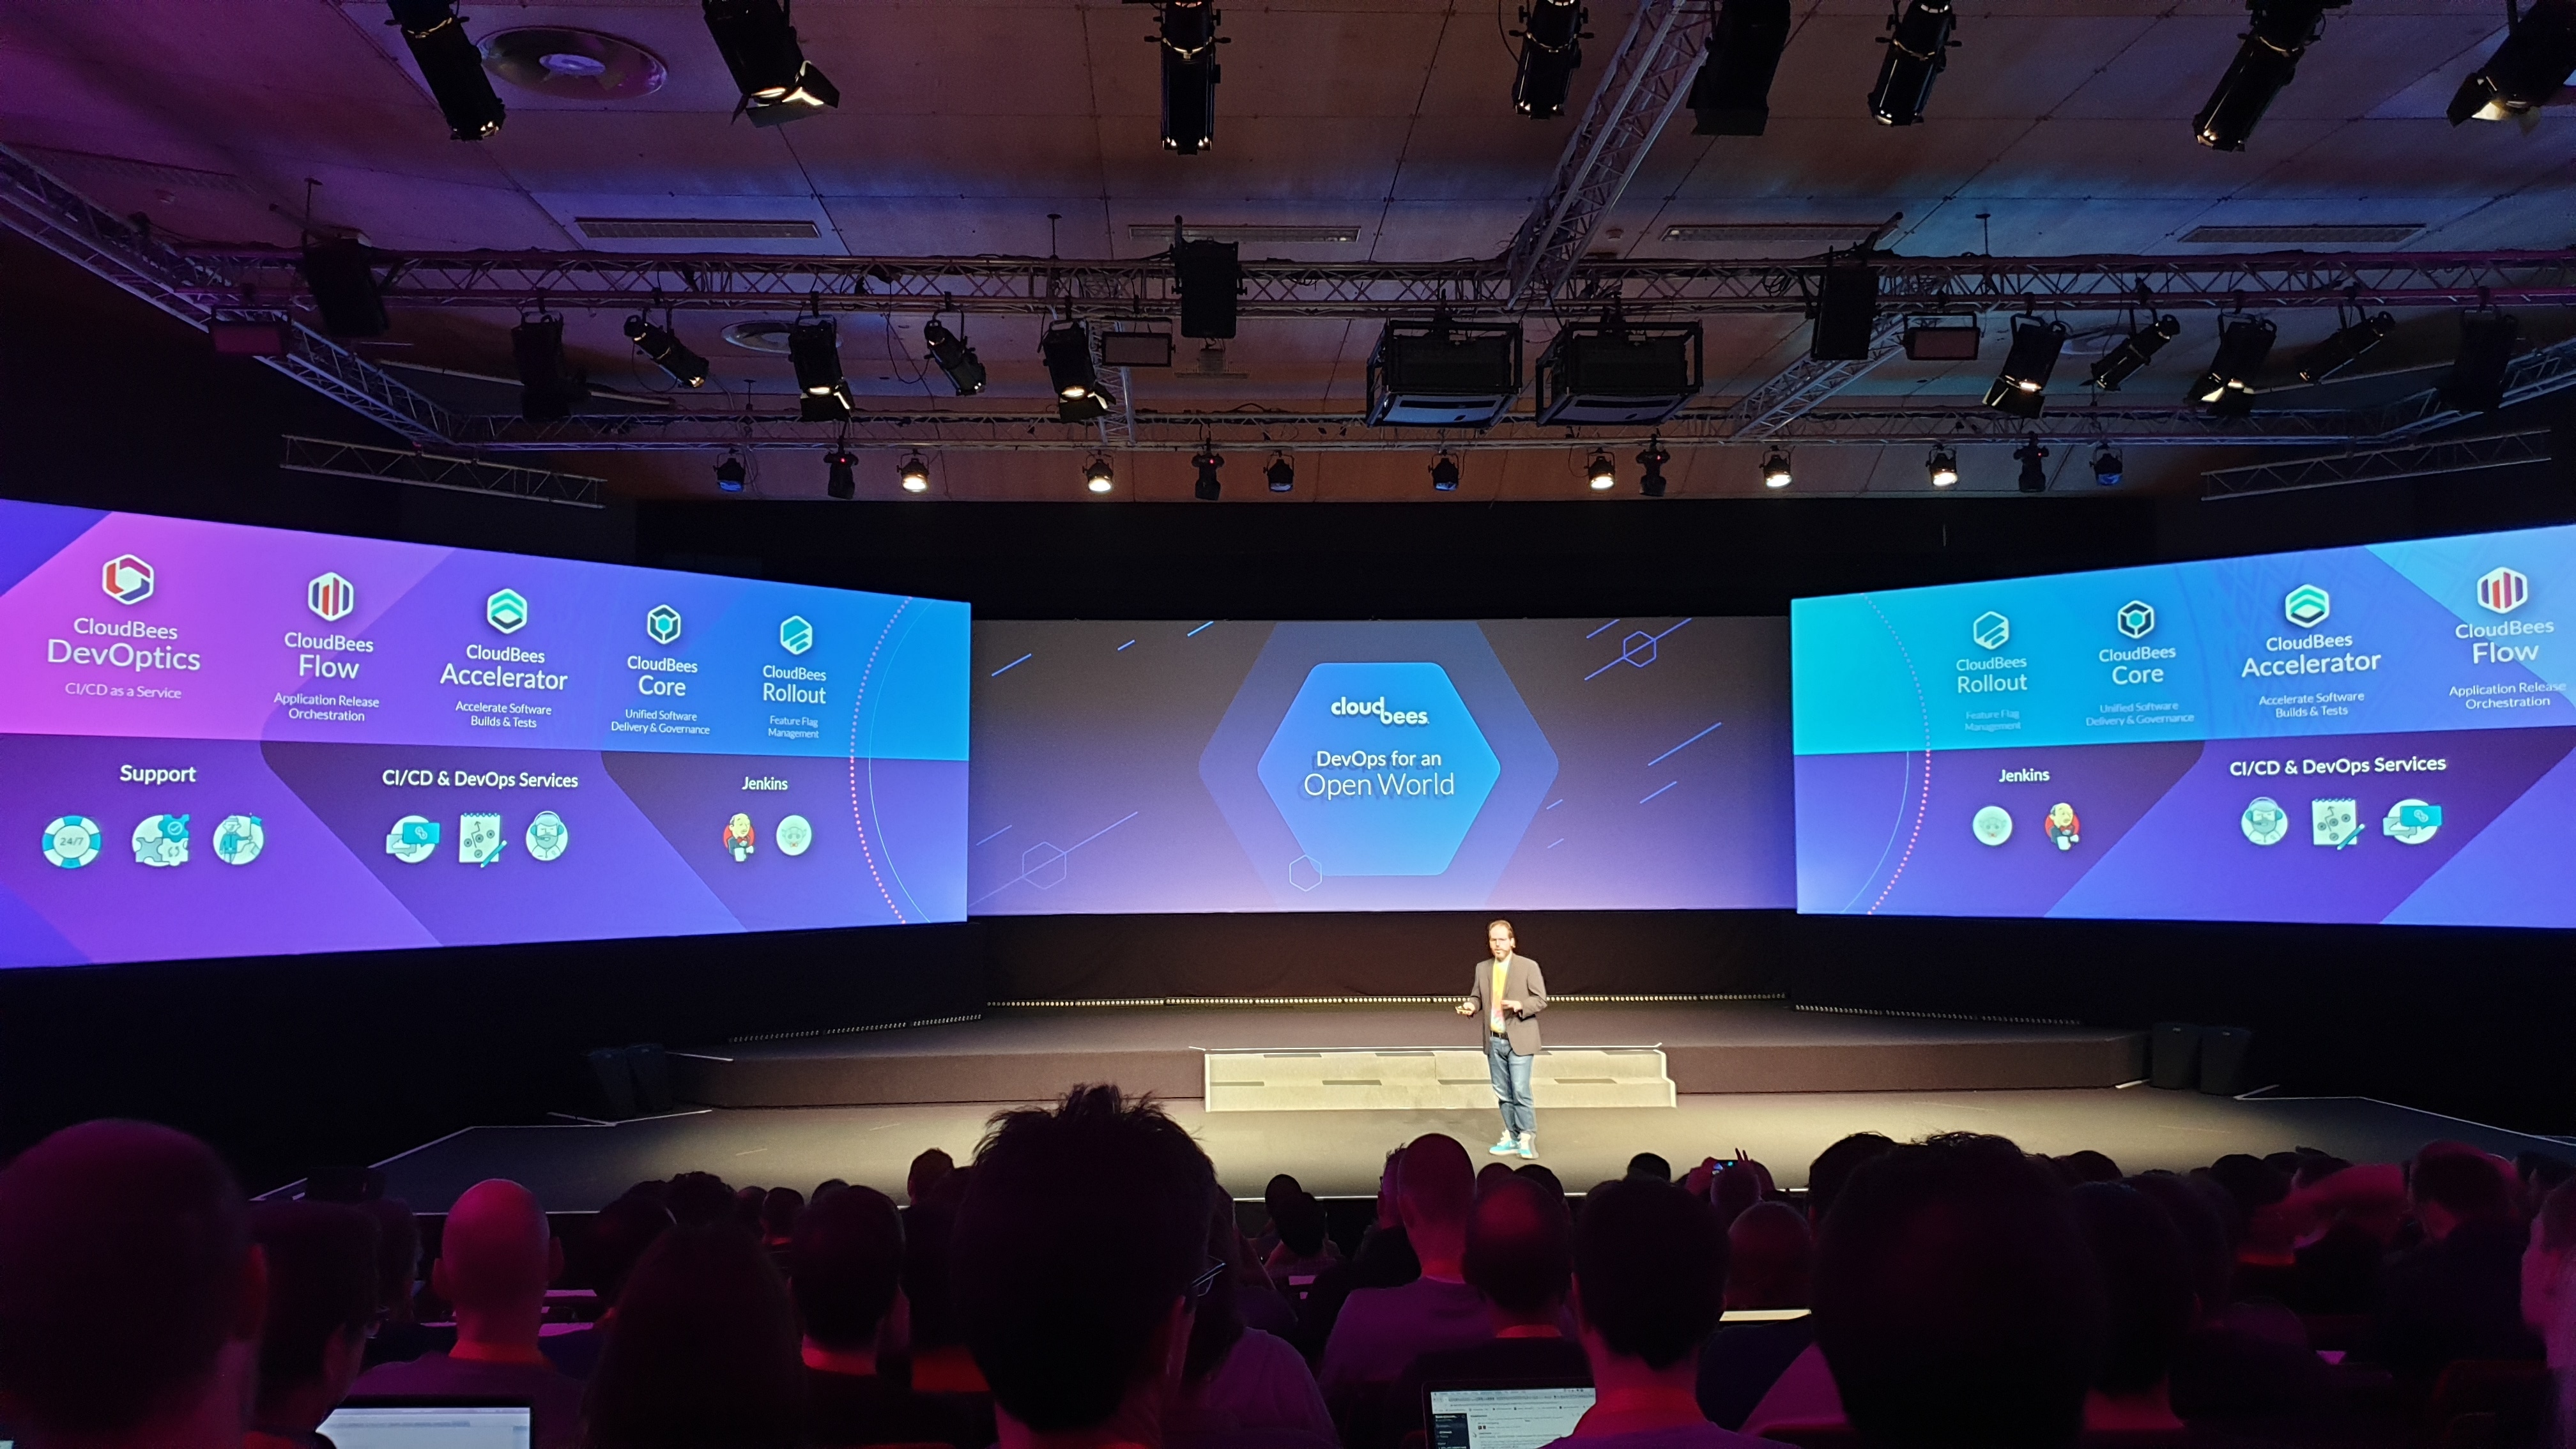
The “pre-conference day,” as it is called, was the day all training sessions took place. The participants of the conference were able to apply for CloudBees Core, Jenkins and Jenkins X trainings, in order to gain the fundamentals and advanced knowledge about CI/CD with Jenkins. Through these sessions, newbies in the field had the option to apply to take the actual exams that took place on Day 2, without any extra cost to those holding a ticket for the entire conference. Additionally, CloudBees organized the Partners Day, where Comquent, as a new CloudBees partner, had the opportunity to watch some insightful presentations about new CloudBees products and solutions like Flow, Rollout and Accelerator.

Day 2

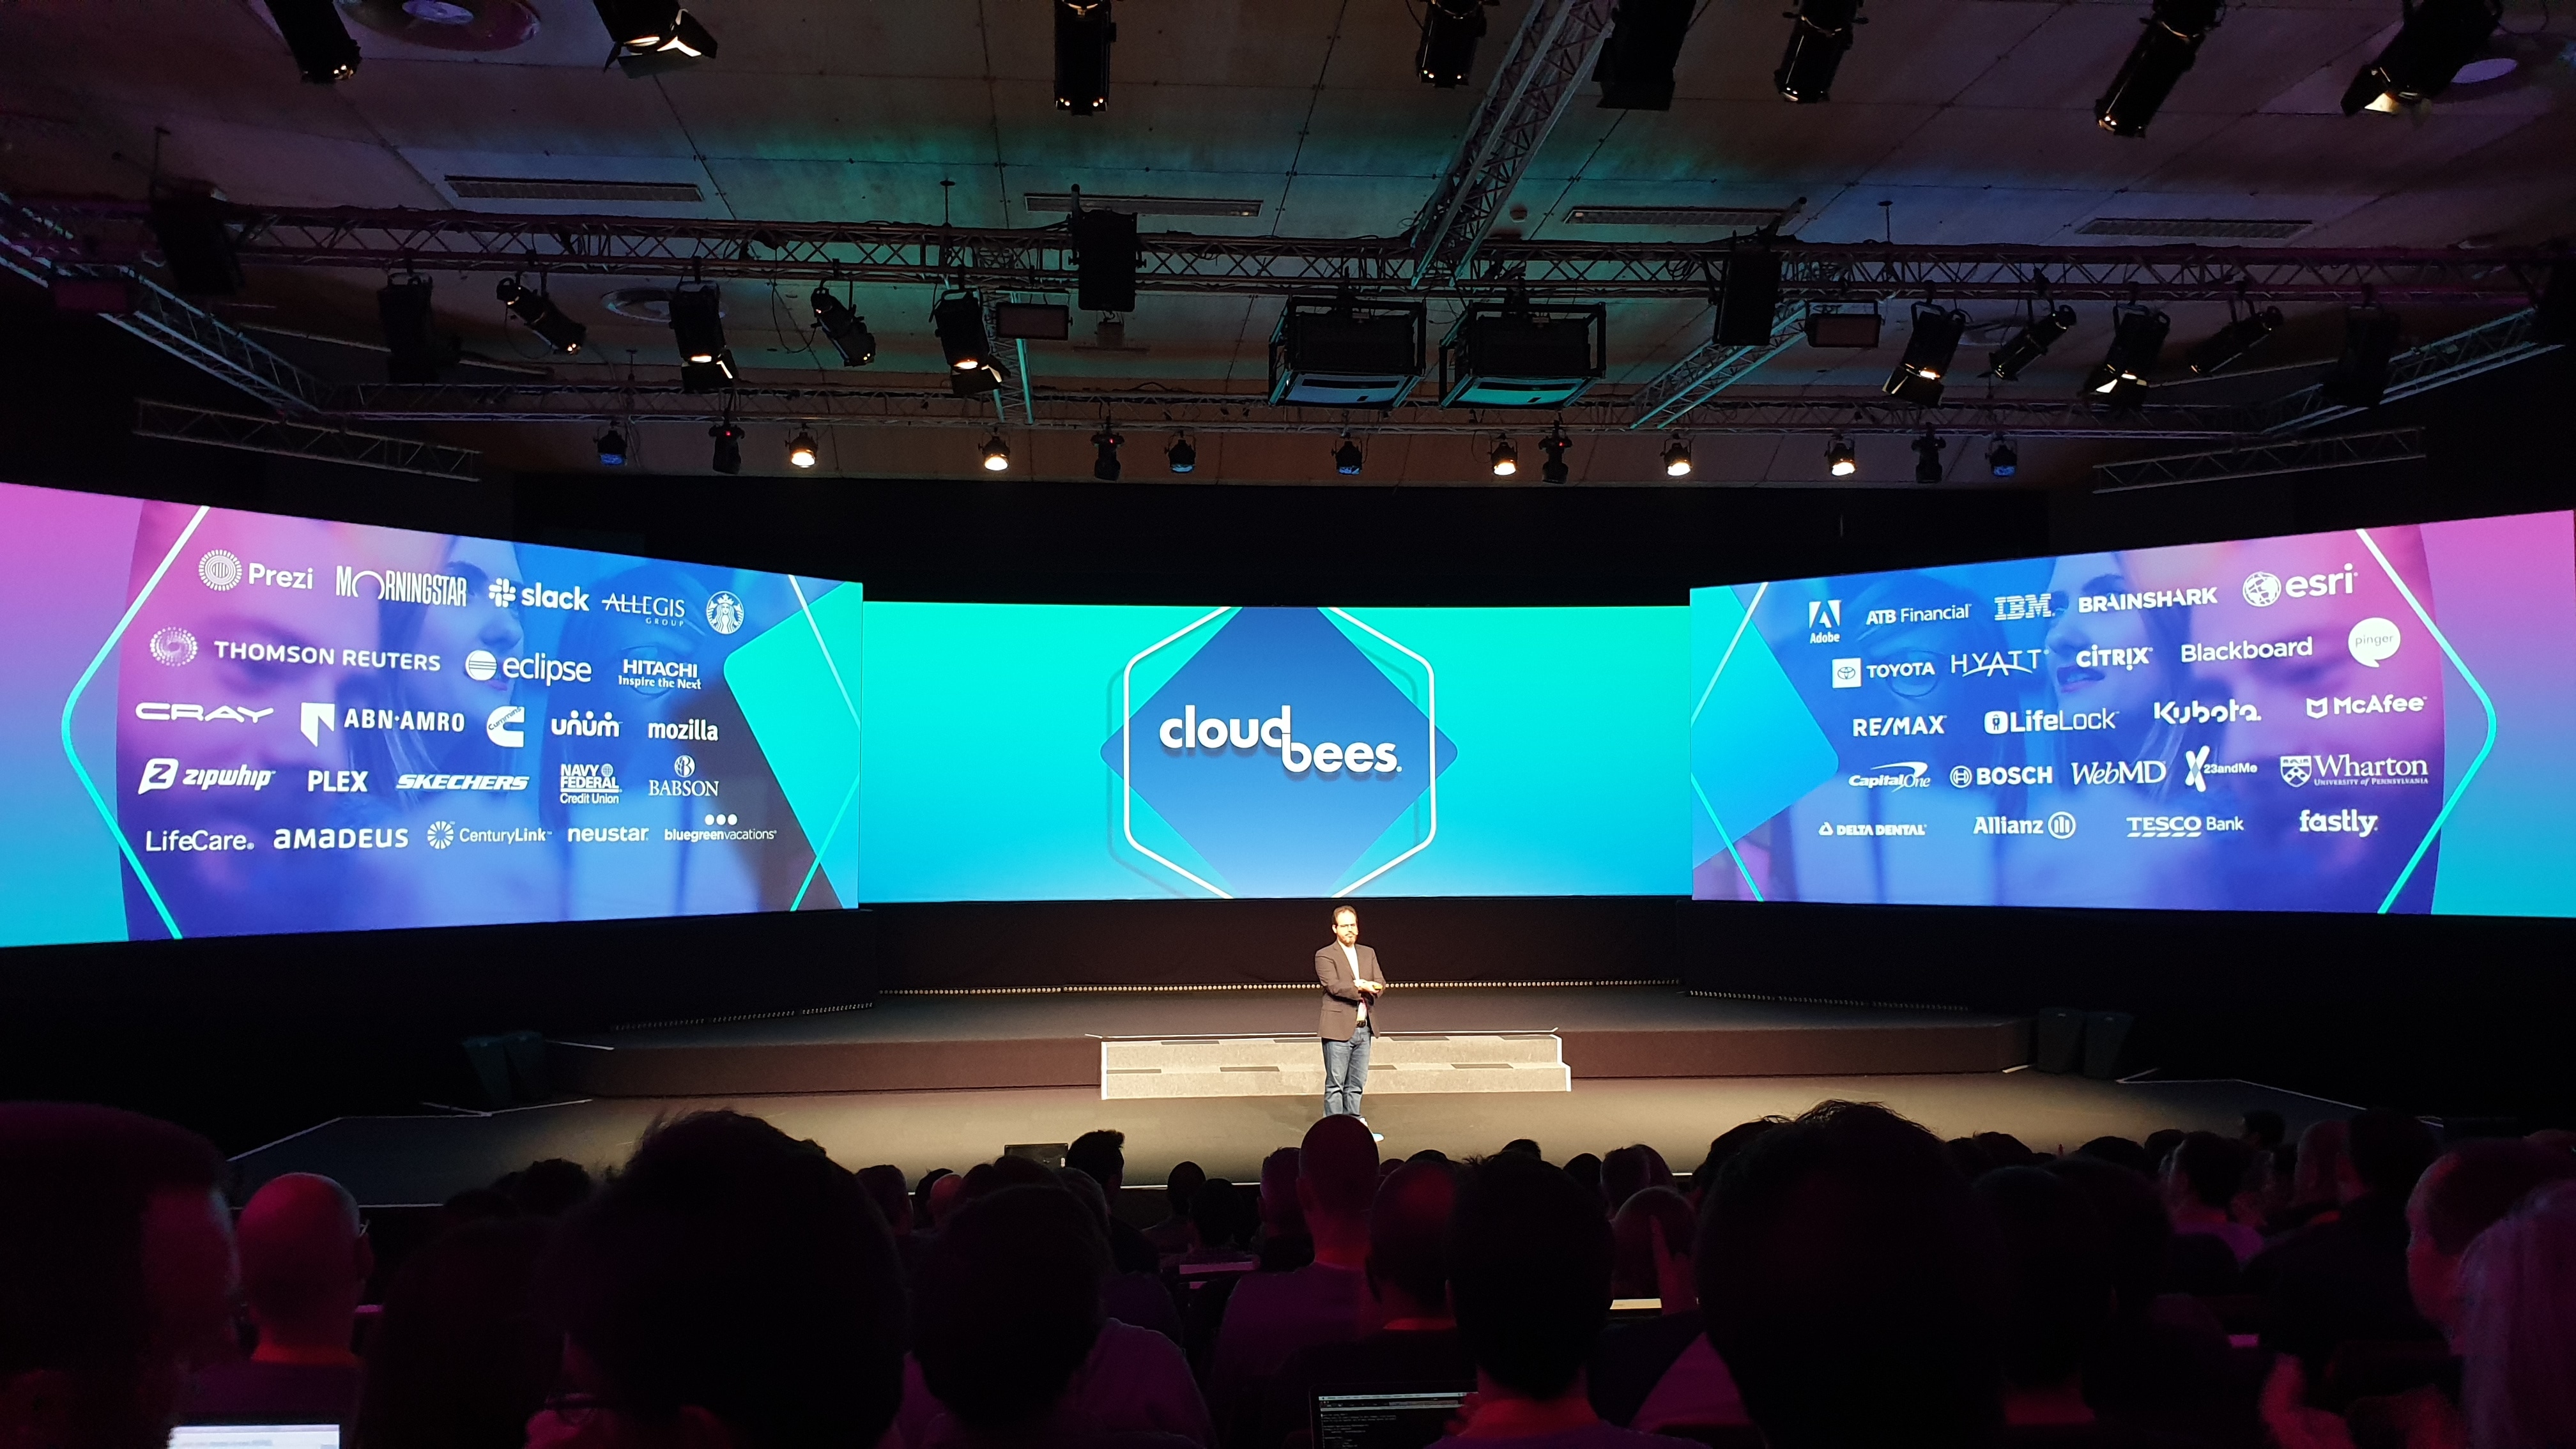
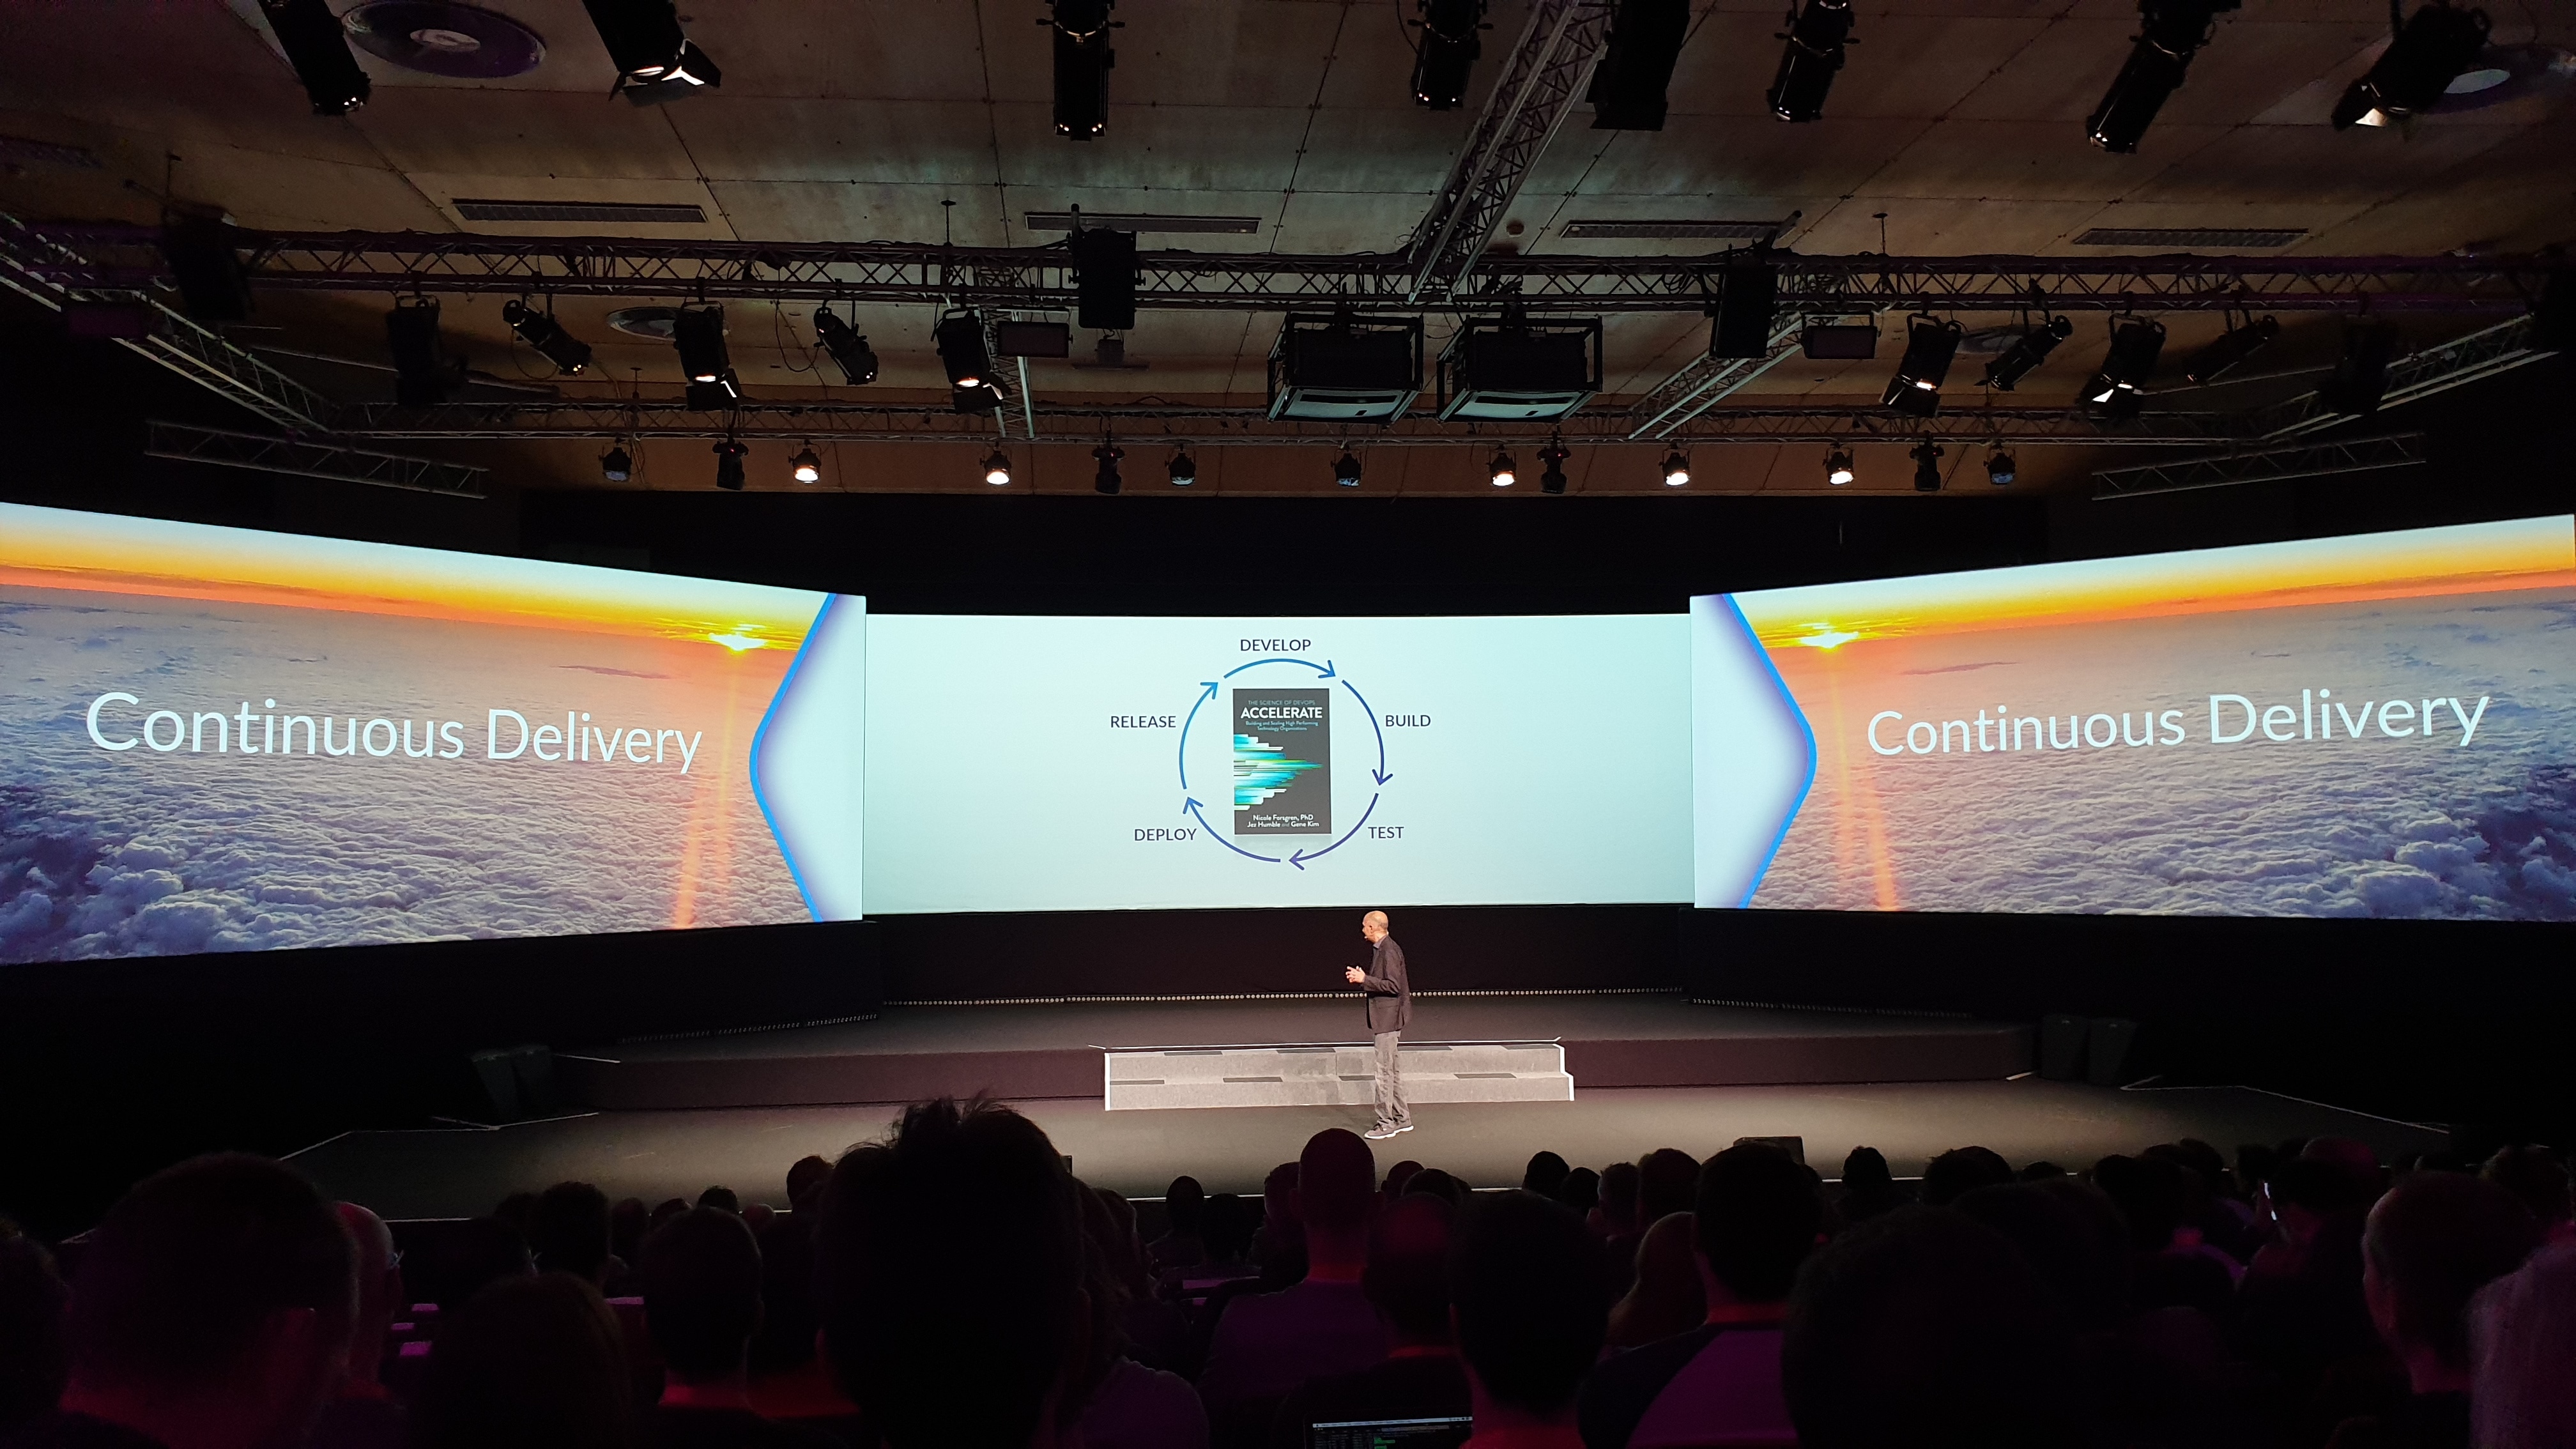
On day 2, the keynote speaker set the pace and introduced what’s new in the DevOps and Jenkins world. CloudBees presented its vision about solving the challenging problems in software delivery – problems which, so far, have prevented the integration of technologies, teams and tools with relevant and significant business processes. One solution provided: A “Software Delivery Management” platform, now open to everyone to join on a preview-basis. SDM aims to provide a common data layer to connect teams, tools and business metrics. Kohsuke Kawaguchi, the creator of Jenkins, talked about the journey that started it all. Google Cloud partners were also on stage, and the new road ahead for the CI/CD world was revealed to us.

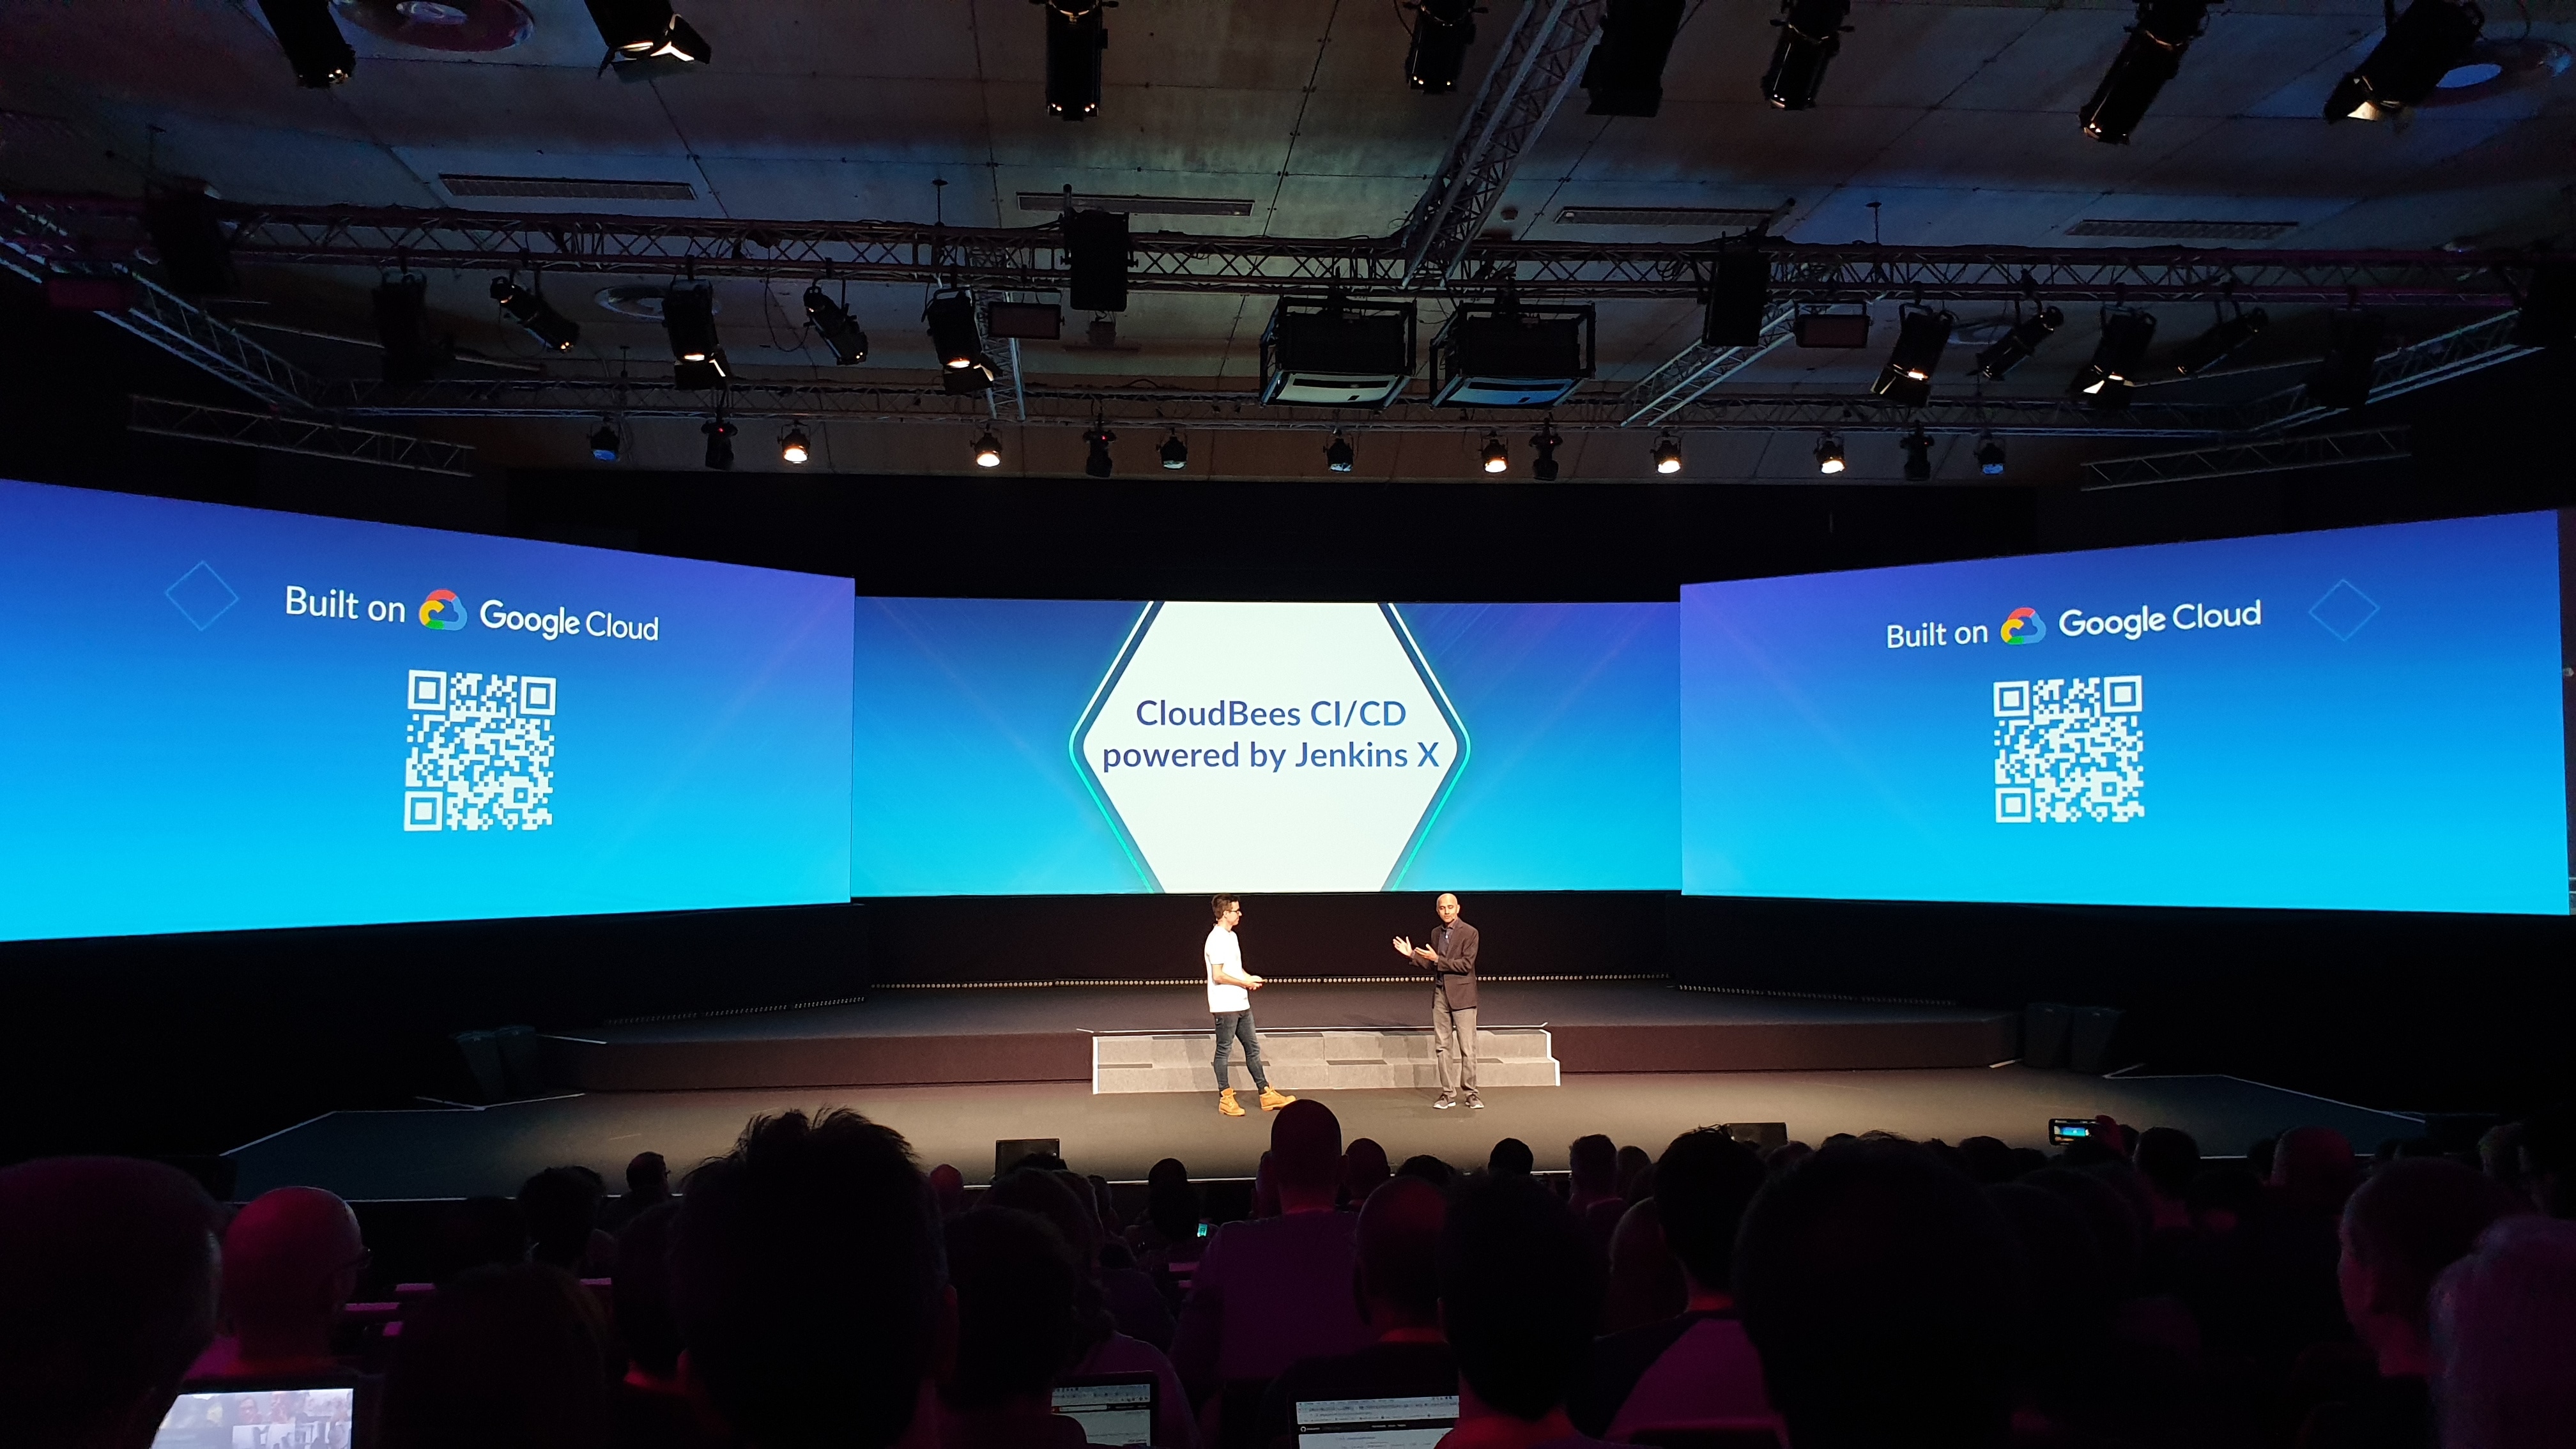
Kubernetes is the new standard for developing and orchestrating containerized applications in the Cloud. Tekton is a powerful pipeline execution engine, which leads us to Jenkins X, the CI/CD solution for Kubernetes applications. CloudBees also revealed a new way of interacting with one’s own Cloud infrastructure in Jenkins X, introducing a new User Interface to easily monitor a pipeline, or to promote a Build to production. And to make things even easier, companies can now join the “CloudBees CI/CD powered by Jenkins X” preview experience, where the installation and configuration of Kubernetes is not a prerequisite, but offered as a service.

Other interesting talks were also held throughout the day. One example was how to incorporate budget and security in the pipeline implementation and stop the pipeline if budget or security is out of certain limits (continuous verification of infrastructure). Another example was how to incorporate security scanning in a CI/CD pipeline.

Day 3

This was the last day of the conference, where I decided to test my skills and take part in the exams qualifying for the designation of Certified Jenkins Engineer (CJE). About 80% of the questions were practically-based, focussing on the use of Jenkins, so Jenkins hands-on experience was required. With a score of 82.22%, I was officially certified, which boosted watching the final set of talks with all the more enthusiasm.

The last day included more advanced themes, like canary deployments and using specific tools with Kubernetes and Jenkins X in order to establish rules related to network metrics when upgrading a version. For example, one can roll out updates selectively, provided the network metrics (gathered from Prometheus, which is used for monitoring the cluster) of API communications are above a certain threshold. And only if there are no errors reported, will the deployment to other nodes (progressive delivery) be continued. The last talks focused on security in DevOps and Autonomous Real-time Testing (ART). With ART, one can model the user stories of a complex system and generate a “just-enough-number” of test cases with the help of AI and Sigma functions, i.e. the ones that provide the best coverage.

To be continued in part 2!

How to build a Python project in Jenkins

By | Blog | No Comments

Our Jenkins Pipeline training course is just updated on 2020! – PRESS HERE

Introduction 

In the world of Test Automation there are many frameworks available to help testers build their automation infrastructures based on Behavior-driven development (or BDD). We can use Selenium and Cucumber in Java, commit the code in a remote repository and let Jenkins build and run our test project. “Behave” is the framework used in Python language that helps us write test cases in Given-When-Then format and implement the test steps.

When the Python project is run locally, we will end up with a report on which test cases have passed and which test cases have failed. But Python does not use a packaging manager like Maven or a Project Object Model to automatically search for dependencies and download them before the building process starts. Instead, all the packages needed for our Python program to run, have to be installed on the host machine. So, how can we use a Behave project in Jenkins and how can we incorporate it in a Build pipeline?

Server prerequisites

We assume that we already have a simple Python project implemented with the Behave framework, and a Jenkins instance on a server with Ubuntu 18.04. First, we need to make sure that the server can successfully run the project and show us the results of the tests. By updating and upgrading the system on the server, Python v3.6 will be automatically installed. Some development tools that will ensure a robust set-up for our programming environment are build-essential, libssl-dev, libffi-dev and python3-dev. To manage software packages in Python, we will also install pip. The extra packages needed for our project are:

  • setuptools, for packaging our project
  • selenium, to simulate and automate web browser actions
  • behave, the actual BDD framework

The Jenkins instance should also be able to run Python code, so the plugin ShiningPanda is necessary. After installing the plugin we can add Python through the global configuration tool by filling in the path to Python 3 executable, which in the most cases is “/usr/bin/python3”. More information about how to configure the ShiningPanda plugin can be found here https://bit.ly/2F2eqdF

Prepare the Python project 

Our Python project will be run on a Linux server with the help of ChromeDriver. Since the server does not have a GUI preinstalled, the project needs to be run in headless mode. Furthermore, there are some other options that we have to add to our driver.py file in the project that instantiates the WebDriver object, to ensure compatibility with the server:

options = Options()
options.add_argument('--headless')
options.add_argument('--no-sandbox')
options.add_argument('--start-maximized')
options.add_argument('--disable-extensions')
options.add_argument('--disable-dev-shm-usage')
driver = webdriver.Chrome("/usr/local/bin/chromedriver", chrome_options=options)

In order to test if the server can run our project with the current configuration, we can upload all project files to a temporary directory and run the following command:

behave -i test.feature --junit

If we see the the logs of the test steps and the results of the test cases on the screen, we are ready to continue.

Configure the Jenkins Freestyle job 

There are two kinds of jobs that we can configure in Jenkins. Let’s start with creating a Freestyle job. We need to follow these basic steps in Jenkins:

  • Add the repository URL that contains the Python project, to the Source code management section
  • Add a Build step, select Virtualenv builder and enter the following commands: pip install behave, pip install selenium
  • Add a build step, select Python builder and enter the command: behave -i test.feature –junit

This will enable the ShiningPanda plugin to create a virtual environment with the appropriate Python packages and then run the project with the same command we used earlier. Finally, we can:

  • Add a post build action: Publish JUnit test result report and fill in the tests report XML directory as it is configured in the Python project

When we Build the Freestyle job, we will see that a Test Result option is available on the Build details page and from there we can see the report on how many test cases have passed and how many test cases have failed.

Working with a Pipeline 

If we do not want a Freestyle job and instead we are only working with Pipelines, we can create a simple Pipeline job in Jenkins, select Pipeline script from Git and enter the Git repository URL of our Python project. In the Script path section we should enter the name of a new file that we will create for configuring the pipeline. We will use the the Jenkinsfile.groovy name, so in our repository we will need to create this file with the following content:

node() {
  stage('checkout') {
    deleteDir()
    checkout scm
  }
  stage('build') {
    sh "behave -i test.feature --junit"
  }
  stage('publish') {
    junit 'reports/*.xml'
  }
}

Since the server is already configured with all the required Python packages, the shell command will execute successfully and the Python project will produce the same results as before, visible on the Test Result option on the Build details page.

Conclusion 

In this article we examined the case when testers use Python and the Behave framework to build their test automation infrastructure and implement the BDD test cases and test steps. Then, we showed how to configure the Jenkins server with the required packages and implemented a Freestyle job and a Pipeline job in Jenkins, to Build our project and see the test results. This is a good example to show that Jenkins can support different languages and technologies with just a few configuration changes.

How to trigger Jenkins when new Tags are created

By | Blog | No Comments

Introduction 

When implementing a CI/CD pipeline with Jenkins, an important decision is which factor should trigger the build for a specific job. The most common practice is to use a Git plugin with Jenkins and when a developer commits and pushes the code, the push action on the repository will trigger the job build. But there is an alternative, where some companies have a requirement that when a new Git Tag is created, that action alone should trigger the job build, without committing any code. We will now see the steps needed to configure Jenkins and a Bitbucket project in our example.

Configure Bitbucket and create a Webhook to Jenkins 

We assume that we have a Jenkins server with a configured build pipeline job. This job executes the build.groovy script from a Bitbucket project. The first step for configuring Bitbucket is to install the Webhook to Jenkins for Bitbucket plugin, which is available on the Atlassian Markeplace from the Bitbucket administration panel. This plugin allows our SCM to send notifications to Jenkins about code commits and merges. The second step is to go to the specific project page settings in Bitbucket and create a Webhook to Jenkins with the following actions:

  • fill in the Jenkins URL
  • select the “Git Plugin” as the “Jenkins endpoint”
  • select the “Repo Clone URL” to point to our project

We can check the configuration by clicking on Trigger Jenkins. We should see a successful message and then save the configuration.

Configure the Jenkins project 

There are two changes that need to be applied in the Jenkins server. We should enable the Poll SCM build trigger in our pipeline job setting and enter a Schedule. This way, Jenkins will be able to check our project in Bitbucket for any changes. Then in the SCM section on the pipeline job configuration panel, we can enter the following settings:

  • Refspec: +refs/tags/*:refs/remotes/origin/tags/*
  • Branch: specifier **/tags/**

That’s all, the configuration is done and now it is time to check if this is working.

Test the configuration 

By navigating to our project in Bitbucket, we can easily create a new Git Tag in the commit section, thus simulating a situation where developers create new Tags in their workflow. In Jenkins we should see that a new build job has been triggered, even though no code has been committed and pushed to the repository.

Conclusion 

In this post we saw how to configure Bitbucket by installing a plugin and creating a Webhook from an existing project to our Jenkins server. Then we configured the pipeline job in Jenkins to be triggered when a new Git Tag is created. Deciding on the factors which will trigger a build job is not a generic process and should depend on the specific CI/CD implementation and the objectives we are trying to achieve.

Jenkins Integration with protected passwords

By | Blog | No Comments

Authors: Dimitrios V. Papadopoulos and Ioannis Gkourtzounis

Introduction 

There is a great need of protecting the passwords and the credentials generally through the project’s procedures. We are going to analyze a way on how to achieve the aforementioned. In our example, we include YAML and Groovy files to create our custom Docker-Jenkins container. If we are going to upload all the files into an SCM the credentials will be visible, something that is a vital security issue.

Git SCM

Before the usage of the docker, we are going to hide our credentials from our Git. The credentials that we really need to protect are the following:

  • Jenkins’ agent credentials (we need to insert them inside a .yaml file)
  • Credentials for accessing our Git account through a Jenkins project (included in the above .yaml file)
  • Jenkins’ admin account credentials (we can save then inside a Groovy script)

Next step is to clone our project on a directory (custom) inside our system (Linux is going to be used for this example). In this directory, we will have to create a file named “.env”.

Another step is to insert the above credentials inside the docker composer file (.yaml format).

Now because of the above script, all the other .yaml files can access the variables that are existed inside the .env file. These variables must be inserted also into the .yaml file that we created in the beginning.

Furthermore, we need to include these passwords inside the Groovy script that we made for the Jenkins’ admin account. The format is going to be different because of the Groovy syntax.

Conclusion

From now on all the passwords are hidden from the SCM (or other repositories) because they are located inside the .env file which is included into the host machine (custom system) something that increase the protection of the whole system. We just saw that, by using a combination of YAML, Groovy and system files we can protect at a high level the instance of our project.

Tip: There is also a different approach through the Vault project. For more, you can check here.

Docker Composer with Jenkins and Web Platform

Docker Composer with Jenkins and Web Platform

By | Blog | No Comments

Authors: Dimitrios V. Papadopoulos and Ioannis Gkourtzounis


Introduction

As we promised in our previous article, “Jenkins and Docker Integration for Continuous Delivery” (http://bit.ly/2D71OB2), we will now describe you a cycle of CI/CD using Docker, Jenkins, WordPress (as a to-be-tested platform) and a Test Automation project using the BDD Cucumber framework. As it is mentioned in the previous article, the above integration is going to accelerate and automate the CI/CD processes, resulting in more efficient daily routines.

Tools

Jenkins, Docker, Cucumber and Pipelines have been described in the first part. Here we will give you a small introduction about WordPress. WordPress (https://wordpress.com/) is a free open-source Content Management System based on PHP and MySQL. It also incorporates additional functionalities like a plugin architecture and a template system. It can be setup as a blog, a forum, an online store etc.

We have used WordPress to create a web platform as a demo, so that our Test Automation project can test it. Similar to any dynamic website, WordPress consists of its files that reside on a server (usually in the /var/www/html directory) and its database. We will focus on those two later.

At this point we will remind you that we have already created a test project using Java, Maven, Selenium, Junit, Cucumber and Groovy (for the build and test pipelines). The next step is to download all the files of the original WordPress website using FTP, in a zip file. We also need to download a dump of the WordPress database in sql format, this is easily done via phpMyAdmin or via command line.

With a full backup of the original WordPress website in our hands, our aim is to create a custom Docker container that can recreate this website, so that we can access this “copy” of the WordPress website. The purpose of re-creating the website with Docker is to enable us to run one single script and have the following results:

  • A container with an exact copy of the original WordPress website
  • A container with a preconfigured Jenkins instance, containing a test project ready to be built and ready to test the newly created WordPress website

Docker Compose architecture

In the previous article we configured a Dockerfile that is used for describing the settings and plugins of the Jenkins container. This time, there is a need of configuring a Docker compose yaml file to bring both, the copy of the WordPress website and the Jenkins instance, live.

Before this, let’s determine what Docker Compose is. According to the official Docker webpage (https://dockr.ly/2jh9kjV) we have the following definition: Docker Compose is a tool for defining and running a multi-container Docker application. In order to configure the application’s services, we create a yaml file following these steps:

  • Define the application’s services in a file named docker-compose.yml
  • Run the command docker-compose up. After this, Docker Compose will start the containers (copy of WordPress website and the Jenkins instance) and run the whole application

Docker composer enables us to run multiple services simultaneously and automated, providing efficiency and at the same giving us the ability to include all the configuration steps under one subsistence.

Docker Compose in action

Now let’s analyze what the docker-compose.yml file is going to include in its configuration. We implement the following functionalities:

1) create a MySQL container, which is needed by WordPress, and import a sql script that contains the original WordPress website database,

2) create a WordPress container and map the /var/www/html directory of the container to a host directory that contains the archive files of the original WordPress website,

3) create a Jenkins container with the procedure described in our previous post.

By executing the following command,

docker-compose up -d

,our services (Jenkins, WordPress and Database) are going to be live. We can access them by typing the host IP followed by the corresponding port number in the composer file (yml). For example, WordPress can exist under HOST_IP:6060 while Jenkins in HOST_IP:8090 and so on. As we can see, with just one configuration script and the use of Docker Composer, we created a container with an exact copy of the original WordPress website and a container with a preconfigured Jenkins instance, containing the test project. We can now build it, test the newly created WordPress website and get the test results in Cucumber Reports.

Conclusion

Having in our days a vast amount of projects and subprojects running at the same time, we need to use tools to make our processes run faster, automated and easier. Docker itself is an amazing tool and Jenkins is a state-of-the-art tool for CI/CD. The combination of these tools can provide us the optimum results that we seek for our operations giving us also the opportunity to customize our configuration in multiple ways. For example, we can create and build environments dynamically, with the use of containers and even test them with a dynamically created Jenkins instance.

We hope you enjoyed both articles (first part: http://bit.ly/2D71OB2). In case you need to ask something, do not hesitate to contact us, it will be our pleasure to help you.


Jenkins and Docker integration

Jenkins and Docker Integration for Continuous Delivery

By | Blog | No Comments

Authors: Dimitrios V. Papadopoulos and Ioannis Gkourtzounis

Introduction

In this article our aim is to transfer the experience of a Docker-Jenkins integration to the reader which is really useful, especially concerning the Quality Assurance sector. Concepts concerning this integration are going to be analyzed so that testers can gain a new interpretation on these processes. This way, they can spend less time creating new Jenkins instances and can become more efficient by automating these procedures.

The Tools

First, we will present the tools that are going to be used for this project. These tools are well-known in the IT sector because of their functionality and their flexibility. Though, there is a crucial configuration that needs to be done in order to have the expected outcome.

Jenkins: Jenkins is an open source automation server mainly written in Java. It is responsible for automating software development processes using Continuous Integration and Continuous Delivery known as CI/CD.

Docker: Docker is responsible for the “containerization” of our preferred dependencies, libraries and other files that we want to be placed under a single package. This tool is used to read the configuration properties of these software packages and instantiate them in containers. The containers expose their services to a specific port of the host operating system, while using its kernel. This makes Docker much more lightweight than the VMs.

Cucumber: Cucumber is a test automation framework that helps testing teams to apply BDD logic. Behave-Driven Development (BDD) is a concept of testing, where human language is translated into testing code. That makes it readable and helps the business sector to integrate efficiently and sufficiently with the IT departments of software testing.

Pipeline: Is a file with a sequence of software stages/steps. These stages/steps include commands for executing specific jobs.

The Test Project

The process of integrating Docker and Jenkins is as follows. At first, we create a Docker container which will include two projects:

  • The first project, is going to be a test project in Maven format, Java, Selenium a web browser automation framework, BDD Cucumber framework and pipelines written in Groovy.
  • The second project will be a website, an application or generally a software product. The concept behind this, is to make the first project (test project) test the second one (software product).

In this article, we will focus only on the creation of the test project inside the Docker container.

The test project is responsible for testing a website. Selenium and Java are needed to construct the test automation framework. As soon as test cases and their steps will be prepared, following business requirements the BDD Cucumber and its functionality comes into play.

Finally, the pipelines written in Groovy will be utilized by Jenkins. There are two pipelines in this project. One for the build process, responsible for building the test project and getting quality metrics, and one for the test process, to test the actual website with our testing code. In our example, the name of the test pipeline is “Jenkinsfile.test.groovy”.

Driver Configuration

There is one vital interference we need to do in the code concerning the automation scripts. Before the creation of a Chrome driver we need to pass the following options:

options.addArguments("--headless"); // executing the scripts without interface
options.addArguments("start-maximized");  // open maximized browser
options.addArguments("disable-infobars");  // disabling info-bars
options.addArguments("--disable-extensions");  // disabling extensions
options.addArguments("--disable-gpu");  // applicable for windows OS only
options.addArguments("--disable-dev-shm-usage");  // fix limited rsc issues
options.addArguments("--no-sandbox"); // pass OS security model

These lines of code will enable Chrome driver to be executed within the specific Docker environment.

Docker Configuration

In the following paragraphs we will present the steps needed to be followed in order to create a Docker image of Jenkins. First, we create a project inside a Git repository. Then, we create a file named Dockerfile which includes all the configuration options for our Jenkins instance. It is vital to define the packages that are going to be installed along with the necessary tools like Java JDK, Chrome, Chrome driver, etc.

For example,

RUN apt-get update && apt-get install -y openjdk-8-jdk
RUN wget https://dl.google.com/linux/direct/google-chrome-stable_current_amd64.deb
RUN wget -N http://chromedriver.storage.googleapis.com/2.39/chromedriver_linux64.zip
RUN unzip chromedriver_linux64.zip

This command is responsible for installing the Java-JDK8 to our machine. Also there is a word “RUN” at the beginning. This is a Docker syntax word which determines that everything after this, will need to be executed through the command line to the Docker machine. Another useful command is the following one:

RUN wget -N http://chromedriver.storage.googleapis.com/2.39/chromedriver_linux64.zip

This command will download the chromedriver file for Linux, because it is needed by the automation scripts that use Chrome browser. If you want the Firefox, then you need to download the geckodriver. There are many more commands that need to be included. This will differ from project to project.
Another important file that we need to have is the jobs.yaml file. In this file we need to include the proper code which will create a project (Freestyle, etc.) or a file/pipeline inside the new Jenkins instance.

One more important file is the plugins.txt. This file names the plugins that are needed  inside Jenkins. There are some plugins as an example:

checkstyle:latest // pull the latest version of checkstyle
cucumber:0.0.2 // pull a specific version
cucumber-report:3.16.0
configuration-as-code:latest
configuration-as-code-support:latest

Docker Build and Run

Now let’s see the commands we have to execute to create the container with the instance of Jenkins. The steps of Docker installation are not going to be described because they are clearly documented in the official Docker website (https://dockr.ly/2Qsl5FO).

After the Docker installation we need to run the following commands to create the instance:

$ docker build https://gitlab.YOUR_DOMAIN/PROJECT_PATH.git -t IMAGE_NAME

This command will build a new image named as “IMAGE_NAME” by executing the Dockerfile from the given git project. The last command which will start Jenkins, is the next one:

$ docker run -p HOST_MACHINE_PORT:DOCKER_PORT -p 50000:50000 t IMAGE_NAME

Using the above command, we run the image named as “IMAGE_NAME” under the HOST_MACHINE_PORT port which listens to the general IP of Jenkins, which is defined as DOCKER_PORT. If we need to execute it in a different port then we need to change the first number of the port. The 50000:50000 enables Docker to connect slave agents (erase it if you have SSH slaves).

Docker Result

Now we can access the Jenkins instance by navigating to the proper link with the following format: IP:HOST_MACHINE_PORT (for instance http://122.406.90.99:8080). We can login to the created instance and perform all Jenkins actions, some of those are the following:

  • Open the project that contains the pipeline, configured in the jobs.yaml file
  • Enter the pipeline
  • Configure pipeline and Build pipeline

Check Cucumber reports (plugin installed through plugins.txt file)

Be aware for the second part in which a detailed procedure for the website container will be described. Stay tuned!
Book: Continuous Delivery with Docker and Jenkins

Book: Continuous Delivery with Docker and Jenkins

By | Blog | No Comments
Book: Continuous Delivery with Docker and Jenkins

“Continuous Delivery with Docker and Jenkins” is a comprehensive book that explains the advantages of combining Jenkins and Docker to improve the continuous integration and delivery process of app development. Taking the lead-by-example approach, you can learn how to install and use Docker, set up Jenkins with agents, configure a continuous integration pipeline, implement acceptance testing using Docker Compose, set up configuration management with Ansine, cluster your application with Docker Swarm, and finally create a complete continuous delivery pipeline.
No matter if your role is DevOps, developer, or QE, you can take your skills to the next level. As an operational engineer, you can learn new technologies and see how they work in practice. No matter if you work on a green field project or if you have to maintain the legacy code, there is still a place for improvements in terms of automation. See how to do it right. As a developer, you can improve your approach to coding, see why feature toggle works better for continuous delivery and excessive branching may kill your ability to integrate on a daily basis. Read how you should start your project from creating a Jenkinsfile which leads all your further development. Read about databases and how they behave during the continuous delivery process. Read about clustering and the need for speed and high availability. As a QE, this book gives you all the information how to approach different tests: integration, acceptance, performance, scalability, and so on. It covers both the theory and the practice with the modern tools and frameworks.
If you’re interested in more details, please see:

Rafał Leszko

Rafał Leszko

Software Engineer at Hazelcast

Rafał Leszko is a passionate software developer, trainer and speaker at international conferences (Devoxx Morocco, Voxxed Days Thessaloniki). He works as a contractor specializing in Java development, architecture design, clean code, continuous delivery, agile methodologies and team leading. He worked in a number of companies and scientific organizations: Google, CERN, AGH University, Luxoft and more.
As a trainer Rafał gives public and on-site courses on the following topics:
– Continuous Delivery: Jenkins, Docker and Spring Boot
– Build Microservice Architecture in One Day
– Functional Programming in Java 8
– Effective Java